Showing posts with label Felt. Show all posts

Thursday, June 2, 2022

Felt Circle Mobile (Sew & No-Sew) + Quint-Essentials


I LOVE when I can use my paper crafting supplies to make other items other than cards! And sometimes I have a little extra time to put my supplies and ideas to the test!  In the Catherine Pooler Quint-Essentials Release, that goes live in the shop on Wednesday, June 8th, one of the new items is a great die set called Double Duty Circle Dies.  When they die cut they leave a dotted detail around the edge.  I thought that they would be the perfect dies to create this felt circle mobile.

I've created this video to explain my process and have a few pictures below as well.


I hope you enjoyed the video and that it made sense!  Here are a few pictures that go along with the process.


I die cut a rainbow of felt with the smallest Double Duty Circle Dies.  I cut 10 of each color because I have 10 strands on my mobile.  I then sew each strand, one of each color, together using my sewing machine.  If you don't have a sewing machine, no fear.  I'll share an alternative below.  


I painted an embroidery hoop white with acrylic paint.  You could use spray paint too.  Then I cut 5 pieces of white twine to hang the mobile with.  I tied each piece to the hoop and knotted it and then trimmed the ends.  


Each piece of twine is tied to the hoop and then I brought all 5 pieces together in the middle & knotted it and then trimmed the ends. 


Here I am starting to tie the strands on to the hoop with the long tail I left when sewing.  Each section needs 2 felt circle strands tied to it.


This shows how the circles are sewed together and also how the strands are tied to the hoop.  I triple knotted each strand to the hoop so it wouldn't work loose over time. 


The Double Duty Dies are part of the new release from Catherine Pooler that will be live in the shop on Wednesday, June 8th at 9 AM EST.

No Sew Method

If you don't have a sewing machine, you can accomplish a very similar look using glue and felt and/or paper.


If you take a piece of twine and lay it over your felt pieces, you can then add glue to a 2nd felt circle of the same color and then sandwich the two felt pieces between the twine...no sewing needing!  You can use hot glue or a fabric/felt glue.


You can also make a mobile using cardstock which really picks up the pierced details in the circles!  You can sew them together with your sewing machine or glue them together with the process I just shared.  Here I used colored cardstock I had on hand but you can make your own custom colored cardstock by swiping your Catherine Pooler ink pads on white cardstock and then die cutting. 


Thank you so much for visiting today! I hope this post inspires you! Let me know if you create a mobile! I'd LOVE to see how yours turns out!


Products I used on the card(s) on this post are linked below. Some of the links below & in my post are affiliate links which you can shop at no additional cost to you. If new products are linked, they will not go live in the shop until release day. Thank you so much for visiting my blog!

Double Duty Circle Dies
Shop at:
CP
Round About Dies
Round About Dies
Shop at:
CP
Circle Dies
Circle Dies
Shop at:
CP
All Twine
All Twine
Shop at:
CP
Cutter Bee Scissors
Cutter Bee Scissors
Shop at:
CP | ACOT | SC | SBP
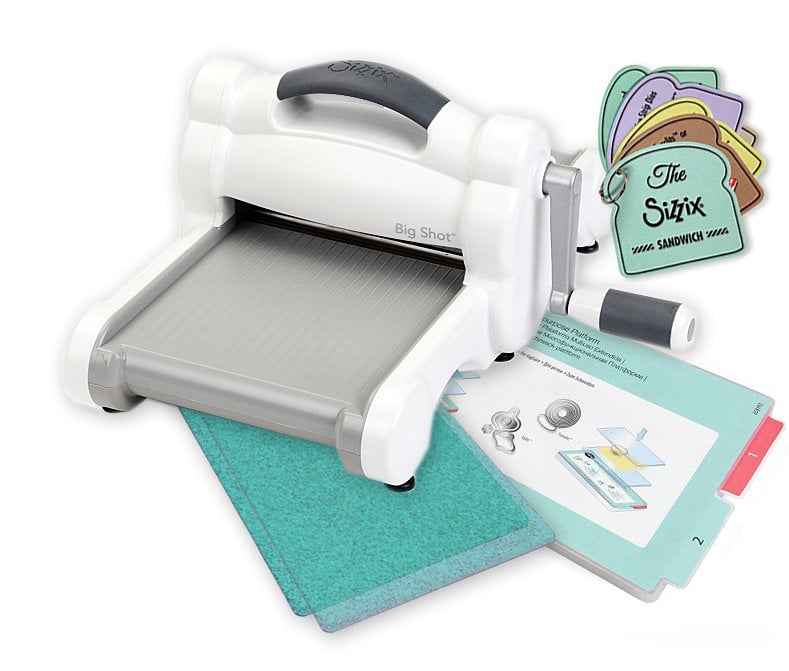
Big Shot Die Cutting Machine
Shop at:
SC
Cutting Plates Big Shot
Shop at:
SC

Saturday, February 27, 2016

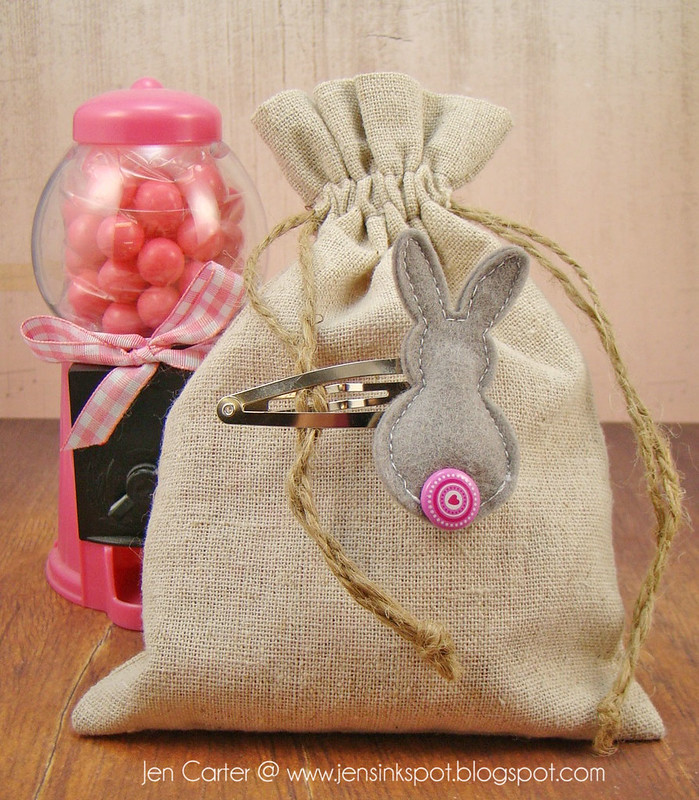
Felt Bookmark

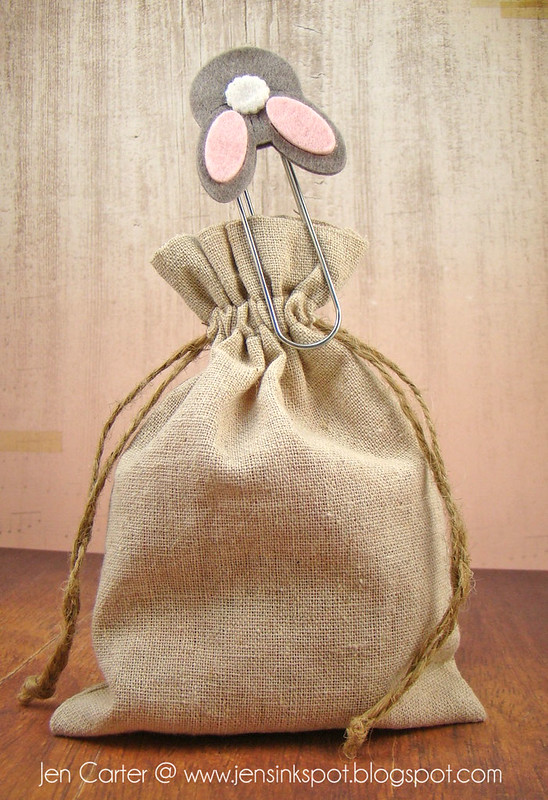
I put together another felt project using a die by Frantic Stamper called Bunny Butt.  I know, I know...funny name!  :)

Jen Carter Bunny Butt Bookmark 2

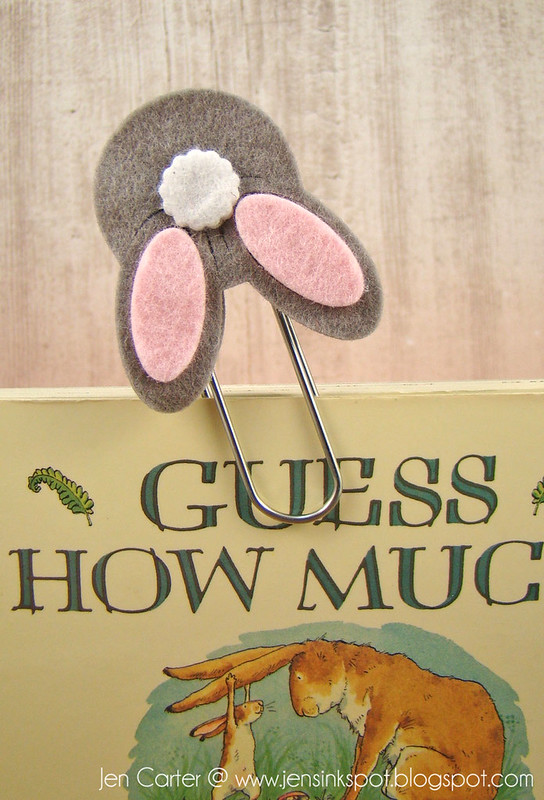
I die cut the various Bunny Butt die cut pieces out of felt.  I die cut two of the whole die out of gray felt and glued the two pieces together to the large paper clip using one for the front and one for the back.  This clip measures a little over 3 1/2" long.

Jen Carter Bunny Butt Bookmark Closeup 1

This would be such a cute gift or a fun clip to include on the top of a package!  You could also make a fun barrette out of this die too!

Thanks for joining me!

Tuesday, February 16, 2016

Bunny Barrettes

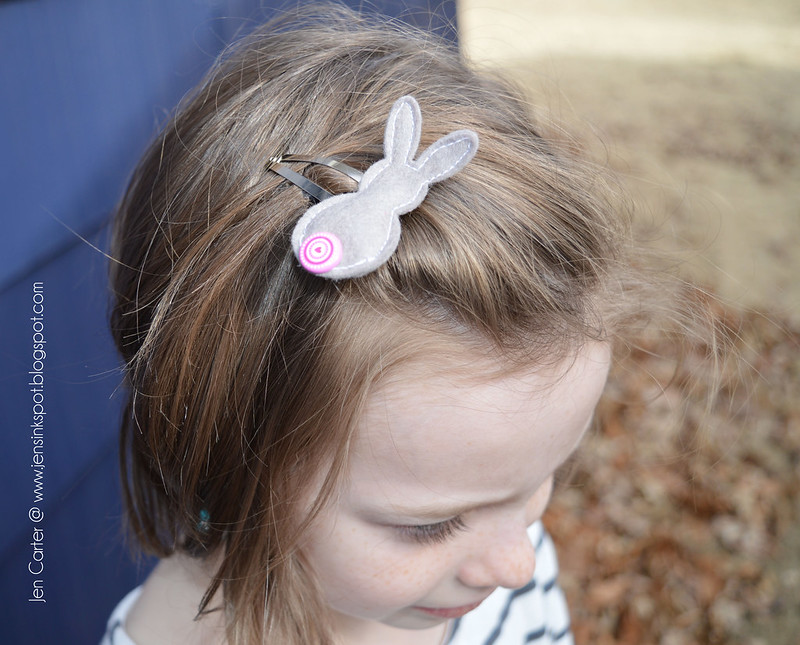
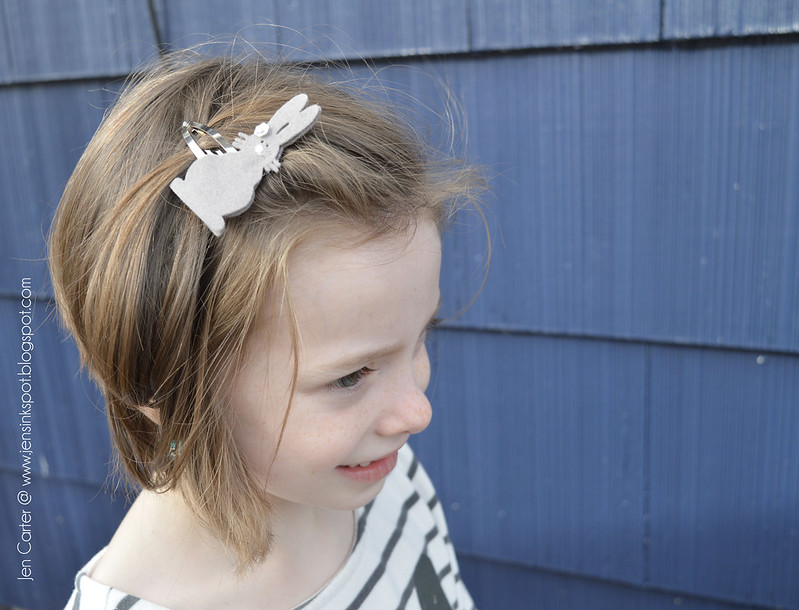
Hello everyone!  I wanted to share some projects I made using Spring/Easter dies from Frantic Stamper and some felt.  For today's felt projects I'm going to share three different barrettes I made for my daughter and I'll show you pictures of her modeling them too!


This picture shows all three barrettes that I'm going to share in more detail below.  You can see that on two of them I stitched the felt pieces together with a sewing machine (you could use needle & thread too) and the other one I used hot glue on.

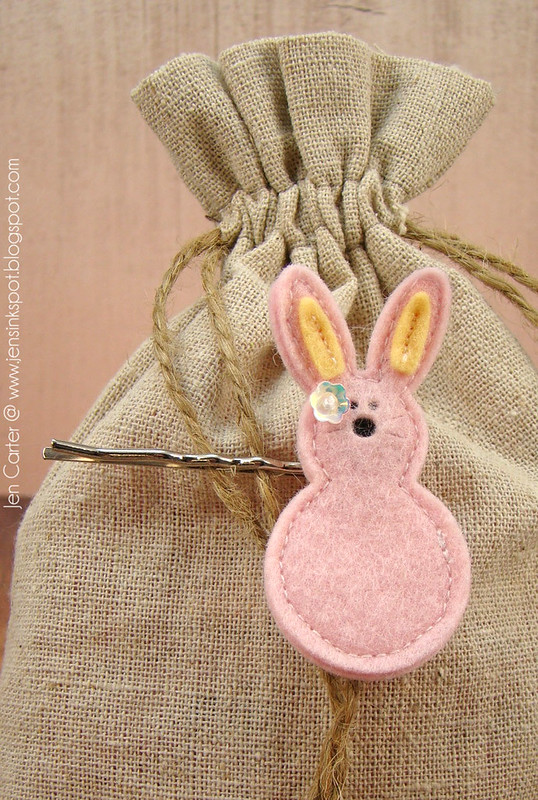
Jen Carter Felt Bunny Hair Barrettes Pink Bobby Pin

For this one I used the Large Marshmallow Bunny die and a large bobby pin that has a circle on the back to attach your project onto. To attach the felt bunny I hot glued it to the circle but you could also hide the circle inside the bobby pin and sew.

I used a small piece of black felt between the pink layers so that it would show the eyes and nose.  I also used the sewing machine to add the yellow ears.  To attach the flower sequin I used a French Knot.

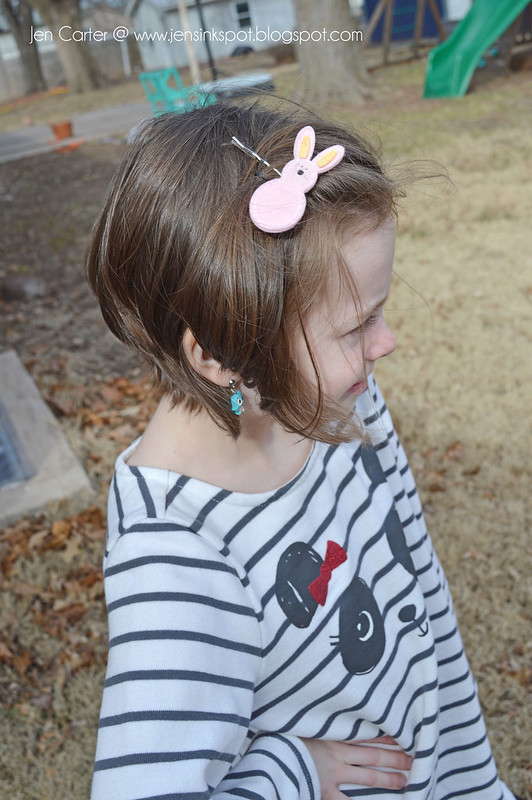
Jen Carter Sadie Pink Bunny

This is my sweet daughter modeling it (on a very windy day).

Jen Carter Felt Bunny Hair Barrettes Bunny Back Bunny 2

Next up is the same die Large Marshmallow Bunny but I used it as the back of the bunny.  I cut a hole with my crop-a-dile to attached the brad (which turned as I was sewing and I didn't realize it, it was straight when I started). I sewed past where the brad went and then inserted it and continued sewing.  To attach the barrette I used thread and a needle to stitch it on to the backside.

Jen Carter Sadie Bunny Button

And again my daughter modeling.

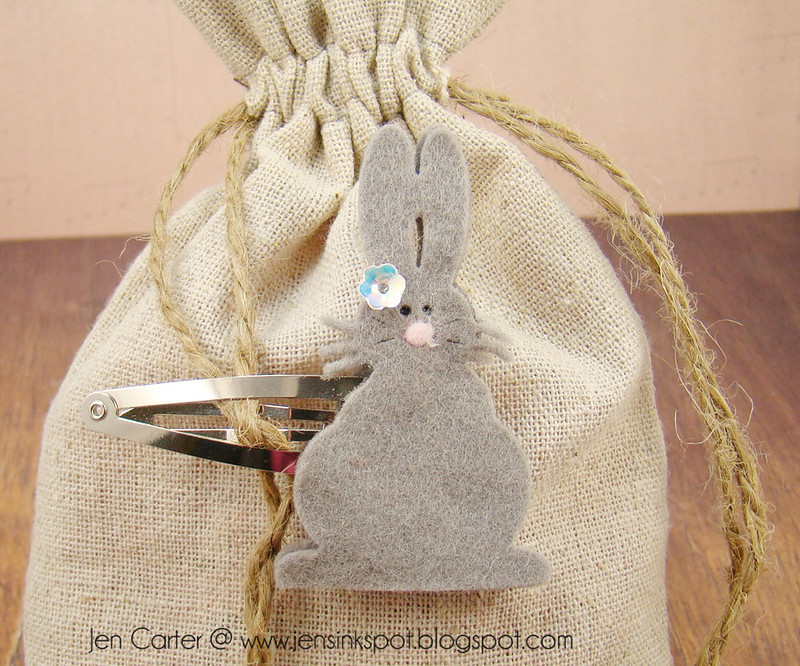
Jen Carter Felt Bunny Hair Barrettes Bunny Back Large Gray

And last I used the Bunny Back die and instead of sewing it I used hot glue to put her together. I cut off the whiskers on the back layer of the bunny so that they lined up properly.  I used the face from the Large Marshmallow Bunny die and it fit perfectly.  I also hot glued the flower sequin to her head.

Jen Carter Sadie Bunny Large

And again the cutest little girl. :)

Thanks for joining me today.  I hope you feel inspired!  I'll have more felt projects to share at a later time.
Related Posts Plugin for WordPress, Blogger...