Hey everyone! I have a fun shaped card to share with you today! Last year for Christmas one of my good friends gave me an apron for Christmas that I wear all of the time when I'm cooking. I love it! What a perfect gift! My daughter even has one to match.
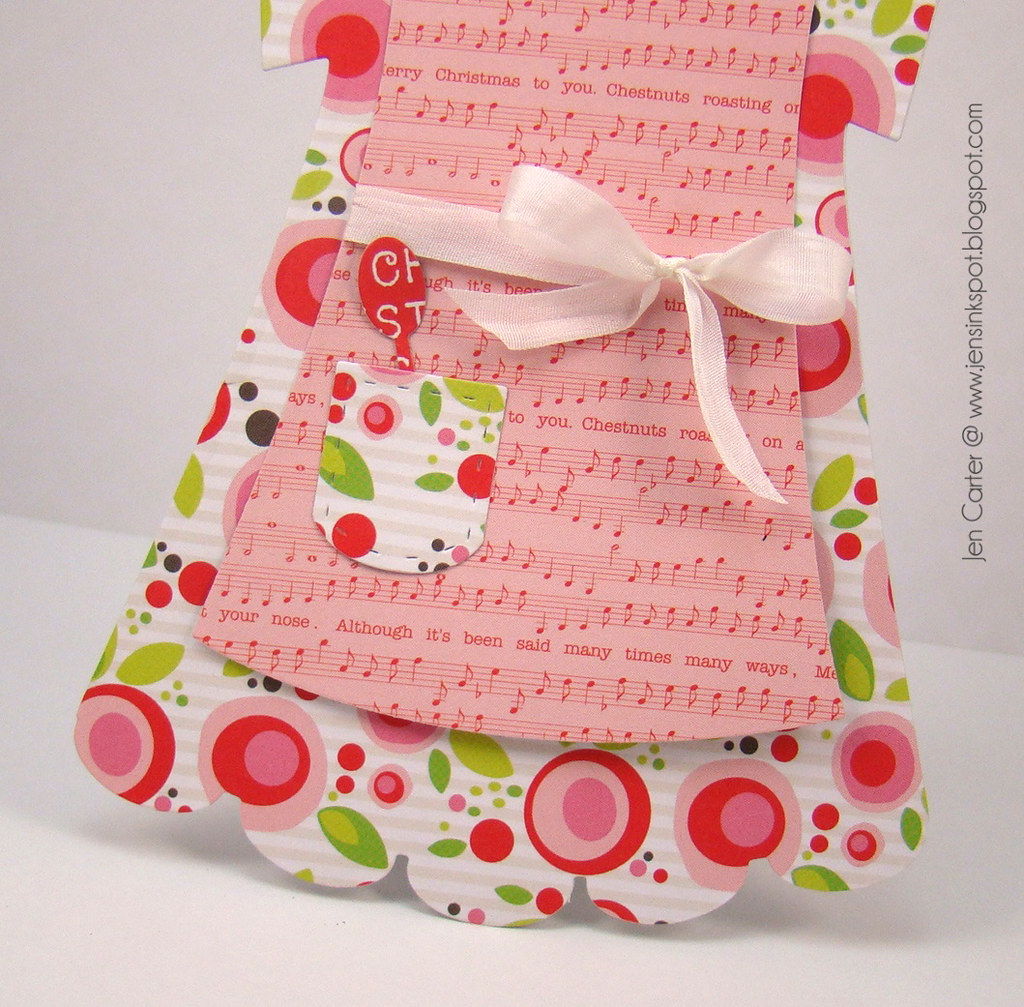
As I was thinking about that, I thought about one of the dies that Frantic Stamper has that is so very cute and I came up with this Christmas Apron card!
This die is so much fun! It is called the
Kitchen Dress A2 Card Maker. It comes with so many options on how to decorate your dress and/or apron. Since I used so many patterns in my paper, I kept the extras to a minimum. I first cut out my dress and then chose a complimentary paper for the apron. I really like how the Christmas song on the paper talks about chestnuts roasting! What a perfect song to have on an apron!
I decided to use the same paper for the pocket that was in the dress...one less pattern to compete with an already busy dress. I cut the spoon out of another paper that was in the same paper pack. I chose the red paper because it was bold and would stand out from the other patterns. I also tied a ribbon around the middle. This would look cute without the bow on the front too.
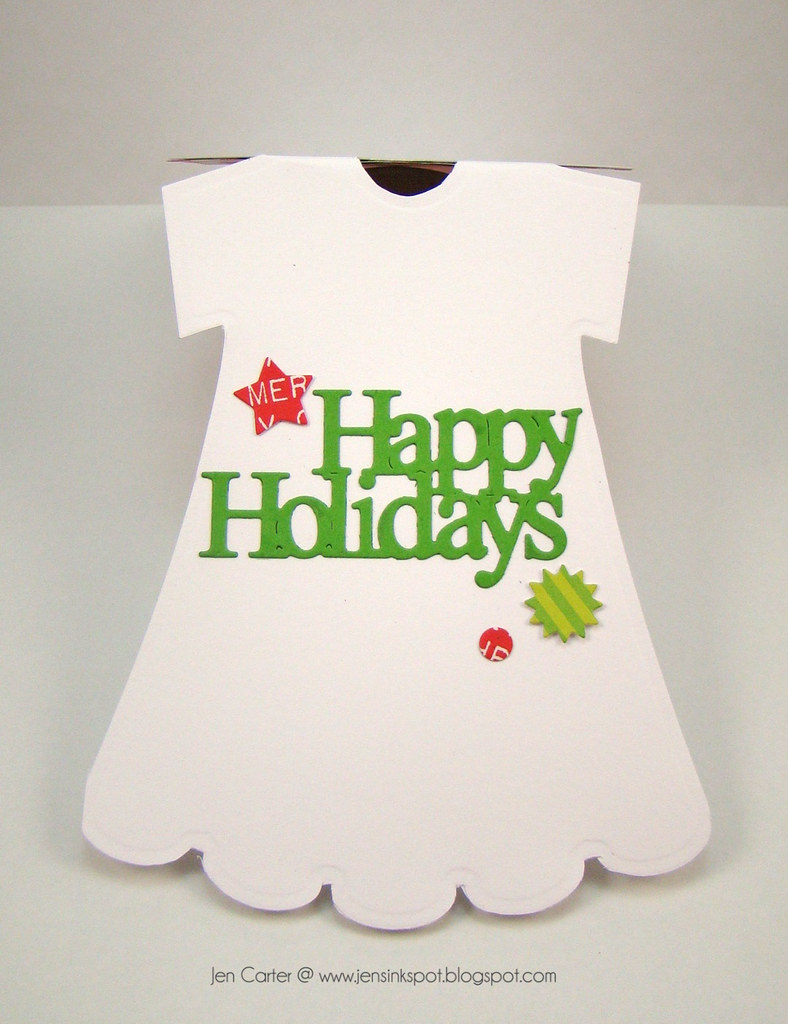
I almost always put a sentiment on the outside of my card. It usually doesn't feel finished to me without the sentiment. But for this card I put the sentiment inside where it fit. I could have gone crazy and decorated the inside more, but I kept it very simple. I used three of the dies that were left over from the accessories in the dress die and used the
Happy Holidays die for the sentiment.
I should mention that I cut the dress card base from cardstock to make the dress sturdy and then attached the patterned paper to it. Here's how:
Cut your card base to 5 1/2 x 11. Score it in half. Place your die so that the very top of the die is hanging over the top of the cardstock. This will allow the die to cut the cardstock except for the collar of the dress (as shown below).
Roll it through your die cut machine several times. The cardstock I used was very thick so I had to trim around the inside layer with a scissors so that it would cut all of the way through. Attach the patterned paper to the front of the card base. Your collar piece will stick slightly up above the white cardstock.
Thanks for visiting today! Have a great week!
Supplies:
Dies: Frantic Stamper (listed above)
Patterned Paper Pack: Jolly Good by Chickaniddy Crafts

