Thursday, December 11, 2014

Christmas Apron Card

Hey everyone! I have a fun shaped card to share with you today!  Last year for Christmas one of my good friends gave me an apron for Christmas that I wear all of the time when I'm cooking.  I love it! What a perfect gift!  My daughter even has one to match.  

As I was thinking about that, I thought about one of the dies that Frantic Stamper has that is so very cute and I came up with this Christmas Apron card!

Jen Carter Christmas Apron Dress Card wm

This die is so much fun!  It is called the Kitchen Dress A2 Card Maker.  It comes with so many options on how to decorate your dress and/or apron.  Since I used so many patterns in my paper, I kept the extras to a minimum.  I first cut out my dress and then chose a complimentary paper for the apron.  I really like how the Christmas song on the paper talks about chestnuts roasting!  What a perfect song to have on an apron!  
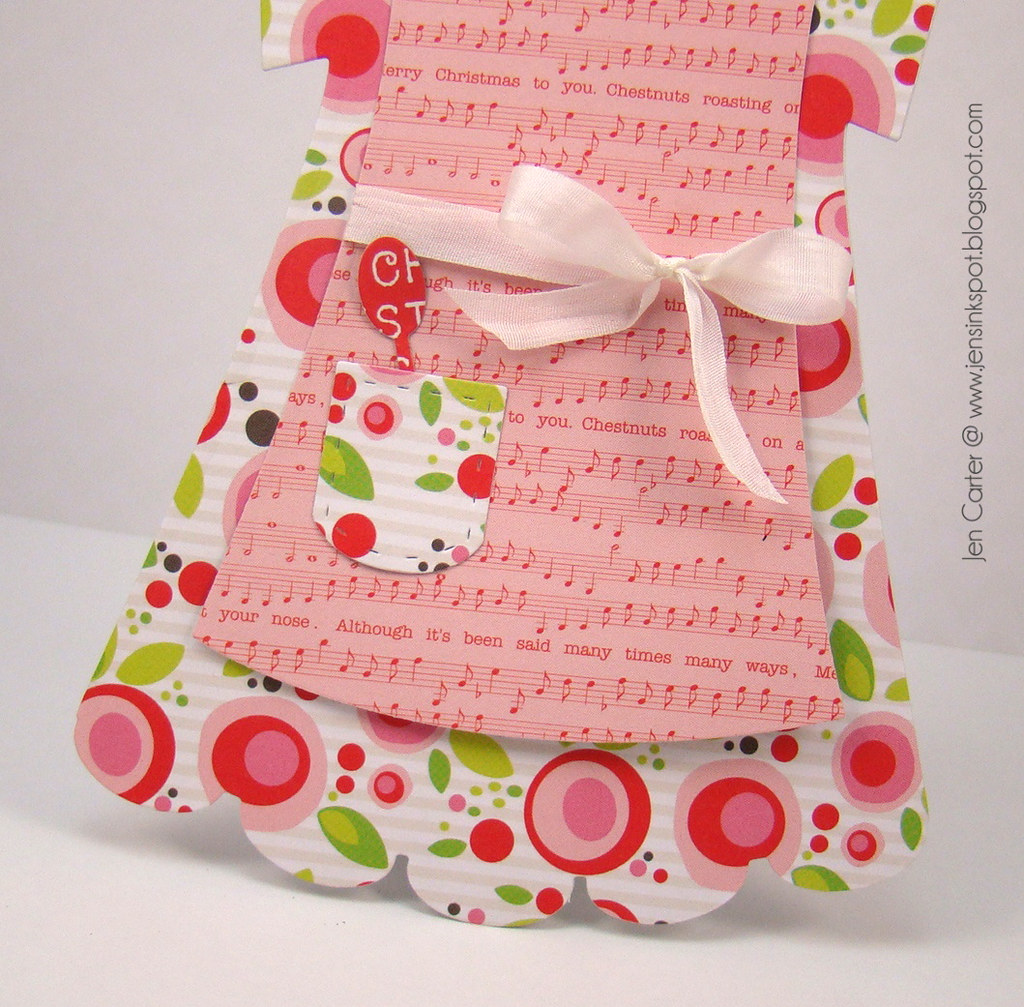
Jen Carter Christmas Apron Dress Card Closeup

I decided to use the same paper for the pocket that was in the dress...one less pattern to compete with an already busy dress.  I cut the spoon out of another paper that was in the same paper pack.  I chose the red paper because it was bold and would stand out from the other patterns.  I also tied a ribbon around the middle.  This would look cute without the bow on the front too.
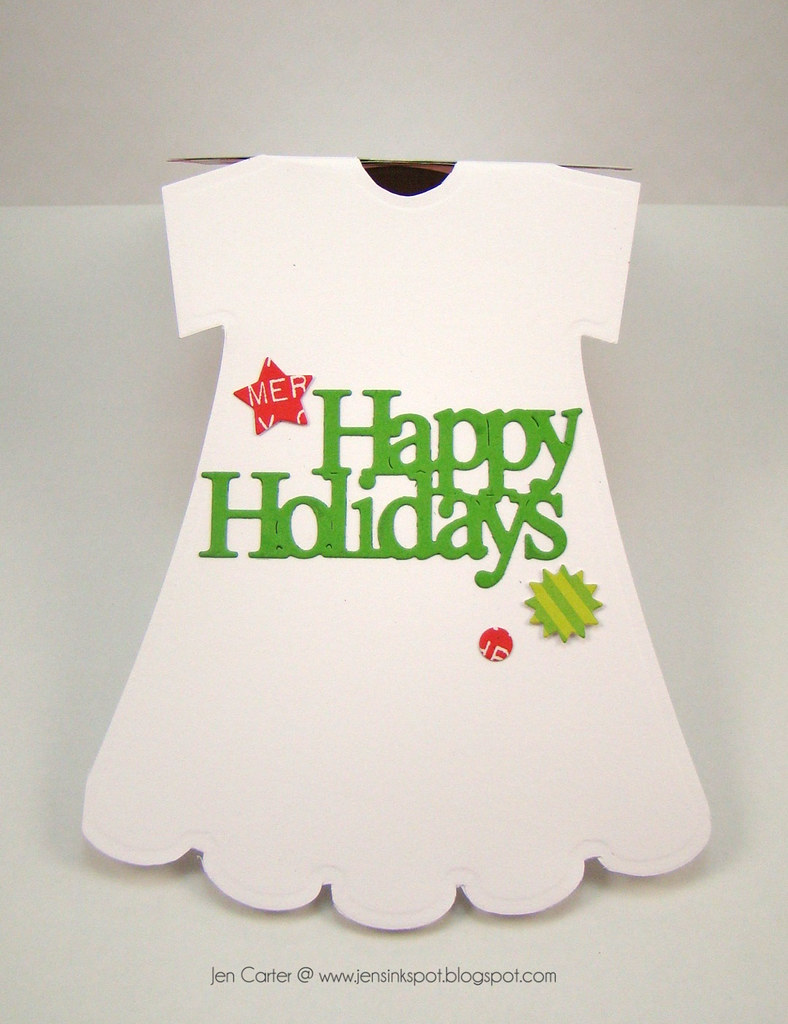
Jen Carter Christmas Apron Dress Card Inside WM

I almost always put a sentiment on the outside of my card.  It usually doesn't feel finished to me without the sentiment.  But for this card I put the sentiment inside where it fit.  I could have gone crazy and decorated the inside more, but I kept it very simple.  I used three of the dies that were left over from the accessories in the dress die and used the Happy Holidays die for the sentiment.

I should mention that I cut the dress card base from cardstock to make the dress sturdy and then attached the patterned paper to it.  Here's how:

Cut your card base to 5 1/2 x 11.  Score it in half. Place your die so that the very top of the die is hanging over the top of the cardstock.  This will allow the die to cut the cardstock except for the collar of the dress (as shown below).   


Roll it through your die cut machine several times.  The cardstock I used was very thick so I had to trim around the inside layer with a scissors so that it would cut all of the way through.  Attach the patterned paper to the front of the card base.  Your collar piece will stick slightly up above the white cardstock.


Thanks for visiting today!  Have a great week!

Supplies:
Dies: Frantic Stamper (listed above)
Patterned Paper Pack: Jolly Good by Chickaniddy Crafts

Wednesday, December 10, 2014

Gold & Silver Crafty Kits

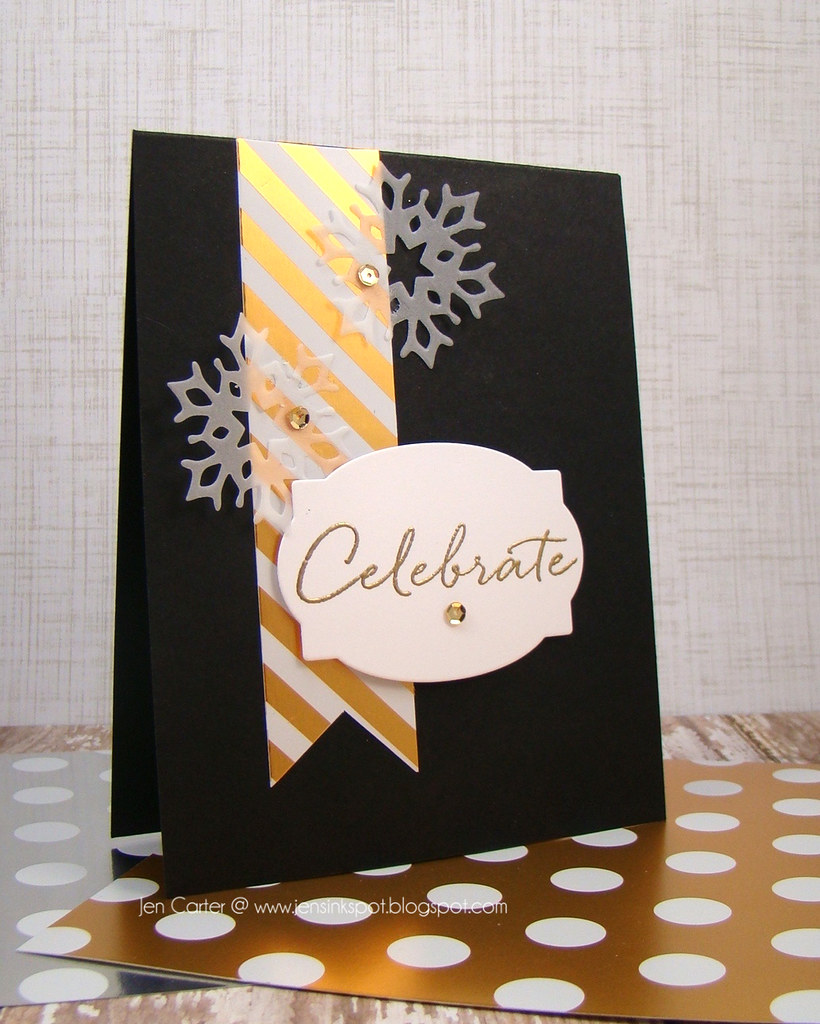
Hello!  Today I am sharing cards that I made for the Crafty Peeps Card Kit Club.  This is the last kit from our group!  Cheryl Knutti sent us a great package of products filled with gold & silver!  I made three CAS cards to share with you today.

Jen Carter Gold Striped Celebrate Card

Cheryl sent us some beautiful papers to work with.  Everything on this card was already cut out and ready for me.  All I had to do was use the various pieces in some way.  

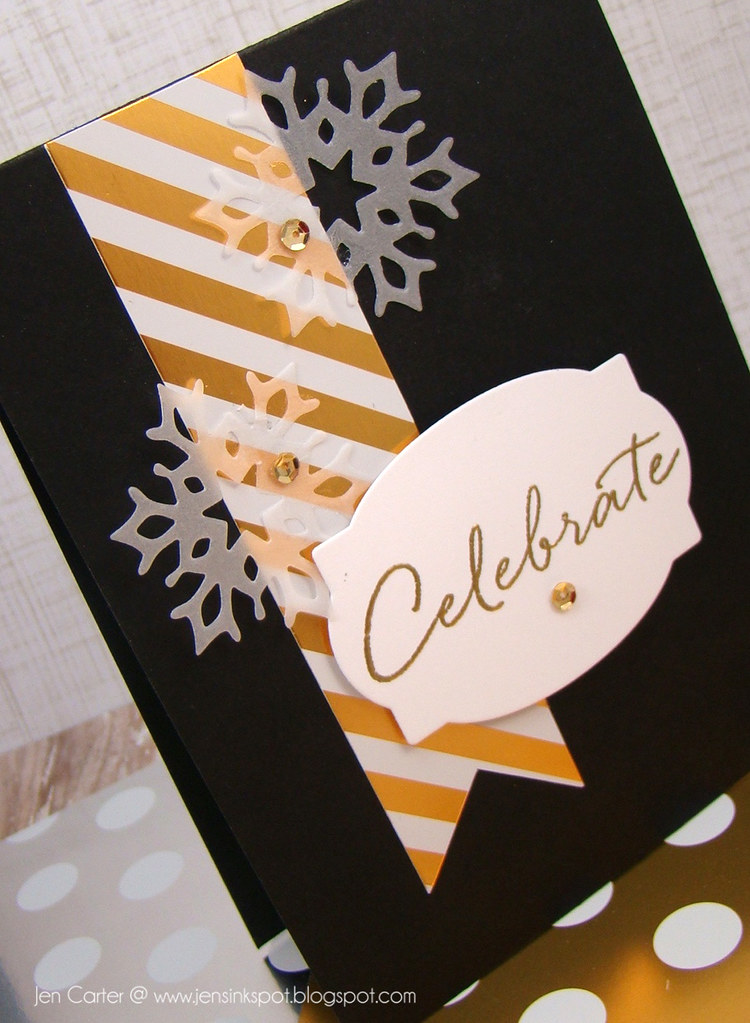
Jen Carter Gold Striped Celebrate Card Closeup

I love the gold against the black background!

Jen Carter Gold Snowflake Thank You Card

I really like pink & gold together so I was thrilled to see that Cheryl had included a piece of pink cardstock in the kit! 

Jen Carter Gold Snowflake Thank You Card Closeup

I embossed part of the vellum snowflake with a gold glitter embossing powder.  I love how that turned out!

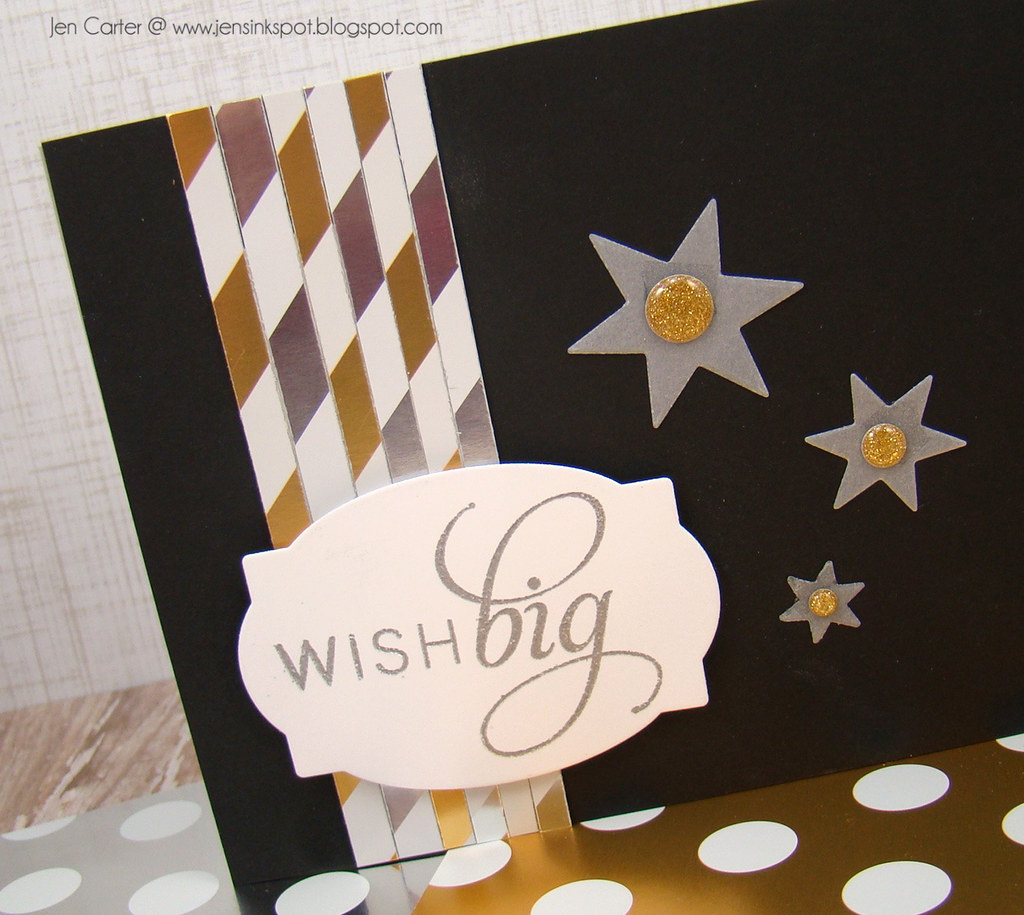
Jen Carter Gold Striped Wish Big Card

And for my last card I took the gold & silver striped cardstock pieces and cut them into thin stripes.  Then I assembled them in various patterns on my cardbase.  It made an interesting pattern for this card.  

Jen Carter Gold Striped Wish Big Card Closeup

I put some glittery gold enamel dots from my stash on top of the vellum stars to help hide the adhesive.  Sometimes hiding that adhesive can get a little tricky!

Thank you for vising today!  I hope you have a wonderful day!

Sunday, December 7, 2014

Hello, Awesome: Lil' Inker Designs Release Day 3

Welcome back to day 3 of the Lil' Inker Designs release!  If you are following along in the blog hop you should have come from Erin Schreiner's blog and if you'd like to start at the beginning, visit Laura's blog!  There are three $15 gift certificates to the LID store up for grabs, so the more blogs you comment on, the better your chances are of winning!

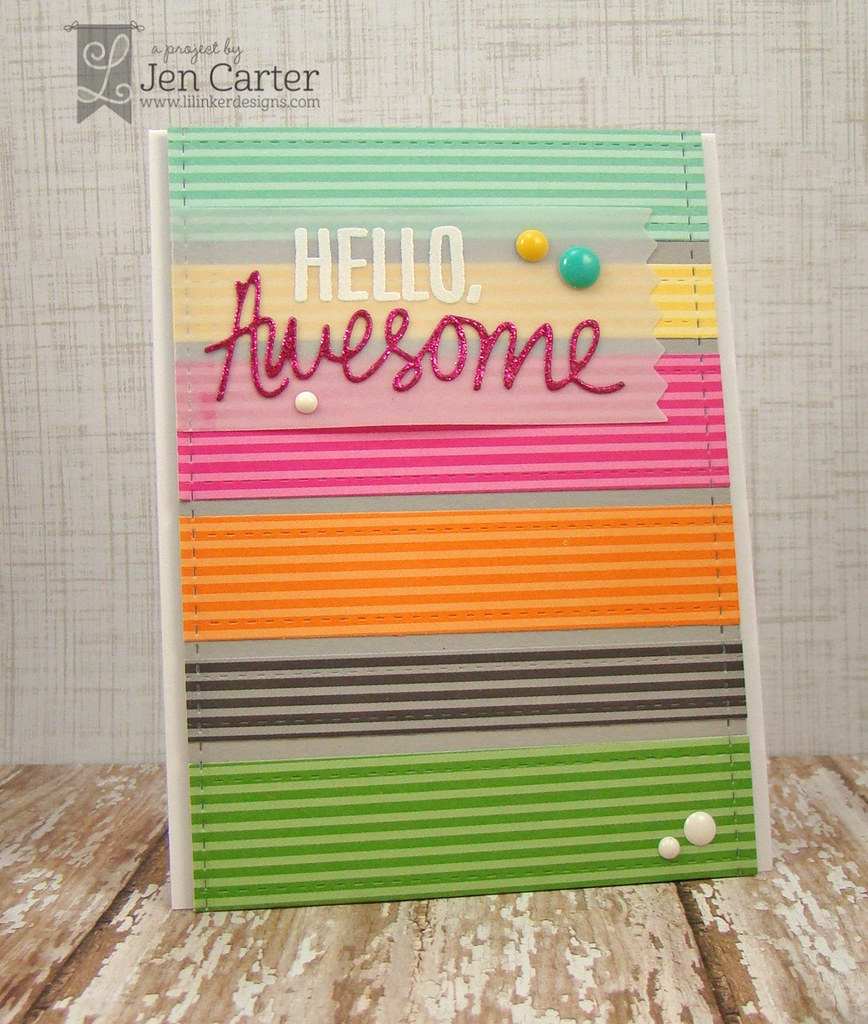
Jen Carter LID Hello, Awesome WM

First up is a very colorful card made with several more new awesome products! :)  I started by creating my background and die cut several different sizes of patterned paper with the Long & Skinny Rectangles dies.  I LOVE all of the options that you get with this die set!

Jen Carter LID Hello, Awesome Closeup WM

I cut out one of the Pinking Edge Sentiment Flag dies from vellum and then heat embossed the "hello" from the new Hello Awesome stamp set. I also used the single stitched die in the Long & Skinny Rectangles die set to create the stitches in the vellum to match the stitched sides of the card. And the die that many of you have been waiting for is here!  This Awesome Word Die is now available for only $5.95!  For this card I used the die with glitter paper to pack some punch.

Jen Carter LID Sparkle & Shine Gems WM

For this last card I went big...big jewels that is!  I started by creating the card base.  I used the previously released Border Builder Dies to create the rounded gold and cream pieces.  I also added a gold stitched stripe to the top of the card that I made using the single die that cuts only the stitches from the Long & Skinny Rectangles set.

Jen Carter LID Sparkle & Shine Gems closeup

For the sentiment I started by using the Alphabet Gem stamp set and embossing it in gold.  I then stamped the first part of one of the sentiments included in the Girl's Best Friend stamp set and then stamped the confetti/sparkling image with a clear glitter embossing powder around it.  

New Products Used: 


Previously Released Products Used:


We do have a sad announcement.  

Thank you so much for visiting this week!  Don't forget to leave a comment to win!  The more blogs you comment on, the better your chances are of winning!  There's plenty more inspiration to see using these sets today!  Your next stop on the hop is over to Karen's blog!

We do have a sad announcement to make.  This will be Mary Dawn Quirindongo's last blog hop with us.  We are all so sad to see her go, but wish her all the best in her new adventures!

Jen Carter -- You are here!

Supplies:
Dies & Stamps: Lil' Inker Designs (all listed above)

Hello, Awesome
Patterned Paper: PTI Aqua Mist, Harvest Gold, Raspberry Fizz, Orange Zest, Smokey Shadow, New Leaf
Glitter Paper: Core'dinatios Glamorous Glitter
Vellum: PTI
Enamel Dots: My Mind's Eye (various)

Sparkle & Shine:
Gold Paper: SU!
Patterned Paper: Oh, Deer! by Fancy Pants Designs
Jewels:  Jillibean Soup Wood Sprinkles
Gold Embossing Powder: Super Fine Detail Gold by Ranger, Judi-Kins Iridescent Sparkle
Ink: Avery Elle Cherry

Saturday, December 6, 2014

All About Ampersands with Lil' Inker Designs: Release Day 2


Hello again and welcome to Day 2 of the Lil' Inker Designs December Release!  All of the products being shown today are currently available in the Lil' Inker Designs store!  If you are following along in the blog hop you should have come from Erin Schreiner's blog and if you'd like to start at the beginning, visit Laura's blog! There are three $15 gift certificates to the LID store up for grabs, so the more blogs you comment on, the better your chances are of winning! 

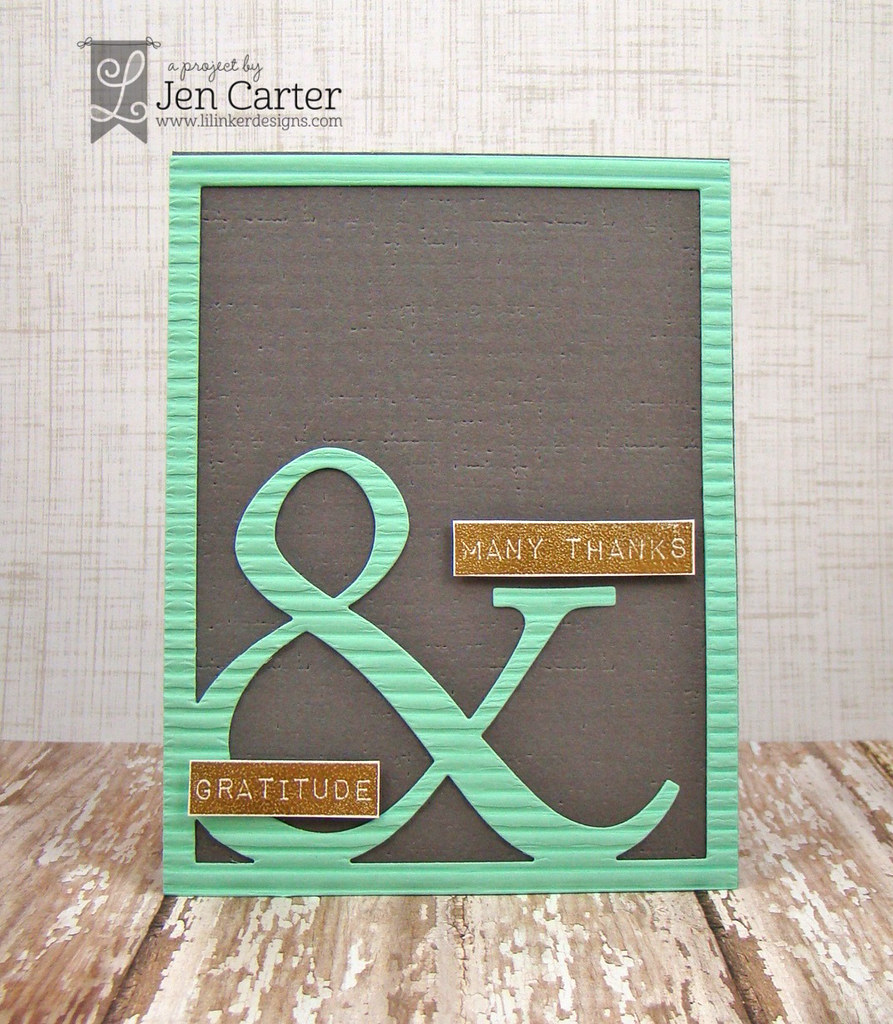
Jen Carter LID Many Thanks & Gratitude WM

First up is one of my favorite cards I made for this release.  This new All About Ampersand die is pretty cool!  It has 3 options for the "&" symbol which seems to be popping up all over the place.  I cut the die from corrugated cardstock which gave it that wrinkled look.  I then stamped two of the sentiments from the coordinating stamp set, All About Ampersand stamps, with VersaMark and then embossed them in gold and popped them up with dimensionals.  

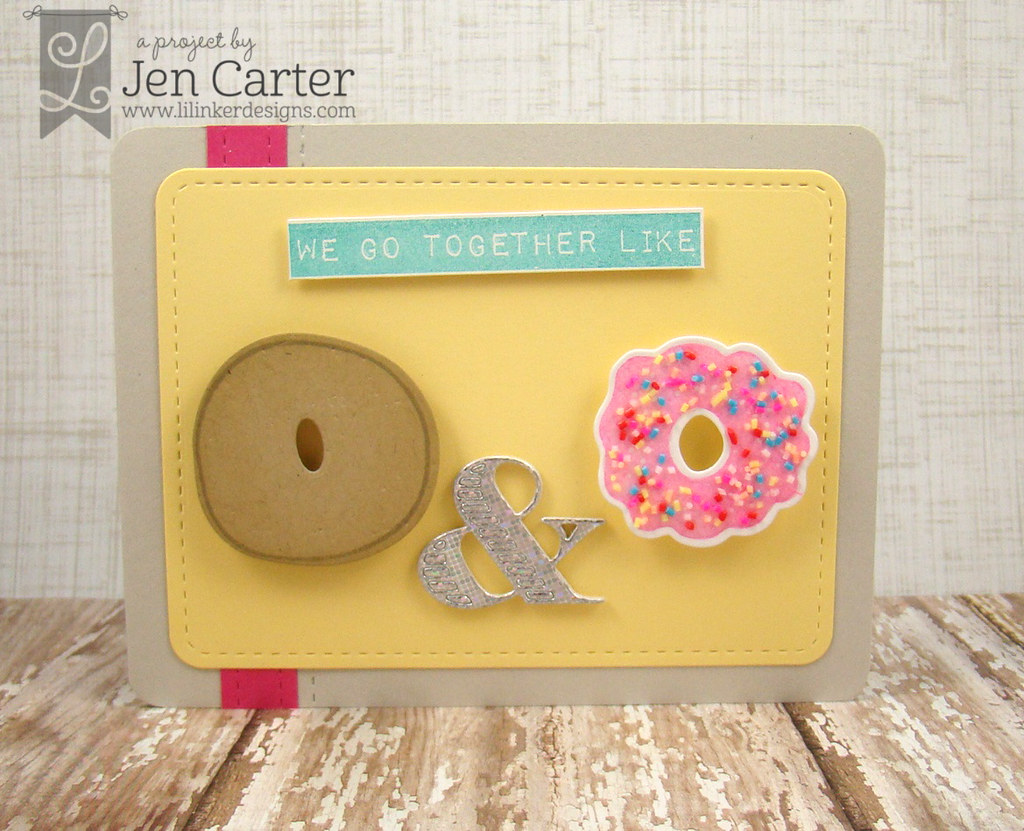
Jen Carter LID We Go Together Donut Icing WM

I really liked the sentiment "we go together like" that is included in the All About Ampersand stamp set.  I thought it would be perfect to use with the Donuts die & the Eat More Donuts stamp set released last time and the frosting die and stamp from the same sets. All of these are adhered to one of the Stitched Mats: Rounded Rectangles. I cut out the pink stripe with one of the stripes in the Long & Skinny Rectangles die set.  And then I used the single stitched die piece (it doesn't cut, it only stitches the line wherever you place it) to make another line next to it.  

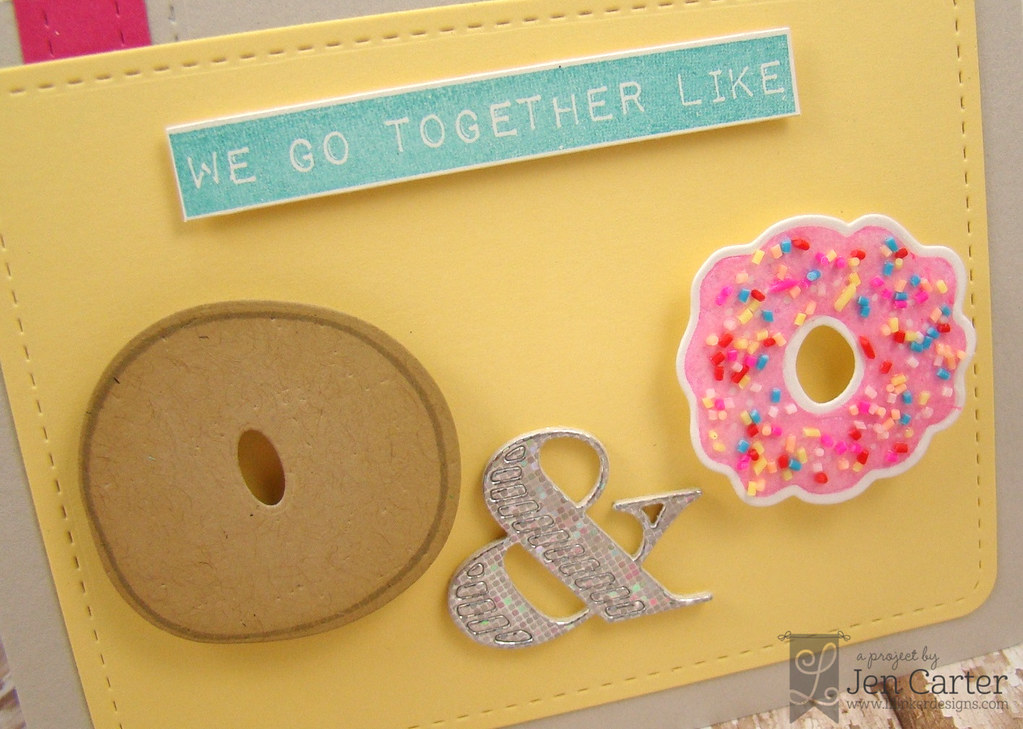
Jen Carter LID We Go Together Donut Icing Closeup

I also die cut another one of the All About Ampersand dies in a shiny foil like cardstock.  I distressed the donut to make it look more realistic.  The center of the plain donut was cut out using one of the small dies (for the hang hole) from the Anytime Tags die set.  I added glossy accents to the top of my frosting die cut and then sprinkled some small "sprinkles" on top.  After everything dried, I adhered the donut pieces with dimensionals.  

New Products Used: 


Previously Released Products Used:


Thanks for stopping by today!  We'll be showcasing more products tomorrow! Don't forget to leave a comment to win!  The more blogs you comment on, the better your chances are of winning!  There's plenty more inspiration to see using these sets today!  Your next stop on the hop is over to Karen's blog!

Jen Carter -- You are here!

Related Posts Plugin for WordPress, Blogger...