I love the Christmas season! I love getting into the holiday spirit and buying presents. Love the holiday smells of cider and pine. But I also love celebrating the day that Jesus was born! When I first laid my eyes on the Frantic Stamper Nativity Creche & Sheep die set I knew I had to have it! I have had an idea on a way to use it for a long time and had a really rough example sitting next to my workspace to remind me to figure out how to do it but it wasn't until now that I finally took the time to play around with the design. After a lot of readjusting I finally got the result that I wanted and I'm excited to share it with you today! I've also included a photo tutorial at the end of this post in case you'd like to replicate this idea.
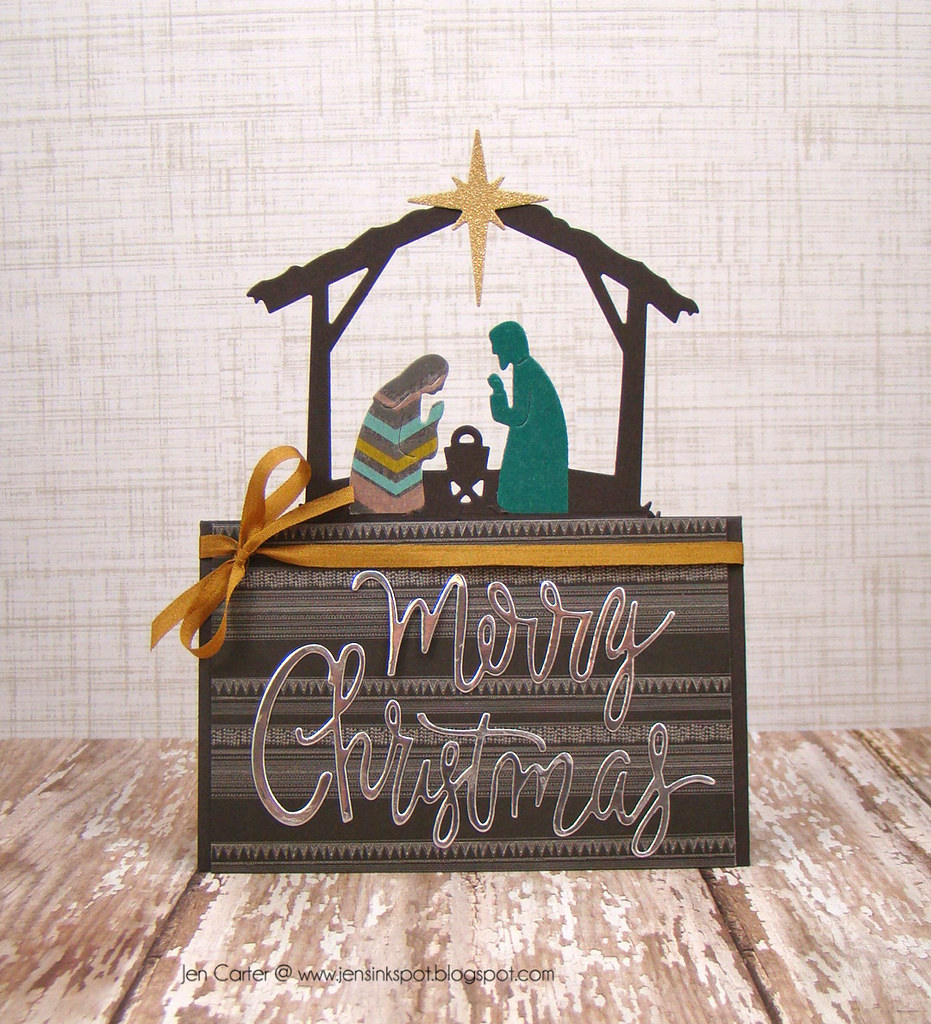
I used this die to create a pop up card. Like I said, it took a little bit of measuring and cutting before I got it just how I wanted but I love the results! I love how the focus of the card is on the nativity.
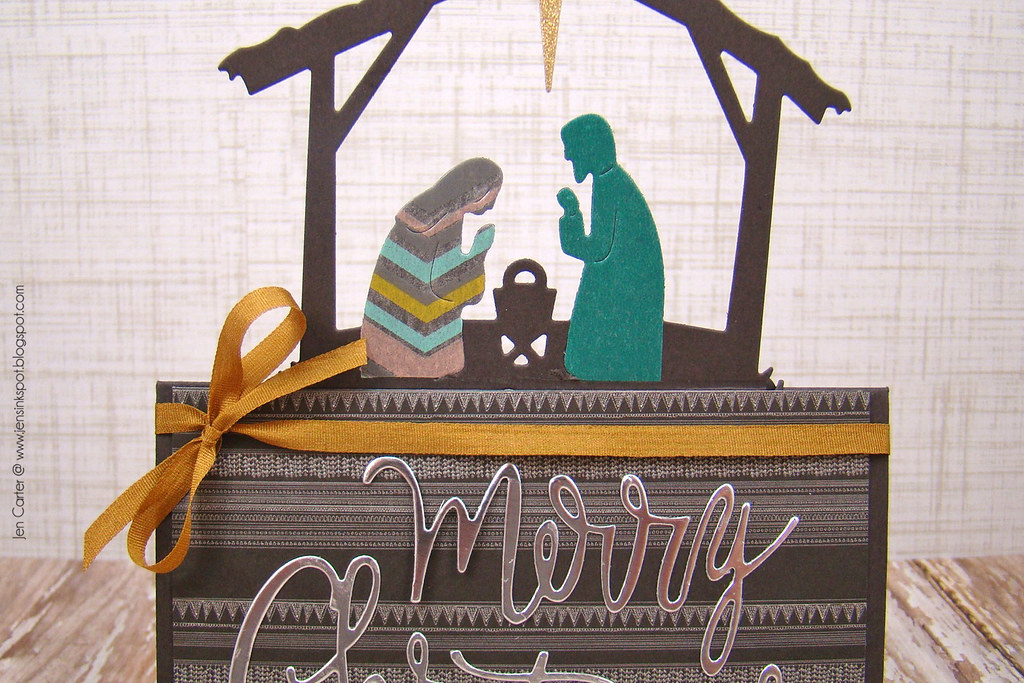
Here's a closeup of Mary & Joseph. I used strips of washi tape to highlight them as they pray over Baby Jesus. I'll show you how I achieved that below.
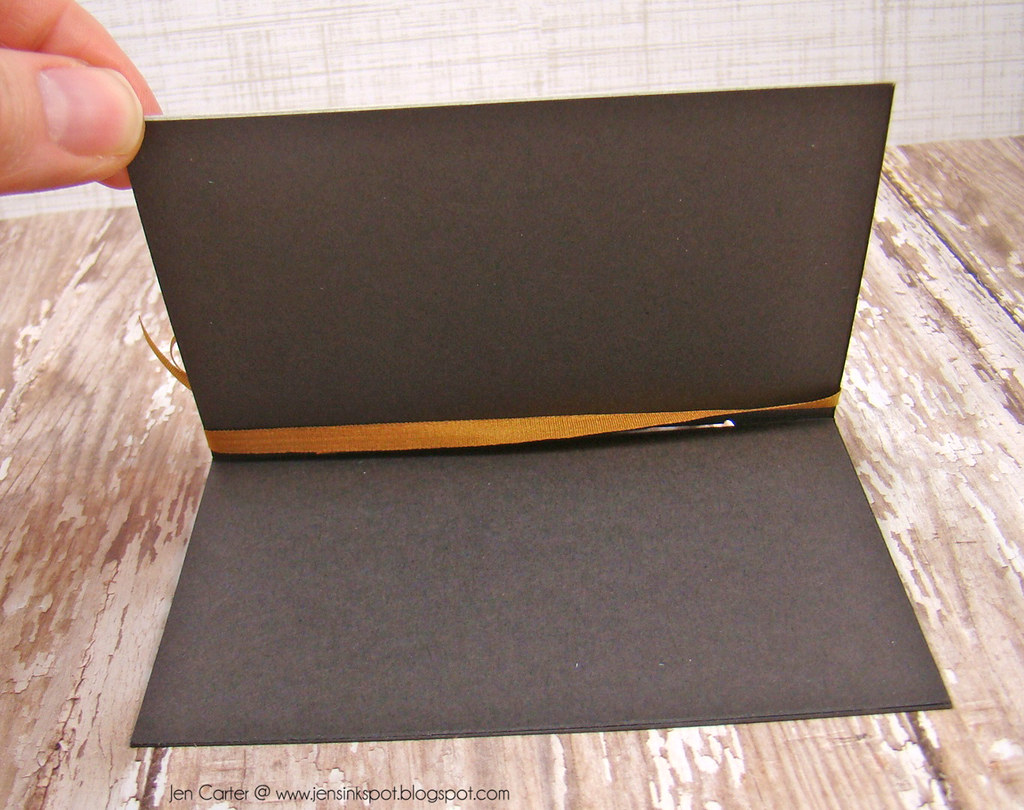
This is the inside of the card. To hide where I had cut out the nativity from the back side of the card I cut a matching piece of cardstock to the same dimensions as the card and adhered it so you can still write a message inside.
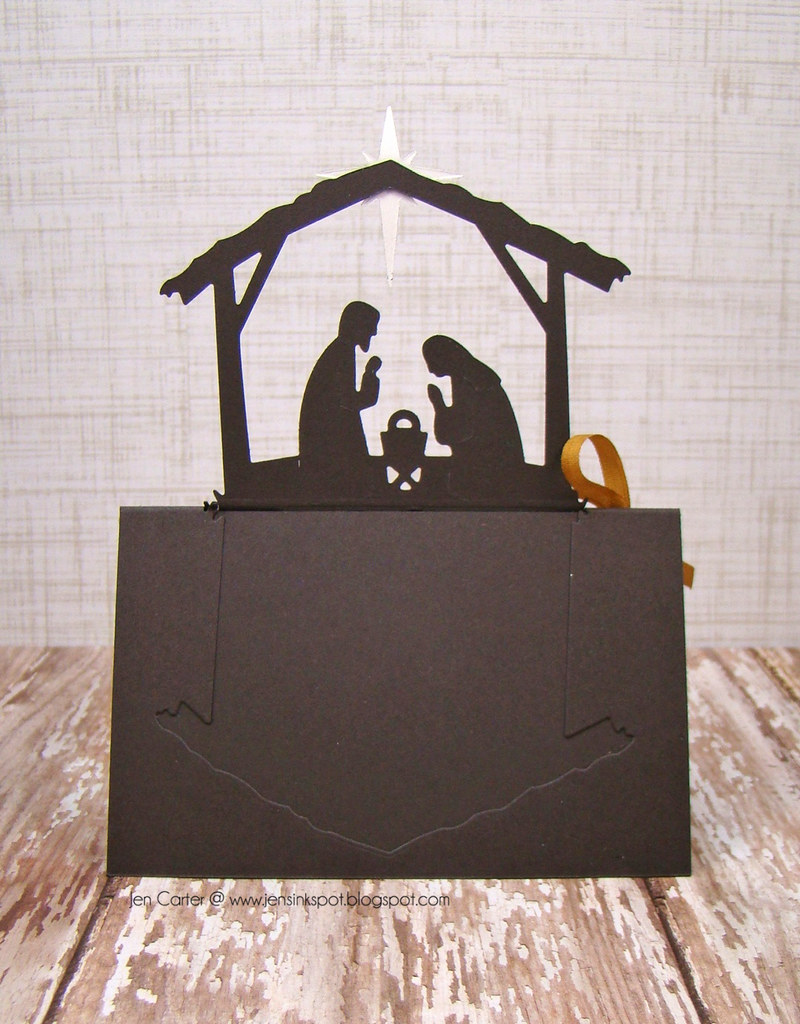
And here's the back of the card. You can see where the nativity was cut out of the backside and how the piece that I adhered on the inside also helps stabilize the card.
Here's a tutorial on how I put this card together.
First I cut my cardstock to 4 1/4 x 11 (I could have cut it shorter because I end up trimming it later, but this made it easier at the time to get my measurements right). Then I scored it at 2 3/4". This is the line where I will line up my die.
I then chose 2 pieces of thick washi tape. It's best if your tape is the same width of Mary & Joseph so I found that my skinnier tape didn't work as well. The tape I used was 3/4" wide. I used my die as a guide to where I should place my washi tape on the cardstock as shown.
I lined up the die on the scored line and then placed the cutting plate on my die cut machine just above the bottom of the die so that I wouldn't cut the shape completely out. I wanted the bottom of the nativity to still be attached to my card so that it could pop up. By placing my cutting plate above the bottom of the die, when I run it through my machine it will only cut to where I have my plate, leaving the bottom portion intact.
This is what it looks like after I ran it through my die cut machine. You can see that it didn't cut the bottom of the nativity.
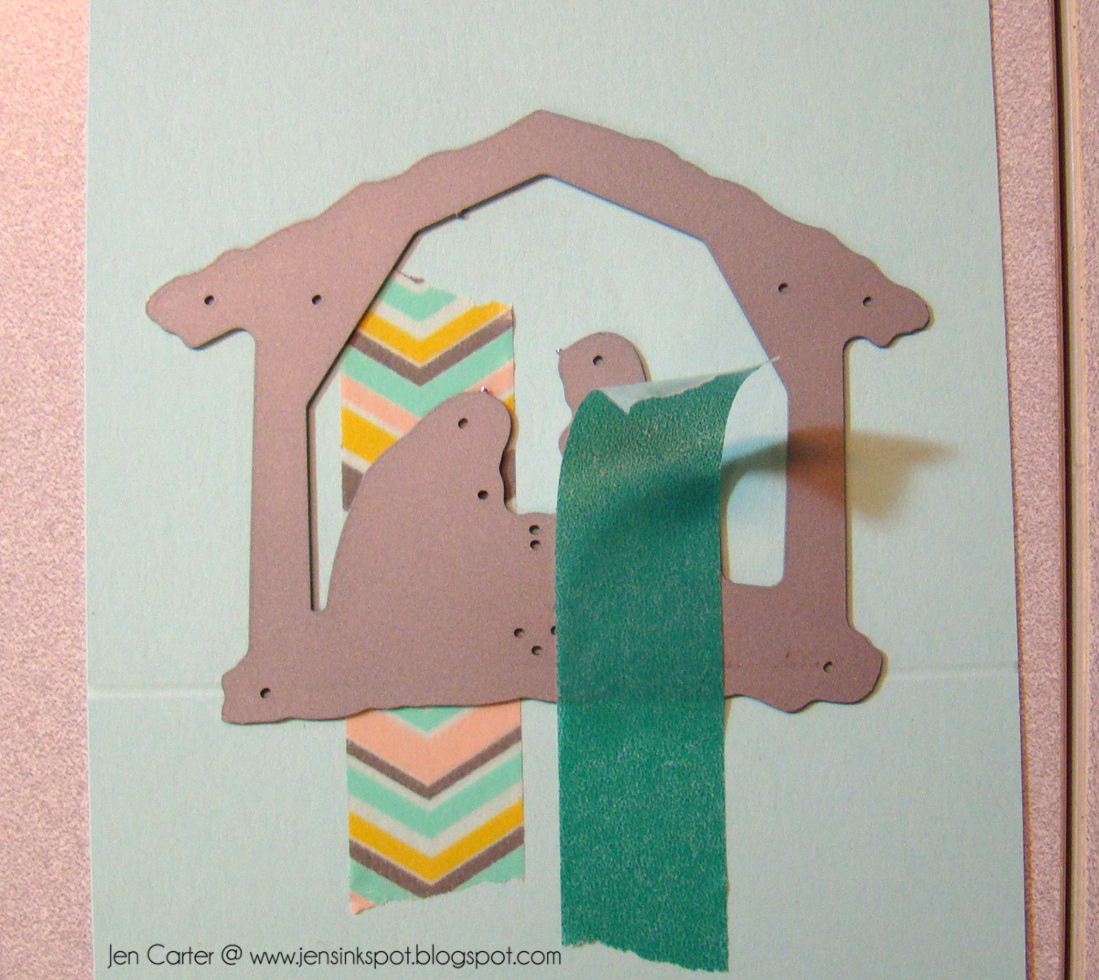
I removed the negative pieces of the die and then carefully peeled off any washi tape that was on the shape that I didn't want on my card. You can see how the tape goes farther down on my figures and over on to baby Jesus.
I took a very sharp pair of pointed scissors and gently used the tip like a knife to cut the tape in the places where I didn't want it, careful not to cut the cardstock in the process. Most of those places were almost cut for me because of the details that are already cut into the shape with the die, I just had to add a few slices here and there.
After gently peeling away the pieces that I had just cut with the tip of my scissors, this is what I had.
Now I trimmed the back side of the cardstock so that it was the same size as the front.
After trimming, this is what the card looks like when it is standing up. I tried to get my card to be about the same size as a normal card once it was cut and the star was attached but it ended up a little long. The front of this card measures 4 1/4" x 5 3/4". If I made this again, I'd adhere the star just a tad lower so it would fit in a regular sized envelope.
The inside/backside looks like this. To give it added stability to support the popped up nativity and to allow a place to write a greeting on the inside (which also "cleans up" the inside) I cut a piece of matching cardstock to place inside of the card (as shown on my card sample at the top of this post).
To the very top of the nativity, I added the Northern Star, cut out with gold glitter paper, and attached with a glue dot. I also cut out the Script Merry Christmas in Silver Metallic paper to finish the card off.
I'm entering this card in the Catered Crop Say Yes Recipe Swap challenge, which has an "Anything Goes" theme this week.
The dies I used for this project are:
Thanks for stopping by! I hope you enjoyed this card & tutorial!




3 comments:
Fabulous card; very clever use of the die, and of washi tape!
This is so so amazing! Fantastic use of these dies Jen! This card is a keeper! :)
Incredibly, creative, use of this die.
Washi tape is the perfect finishing touch. Thank you for the tutorial.
Post a Comment