Saturday, April 18, 2015

A Flying Thanks


Welcome to another ShowCASe Your Style Challenge!  This week the challenge is to make a project with "thank you" as the theme.  
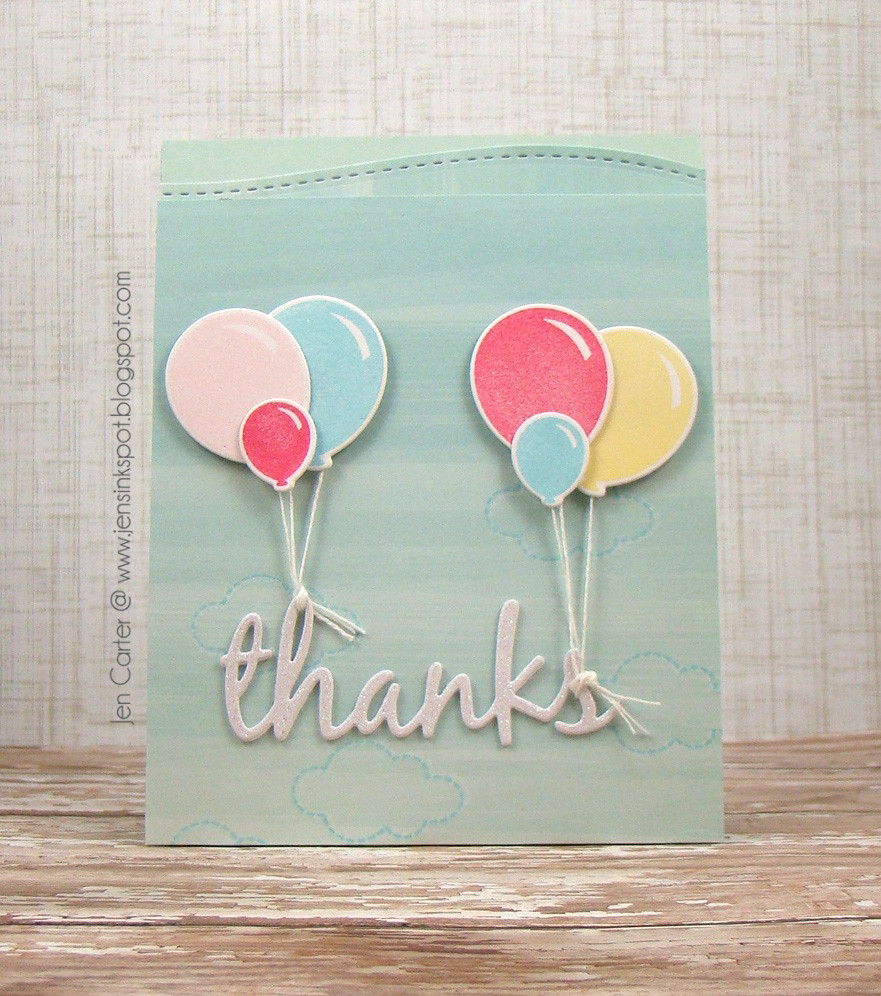
Jen Carter Whimsy Balloon Thanks SCYS13 front

I knew right away what I wanted to do for this challenge!  I started by stamping clouds from the Happy Hello set in both white and blue inks to create a shadow.  

Jen Carter Whimsy Balloon Thanks SCYS13 Closeup

I die cut the Thanks Large Word Die with glitter paper and then adhered it to a few more die cut words to make it thick so it would be easy to tie the balloons onto it without tearing. I die cut and then stamped the balloons from the  Happy Everything stamp set & the Party Time Die Set and then adhered them where I wanted with the string attached.


I hope you'll play along with us!  We would love to see your creations using stamps from the Clearly Whimsy line, but all products are welcome to be used and no one is disqualified from winning!  The challenge is open for 2 weeks.  You can link up your cards and see the other design team samples by clicking here.  There are prizes up for grabs too, so be sure to check that out!

Thanks so much for stopping by!

Wednesday, April 15, 2015

Getting the Most from One Die Cut

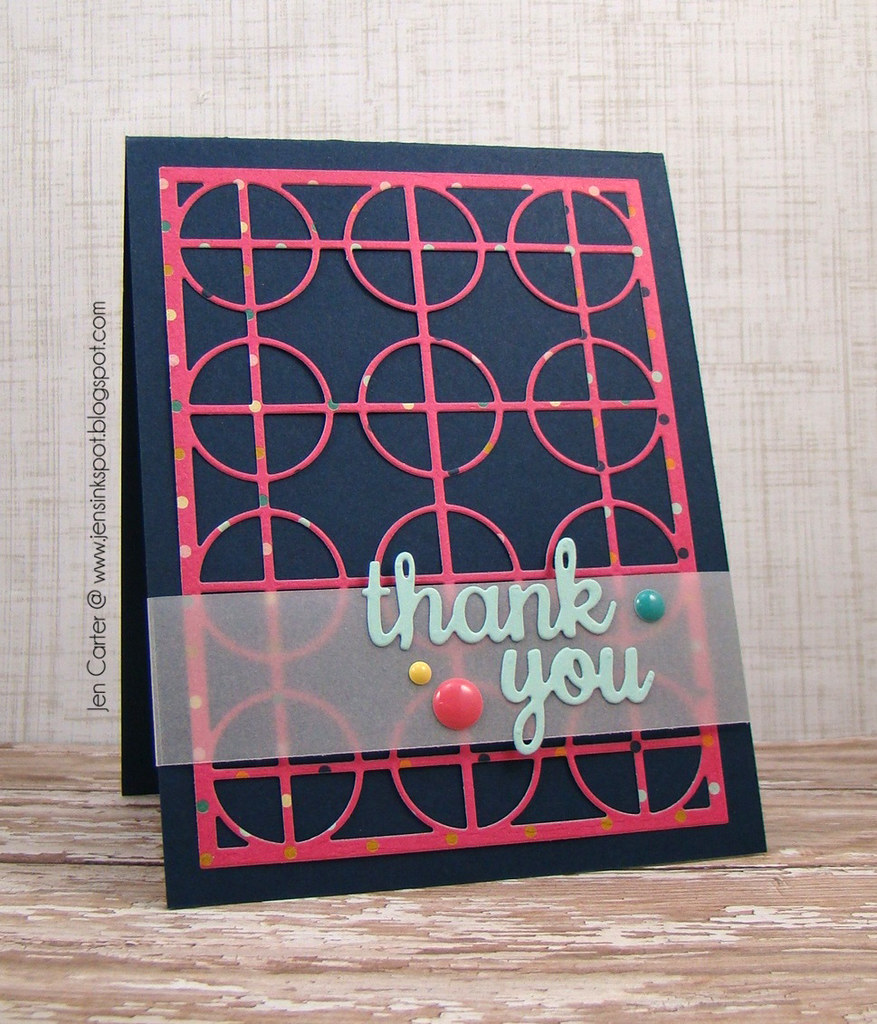
Hey everyone!  Today I wanted to share two cards I made that look totally different using the same die.  To make both cards I started by die cutting one piece of patterned paper (Flutter by Fancy Pants) with the Frantic Stamper Circle Cross Card Panel die.  I then used this one die cut to create several cards, two of which I'm sharing today and another one that I'll share at a later time.

Jen Carter Frantic Stamper Circle Thank You

For this card I used the card panel that was made after die cutting.  This card is super simple and quick to put together!  All I did was add some adhesive to the back and glued it on to my card base.

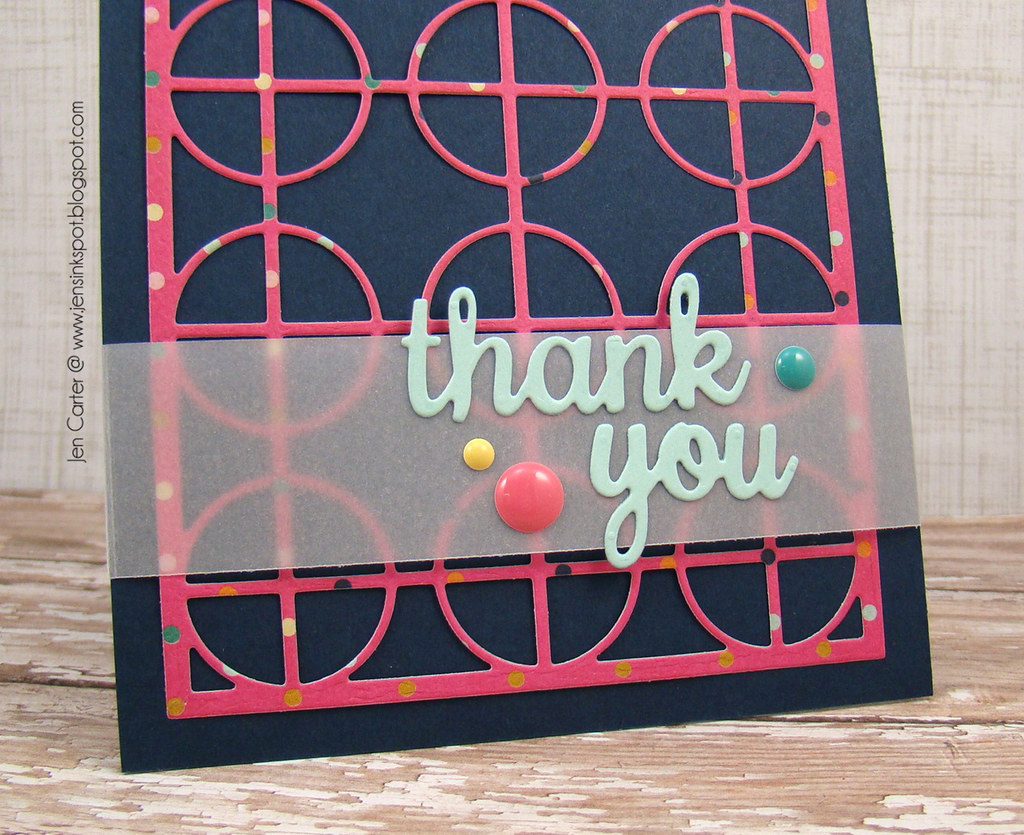
Jen Carter Frantic Stamper Circle Thank You Closeup

Next I took some vellum and wrapped it around the bottom of the card.  Here's a tip:  if you aren't sure how to adhere vellum so that the adhesive doesn't show, try wrapping it around something and then adhering it on the back side!  After the vellum was adhered I added the 'thank you" from the Accessory Words #3 die set and a few enamel dots.  Easy peasy!

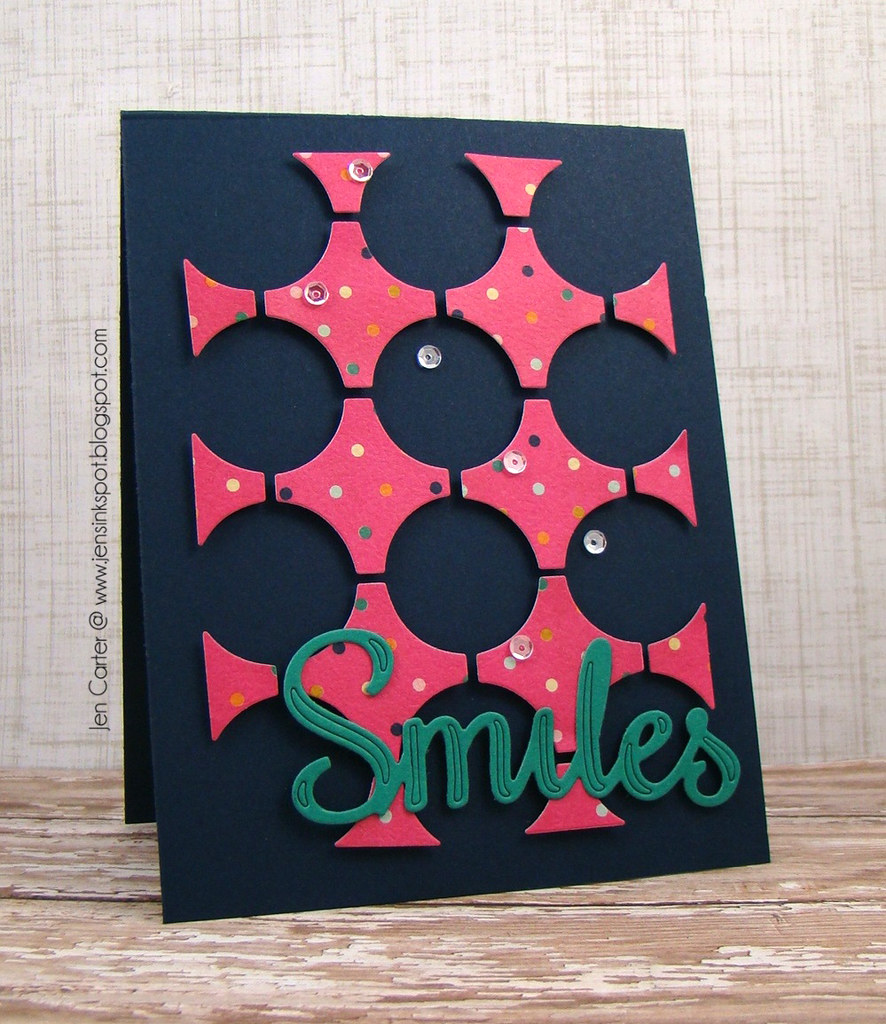
Jen Carter Frantic Stamper Circle Smiles

For this next card I used the large negative pieces that were left over after cutting the card panel.  I'm still filling up a card front using just that one die cut that I cut for the card above!  I used a cut Circle Cross Card Panel as my guide as to where to place these negative images, that I popped up with dimensionals, and then after they were where I wanted them gently lifted off the card panel piece.  

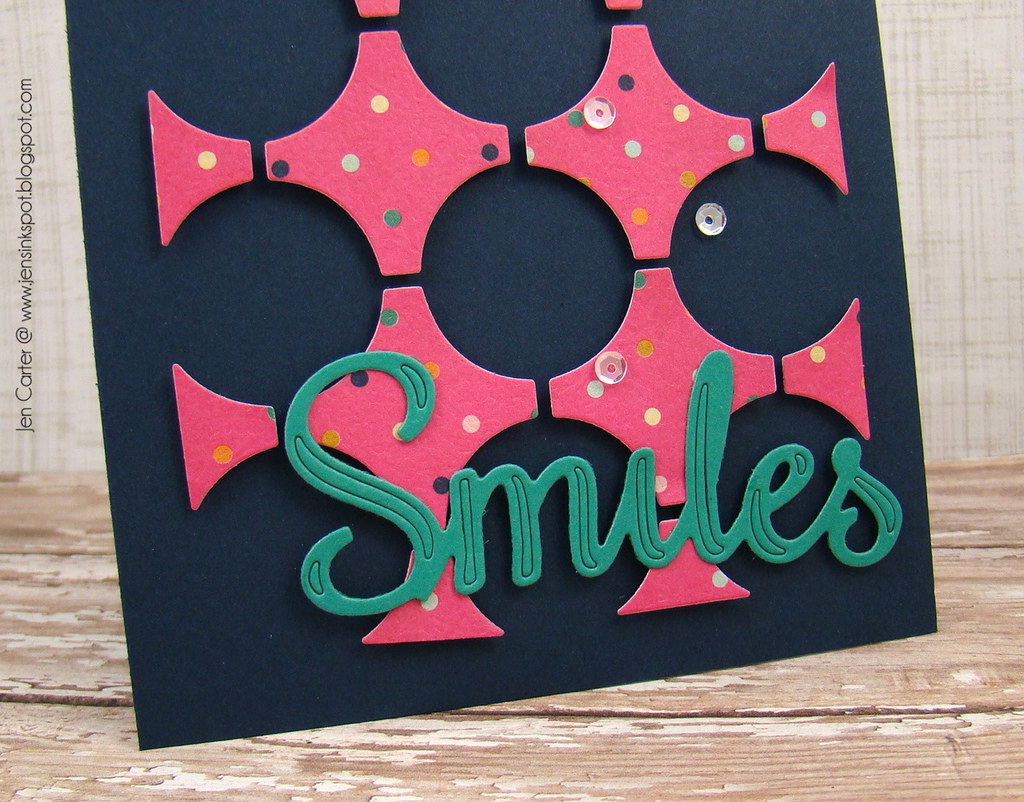
Jen Carter Frantic Stamper Circle Smiles Closeup

 I added the Smiles word die cut to the top of the pieces and then added a few clear sequins to finish the card off.  Again, another easy card!

I am entering this last card into Simon Says Stamp Monday Challenge "In the Middle".  I used the negative die pieces that were in the middle of the cut out die.


Thanks for stopping by!

Friday, April 10, 2015

Lil' Inker Monthly Meet Up #3


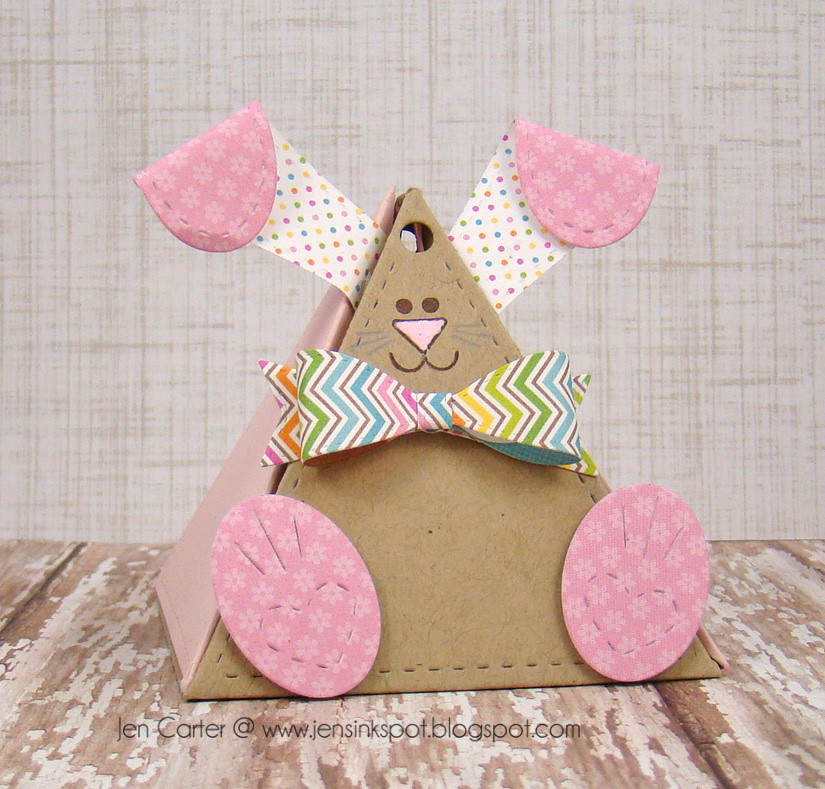
Easter may be over, but Spring is just beginning!  The sweet little triangle bunny builder die & stamp set from Lil' Inker Design is a perfect way to celebrate Spring!  It can also make a fun party favor for a baby shower!  For today's Monthly Meet Up by Lil' Inker Designs I wanted to share a cute little project I made using this unique die set.

Jen Carter Lil' Inker Bow Tie Bunny Front

I started by cutting the Triangle Treat Holder die in both Kraft & pink cardstocks.  I then stamped the bunny's face on one side with the Bunny Stamps.  I used a pink gel pen to color in her nose. 

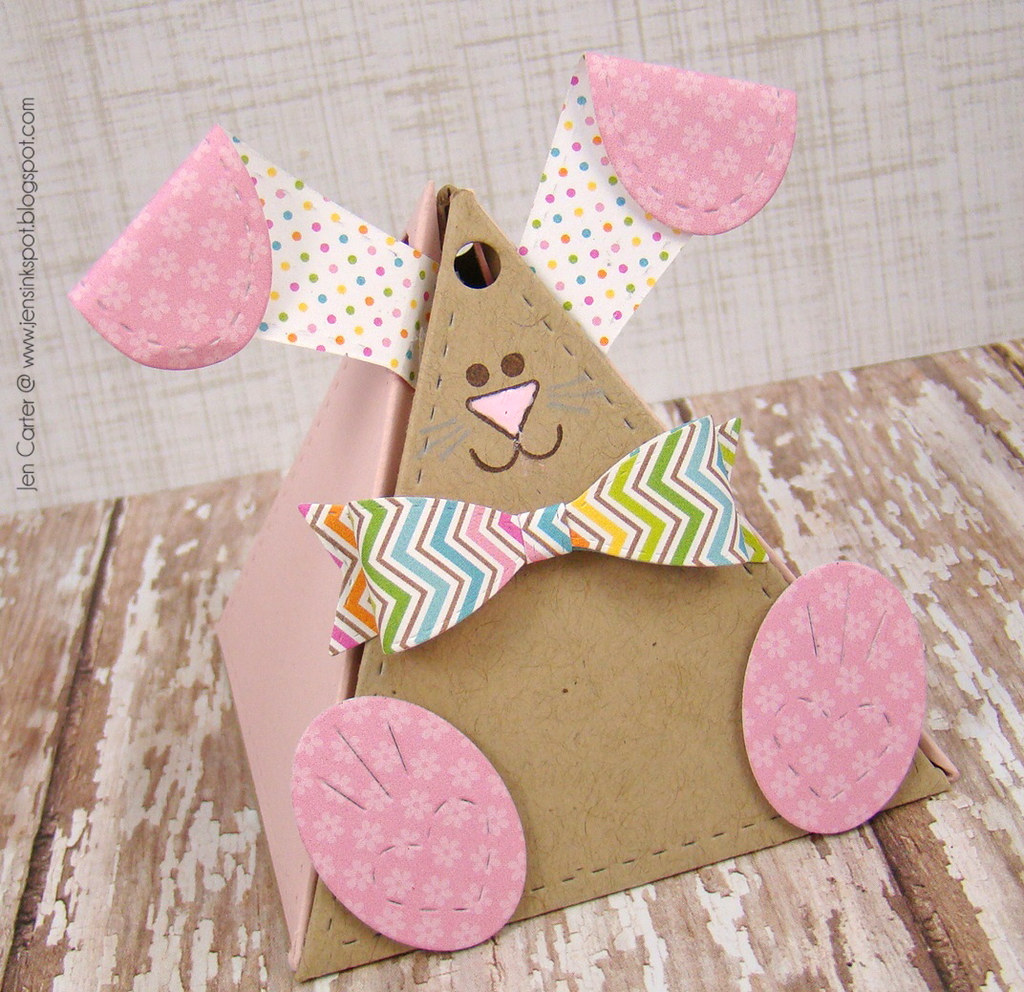
Jen Carter Lil' Inker Bow Tie Bunny

I die cut the Bunny Treats Dies with patterned paper and added on the paws & ears.  I thought that it would be fun to dress up this little bunny a little so I also die cut the Bow Die: Mini in a fun chevron pattern.  

I chose not to tie a bow for this box and instead used double sided adhesive to adhere the box closed.  
Triangle Treat Holder die w/Bunny Treats Die & Stamps

Bow Die: Mini
I hope you'll play along with the Monthly Meetup Challenge!  


Make a new project or share something you've been working on featuring LID goodies & post this project to your blog or favorite gallery. Link your project to our challenge by using the InLinkz tool on the monthly post on the Lil' Inker Designs blog.  You have through April 18th at 11:30 PM EST to link your project to be eligible to win a prize. Projects should exclusively feature LID goodies to be eligible to win but do not need to exclusively feature LID goodies to join our Meetup. I'm excited to see what you create!

Thanks for stopping by!

Wednesday, April 8, 2015

What's the Scoop?

Hi!  Today I have a quick & easy card to share with another new die & clear stamp set from Frantic Stamper!

Jen Carter Ice Cream Cone Frantic Scoop

Sometimes I need a super quick card that I can make easily.  This is one of those cards!  

To make those diamond edges I used a cool new die set called Open Borders.   This die is really unique in that it only cuts the shapes & nothing else so you can add it anywhere! 

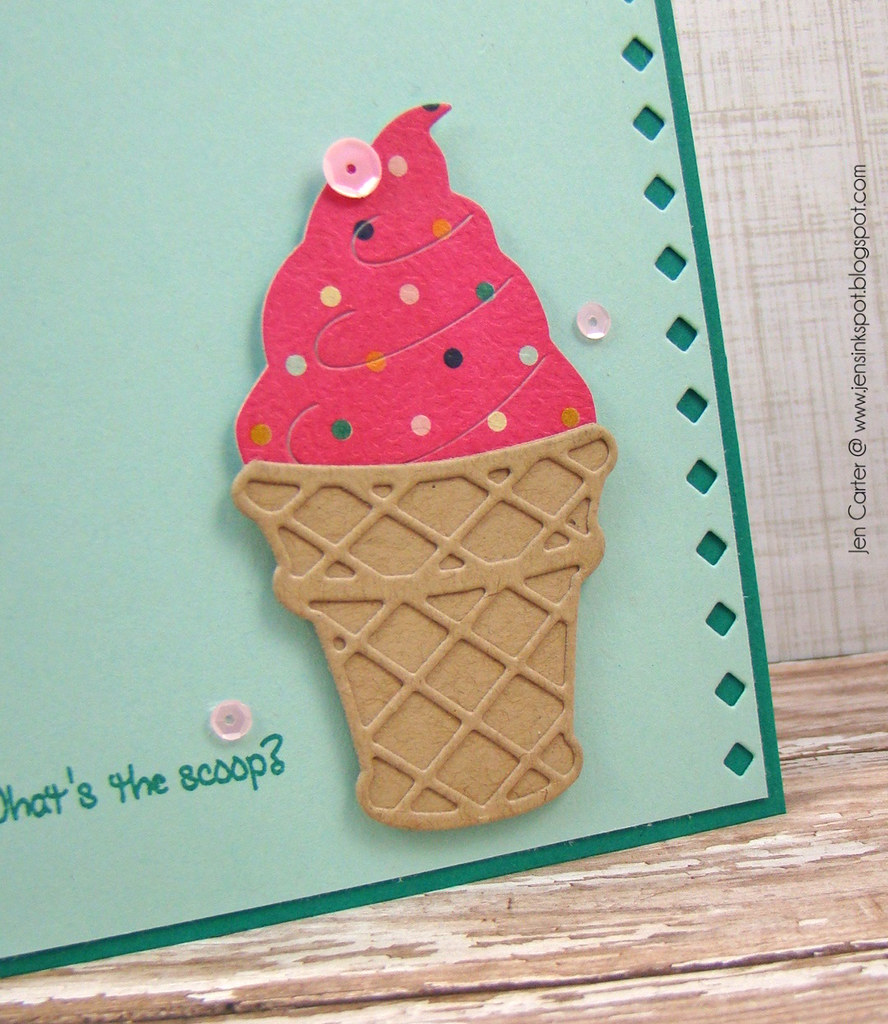
Jen Carter Ice Cream Cone Frantic Scoop Closeup


I love this new ice cream cone die from Frantic Stamper! The cone part is two dies so it is SO easy to layer!  I cut both the waffle part and the base with Kraft cardstock. For the ice cream I chose a fun patterned paper and then added some sequins to it.  I really like how the die cuts the swirls into the ice cream to make it look more realistic.  And peaking off of this photo you can also see a new sentiment that will be released on April 9th!  Frantic Stamper is releasing their very own brand of clear stamps!  Yea!  This sentiment is from the How Sweet It Is stamp set.  

How Sweet It Is (Coming April 9th!)


Thanks for stopping by!

Related Posts Plugin for WordPress, Blogger...