Saturday, May 2, 2015

ShowCASe Your Style Challenge #14

Welcome to another ShowCASe Your Style Challenge!  This week the challenge is to make a project using the color combination shown at the end of this post.

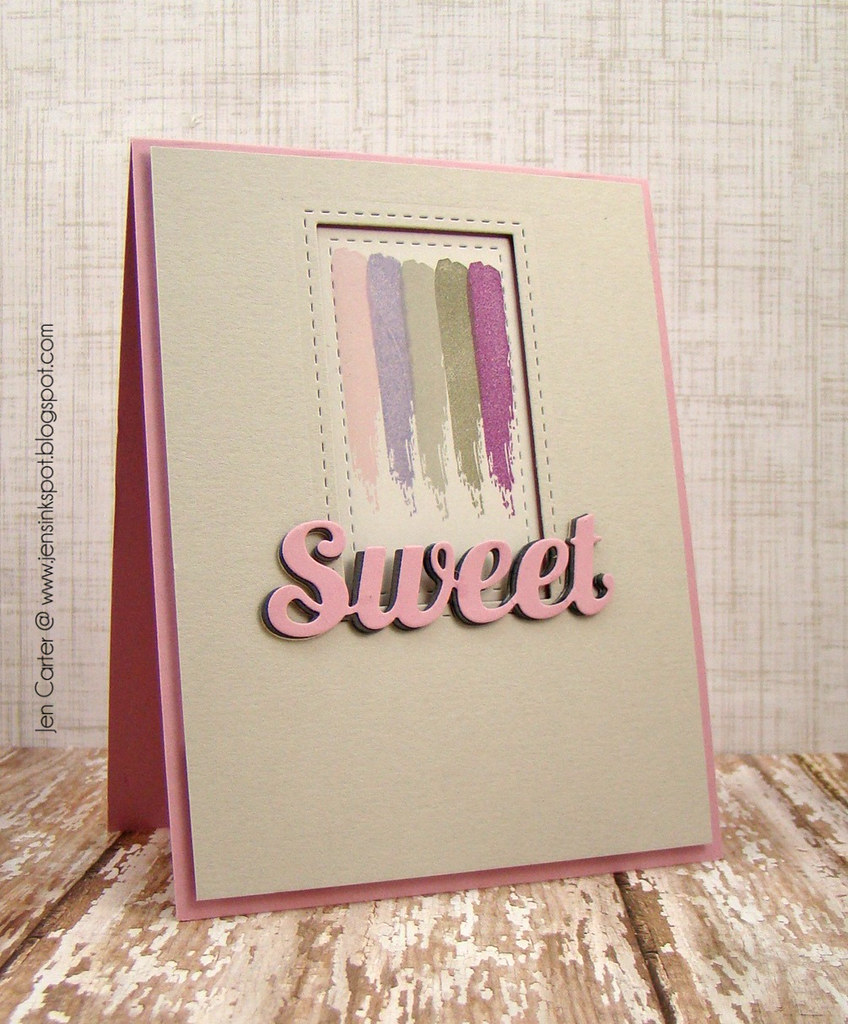
Jen Carter Whimsy SCYSC12 Sweet

I took this challenge pretty literally.  When I saw the graphic I thought it would be perfect with Clearly Whimsy's Distressed Backgrounds & Ink Splats stamp set.  After cutting out the panel, I stamped one of the background images with 5 different colors of purple & gray ink.

Jen Carter Whimsy SCYSC12 Sweet Closeup

I really like this Sweet as Candy Large Word die from Clearly Whimsy!  I cut it out twice and offset the top die just a hair to create a little colored shadow.


I hope you'll play along with us!  We would love to see your creations using stamps from the Clearly Whimsy line, but all products are welcome to be used and no one is disqualified from winning!  The challenge is open for 2 weeks.  You can link up your cards and see the other design team samples by clicking here.  There are prizes up for grabs too, so be sure to check that out!

Thanks so much for stopping by!

Supplies
Stamps: Clearly Whimsy Distressed Backgrounds & Ink Splats
Inks: Avery Elle Sugar Plum & Fog, PTI Winter Wisteria, Amuse Sugar, Fresh Ink Provincial Gray

Wednesday, April 29, 2015

Skyline Scenes

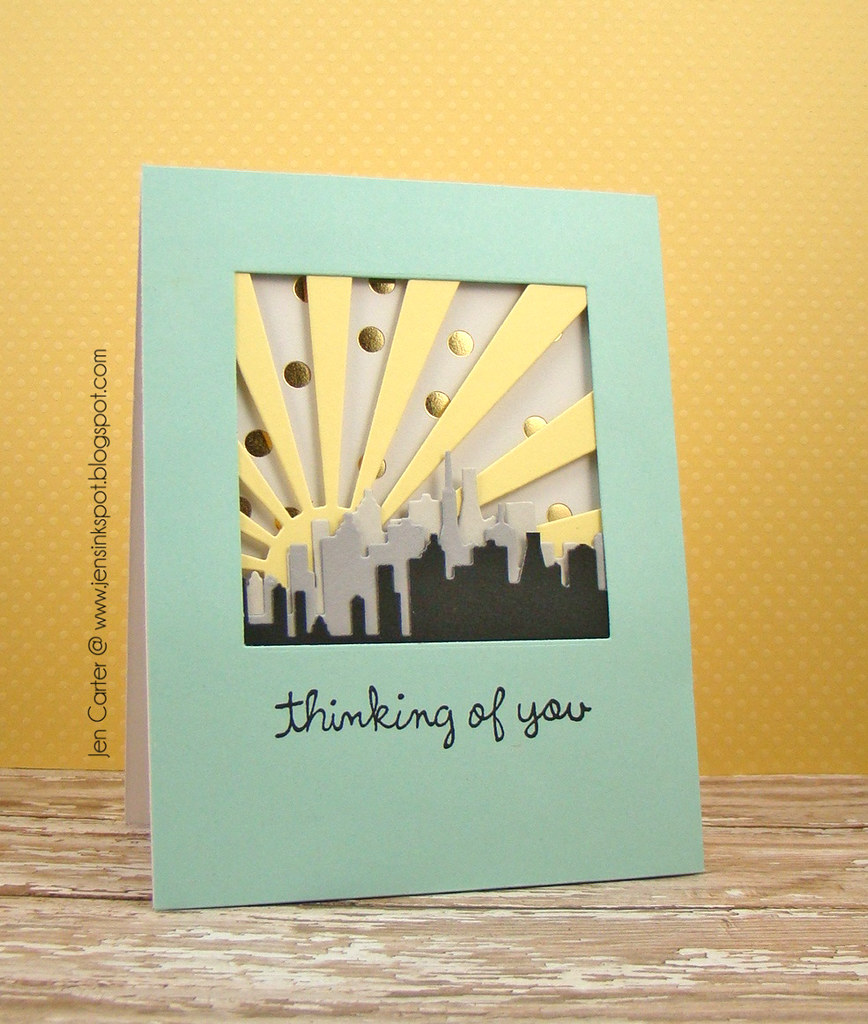
Today I have a card to share using a new die that I really like!  I don't know what it is about houses, buildings & skylines but I really like using them on cards and when I see them they draw me in! When I saw the new San Francisco Cityscape die (available May 1st) from Frantic Stamper I knew I wanted to use it right away!

Jen Carter FS Skyline 1

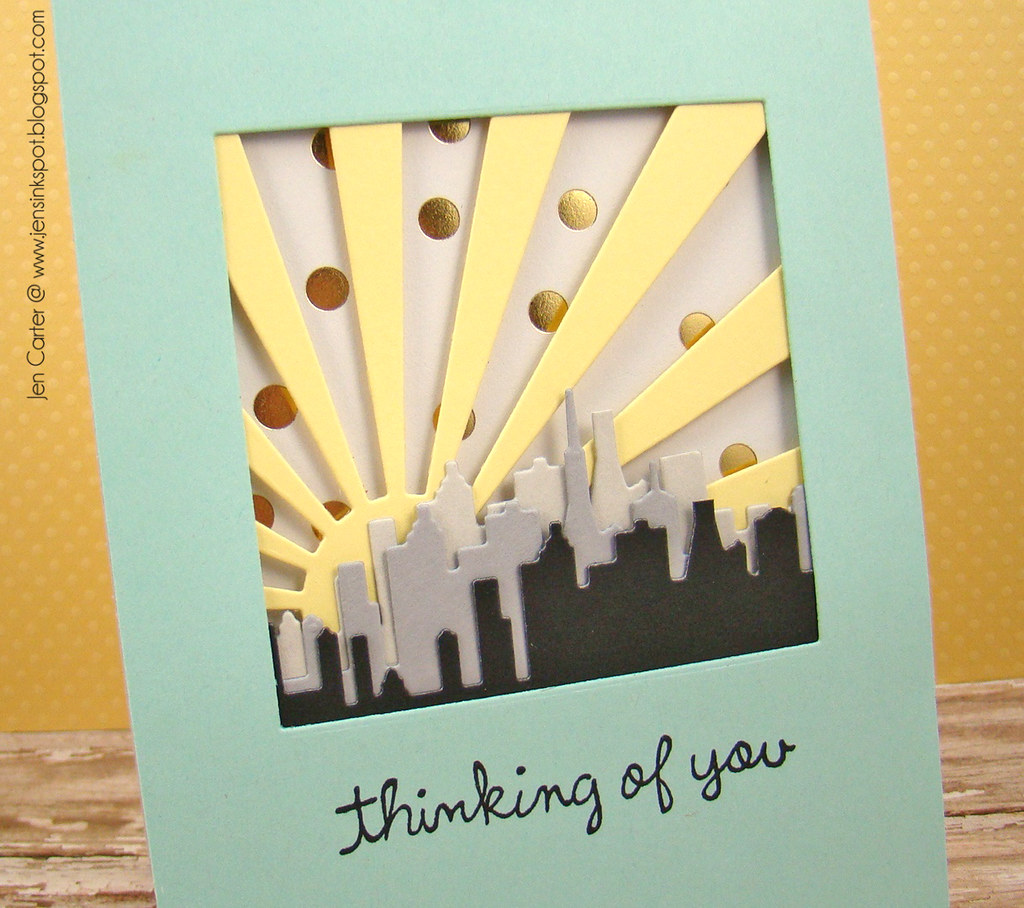
For this card I first die cut a square out of my card front to make a window.  I then die cut three cuts of the San Francisco Cityscape die in different colors of black/gray.  I lined each of the cityscape pieces up so that they overlapped and trimmed off the tops of a few of the buildings so that they would look a little different from each other.  I then adhered the Sunburst Card Panel Die behind those three pieces.  

Jen Carter FS Skyline Closeup 1

I popped the entire card front up with dimensionals and layered some gold metallic dotted paper (On Trend by My Mind's Eye) behind the piece for an extra pop.  The sentiment is from Lawn Fawn's Sophie's Sentiments set.


Thanks for stopping by today!  Have a great day!

Monday, April 27, 2015

Petal Card Die Four Ways + Video Tutorial

Hello everyone!  I hope you had a wonderful weekend.  They tend to go so fast don't they!?  

Today I have a few projects to share with you using products from Lil' Inker Designs newest release and I have a video to show you how to put together the projects!  

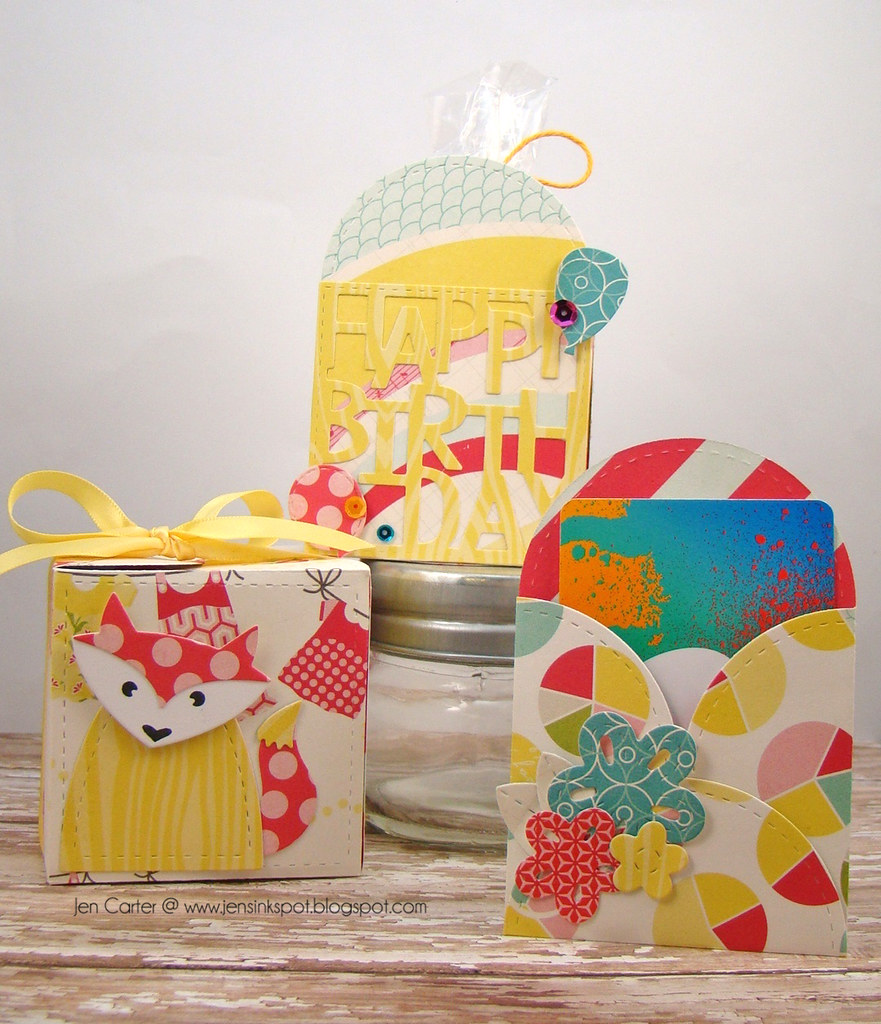
Here's a sampling of the projects in the video.  I'll show more up close photos below.

Jen Carter Petal Card Die Group

In the video I will show you how to make four projects using the Petal Card die from Lil' Inker Designs.  I haven't made many videos, so I feel like I need to say that this isn't perfect, but it's a start.  :)  I'm learning as I go!


Along with the traditional Petal Card (Idea #1), there are 3 other project ideas shown in the video.  Here's some still shots of the projects featured in the video along with the ideas of different ways to use the Petal Card die.

Jen Carter Petal Card Die Envelope 1

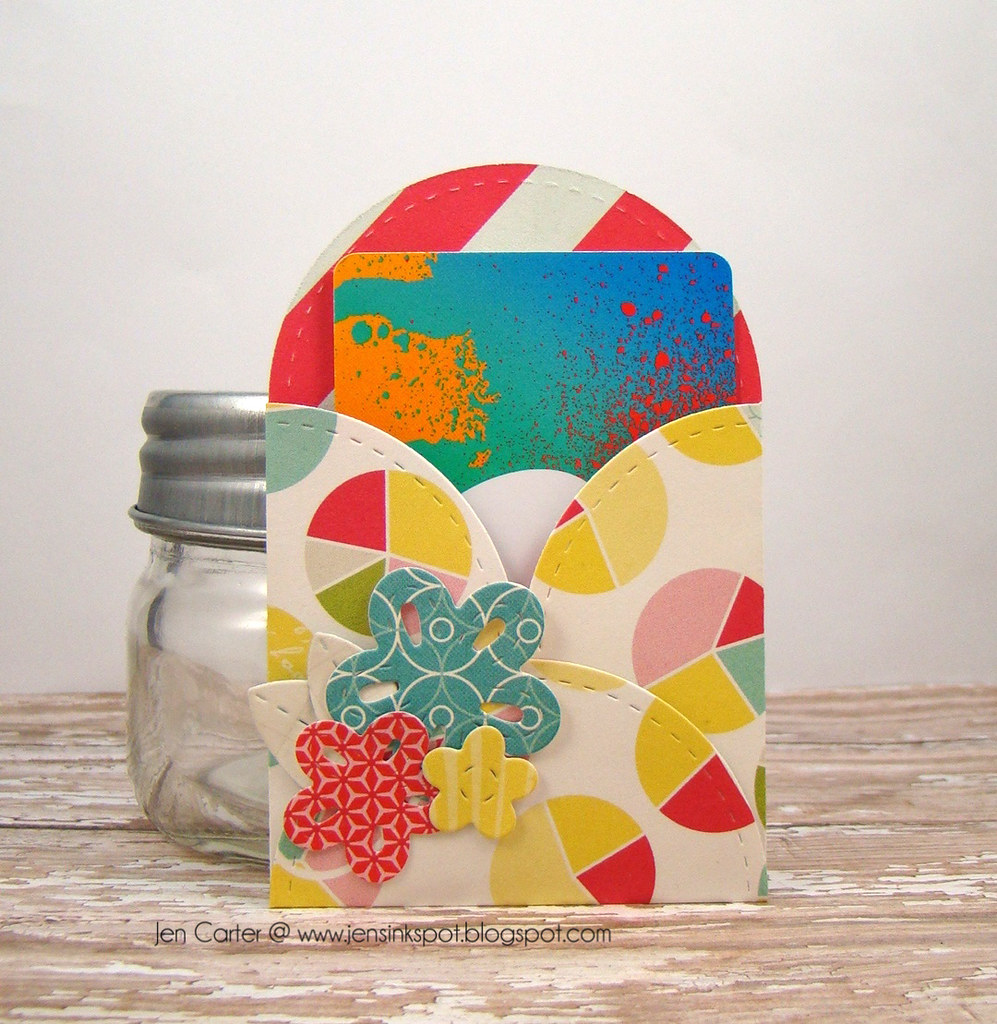
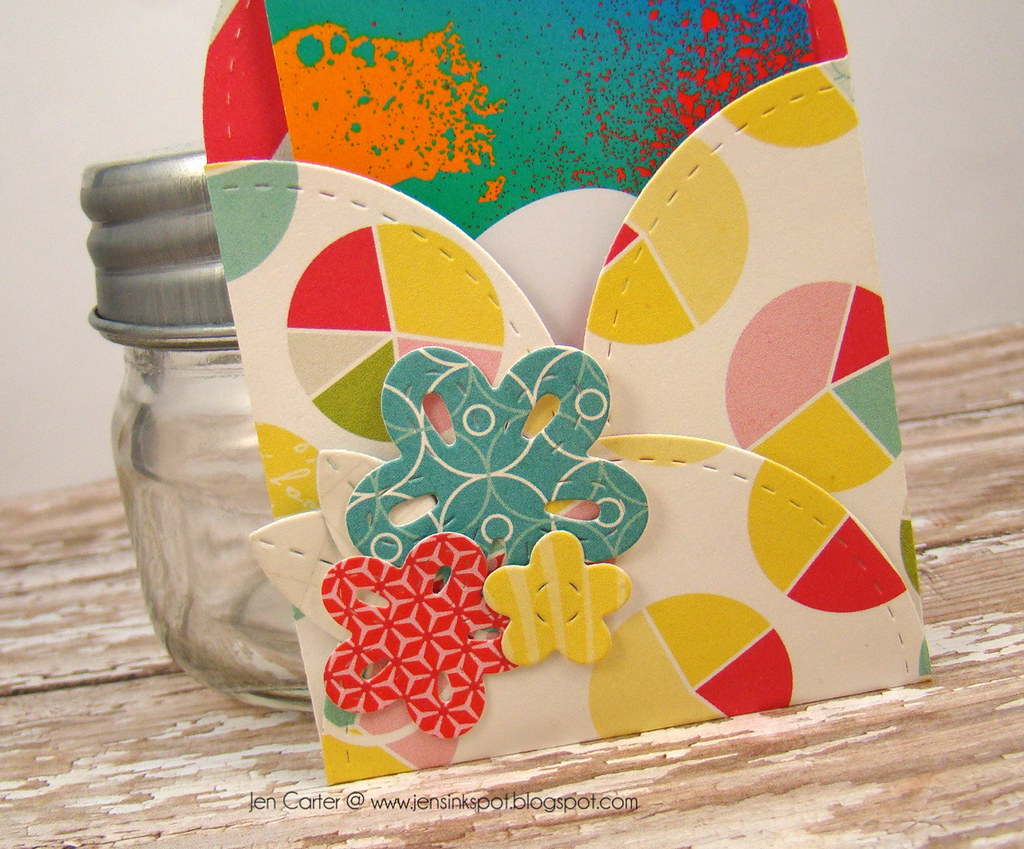
Idea #2: Pocket Card
This box requires one cut from the Petal Card die.

Jen Carter Petal Card Die Envelope Closeup

Lil' Inker Designs Dies Used:
Petal Card die
Perky Posies Die Set

Jen Carter Petal Card Die Box 2

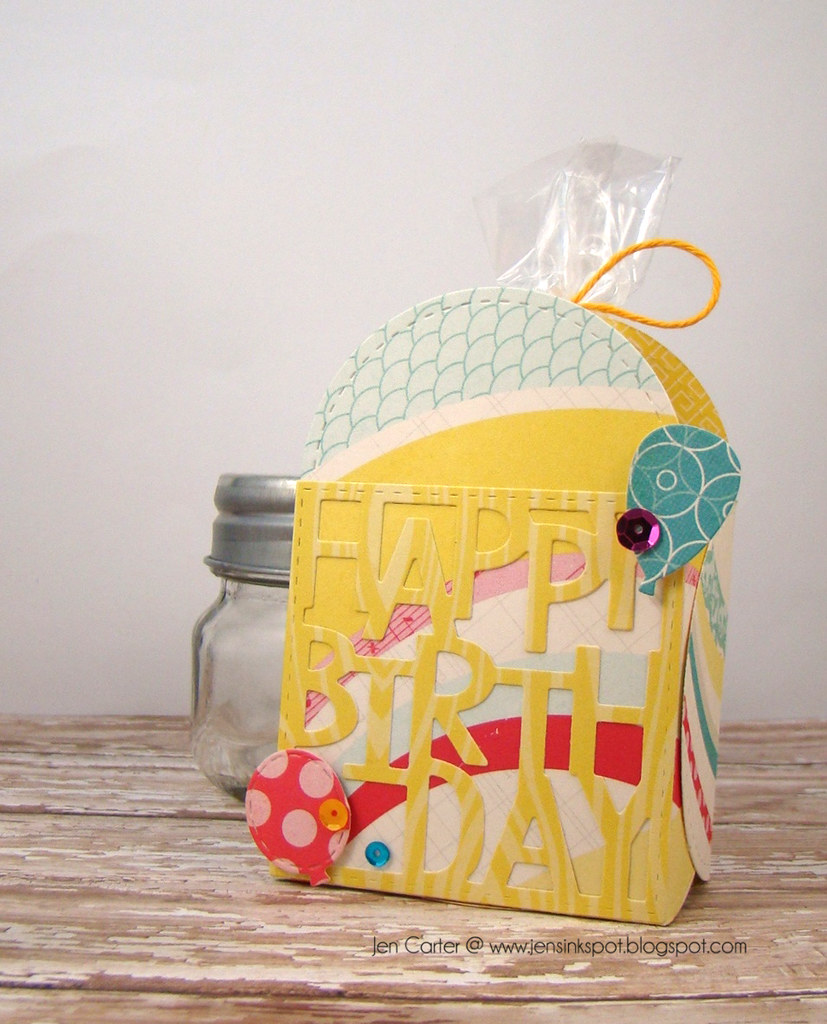
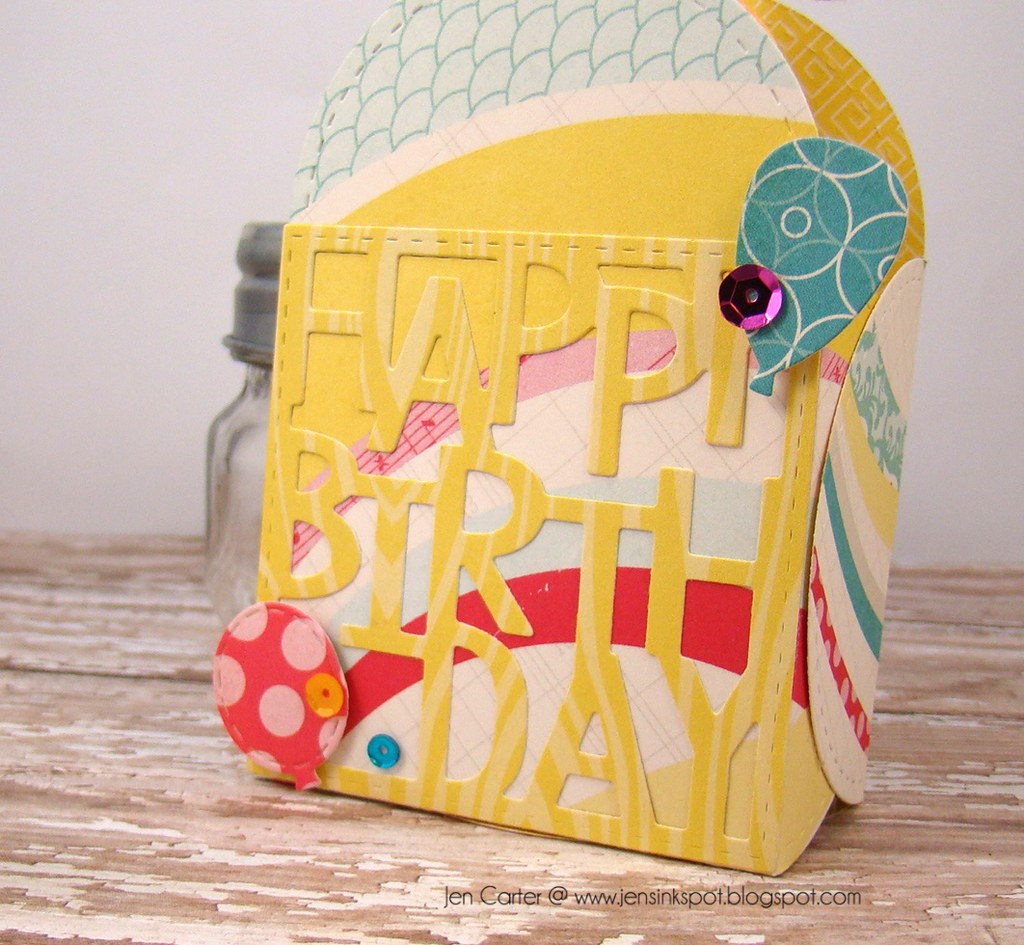
Idea #3: Small Gift Box
This box requires two cuts from the Petal Card die.

Jen Carter Petal Card Die Box Closeup

Lil' Inker Designs Dies Used:
Petal Card die
Boxed Up Birthday Greetings Die
Balloon Dies
Stitched Mats: Dual Stitched Squares

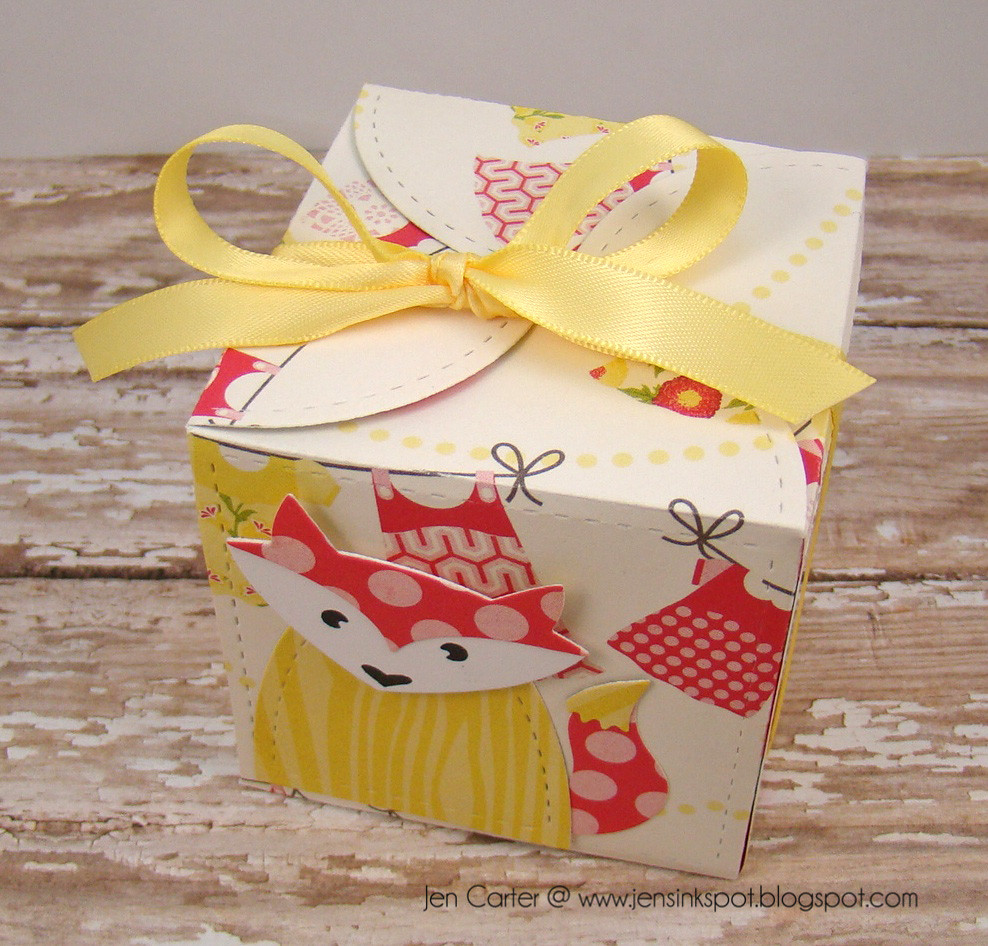
Jen Carter Petal Card Die Fox Box 1

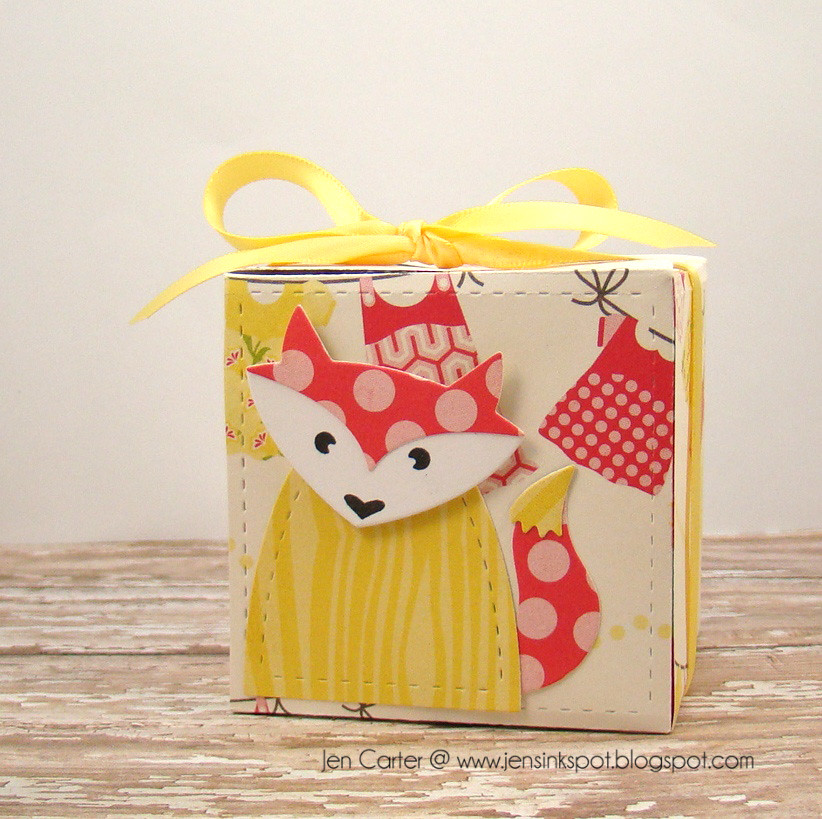
Idea #4: Large Petal Top Box
This box requires four cuts from the Petal Card die.

Jen Carter Petal Card Die Fox Box Above

Lil' Inker Designs Dies Used:
Petal Card die
Hey, Foxy Dies

Tip #1:  The Petal Card die is PERFECT for using up your stash of older papers!  That is how these projects started out!  I got into my drawer FULL of papers that I hadn't used and I just started cutting & cutting & cutting!  I wanted to use up papers I like but don't use anymore!  You can make LOTS of  boxes and you'll never even miss the paper because it's in your "older" pile! :)  I bet I cut 40 - 50 petal cards out with this challenge to myself in mind!  The paper featured in this video is paper I've had for several years and is called Sweet Girl from Echo Park by Lori Whitlock.  

Tip #2:  Try to use papers with a pattern on both sides so that you have visual interest on both the outside & inside of your projects!

I'm going to enter the last box in the Simon Says Stamp Anything Goes Monday Challenge!

Thank you for visiting my blog!  I hope you enjoy this video!  Let me know if you have any questions!  I hope your day is full of blessings!

Friday, April 24, 2015

Four Cards: One Main Die


Last week I shared two cards that I had made using one die.  Today I am sharing two more using the same die and one of them uses left over pieces from the first two cards.

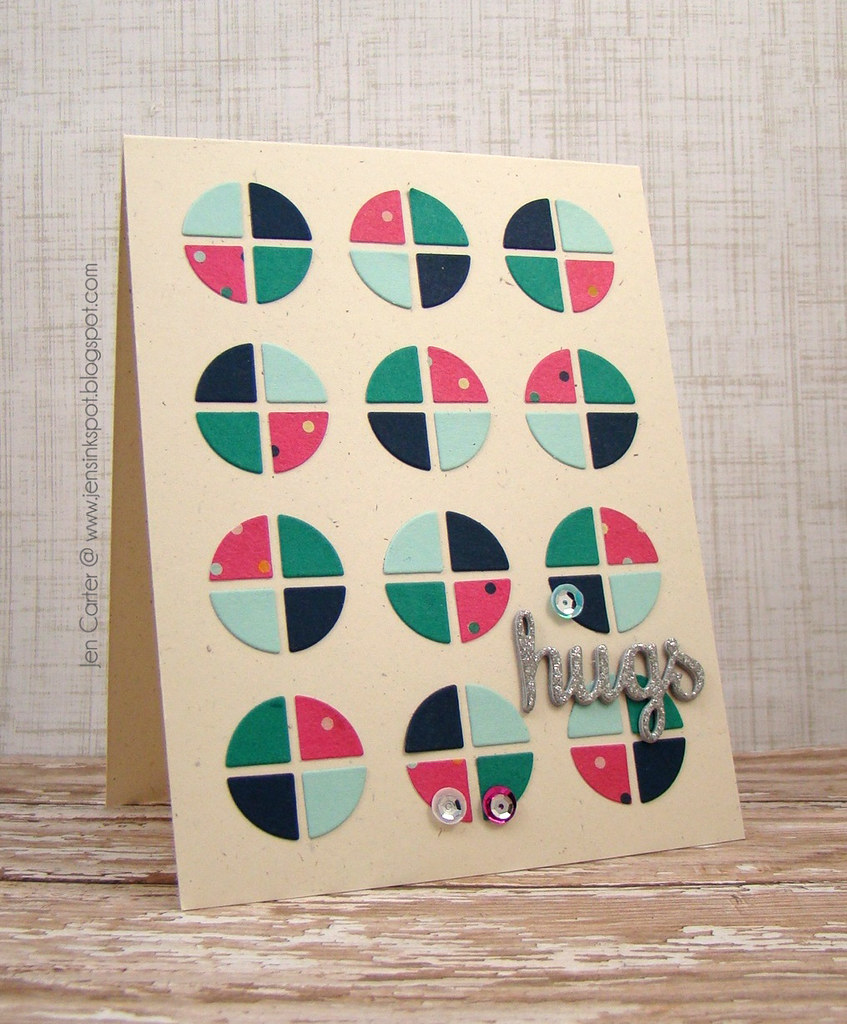
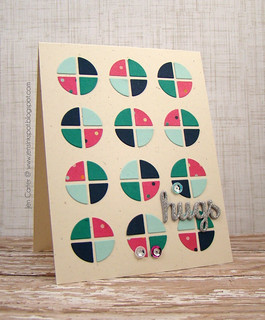
Jen Carter Frantic Stamper Circle Hugs

For this card I used the circle pieces that were left over after cutting cardstock using the Frantic Stamper Circle Cross Card Panel die.  I shared these two cards that I also made using the pink patterned paper from the same cut earlier.  For this card I also die cut the Circle Cross Card Panel die with teal, navy & aqua cardstocks. 

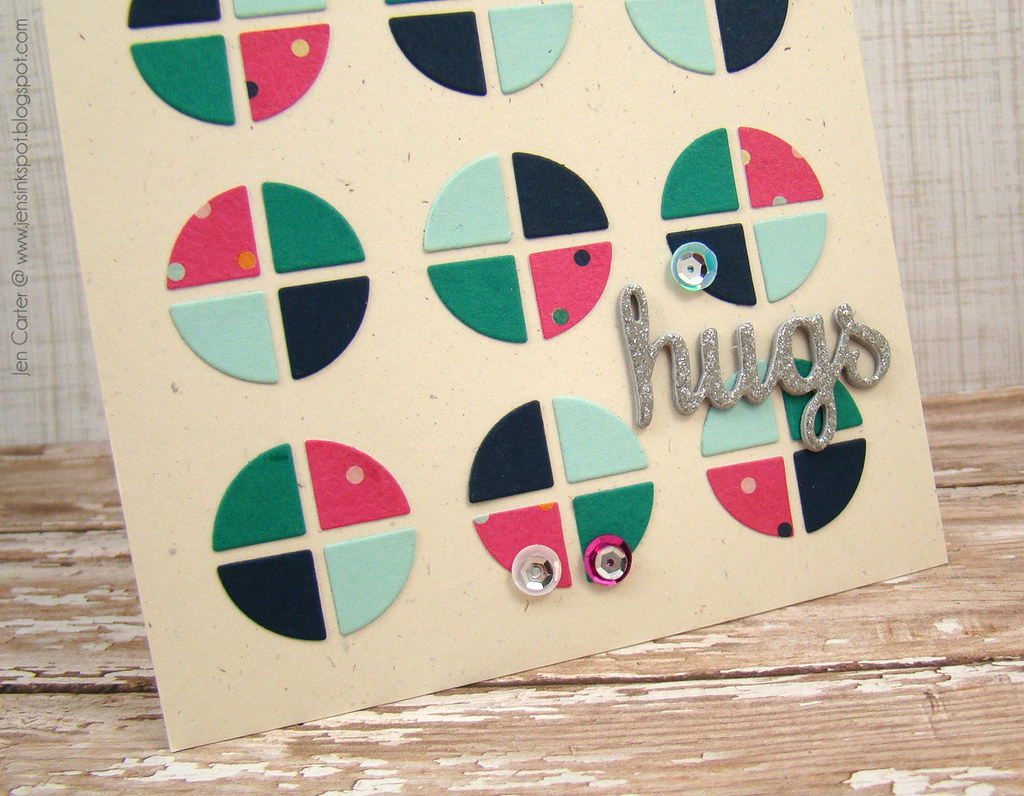
Jen Carter Frantic Stamper Circle Hugs Closeup

To make sure I positioned the circle pieces evenly I used one of the left over "grids" after diecutting and placed it on my cardstock as a guide.  After each triangle circle piece was glued into place I carefully removed the grid.  I added the hugs sentiments from the Accessory #3 die set and a few sequins (doubled up) to finish the card off.

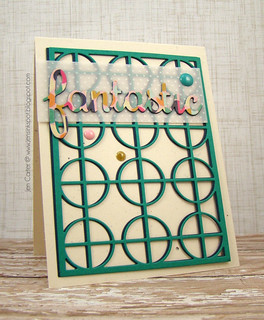
Jen Carter Frantic Stamper Circle Fantastic

Since I ended up die cutting the Circle Cross Card Panel die three more times, I used two of the grids on this card.  I just positioned them slightly off center from each other to form a shadow when I placed them on my cardfront.

Jen Carter Frantic Stamper Circle Fantastic Closeup

I die cut the Fantastic word die with patterned paper and then attached it to a piece of polka dotted vellum.  Again, I added a few enamel dots to finish the card off.  

So there you have it, four cards with one main die!

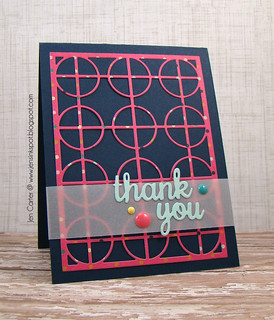
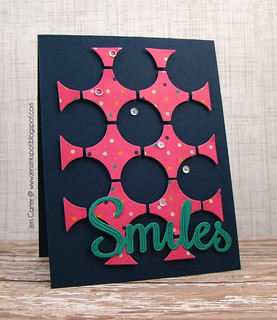
Jen Carter Frantic Stamper Circle Thank You Jen Carter Frantic Stamper Circle Smiles

Jen Carter Frantic Stamper Circle Hugs Jen Carter Frantic Stamper Circle Fantastic

I hope you enjoyed these ideas! Thanks for visiting!
Related Posts Plugin for WordPress, Blogger...