Monday, March 30, 2015

Pop Up Dies Video #2 & a Giveaway!

Hello everyone!

I have another card & video to share today.  I told you a few weeks ago when I shared a video on how to use the Frantic Stamper Pop Up Bases dies that I would make another one to show how to use a few more dies in the die set.  Also, there is information on a giveaway where you have the chance to win the Pop Up Bases dies & some other fun dies from Frantic Stamper below!

So, first here is my card and then the video will follow.

Jen Carter Cupcake Pop Up 1

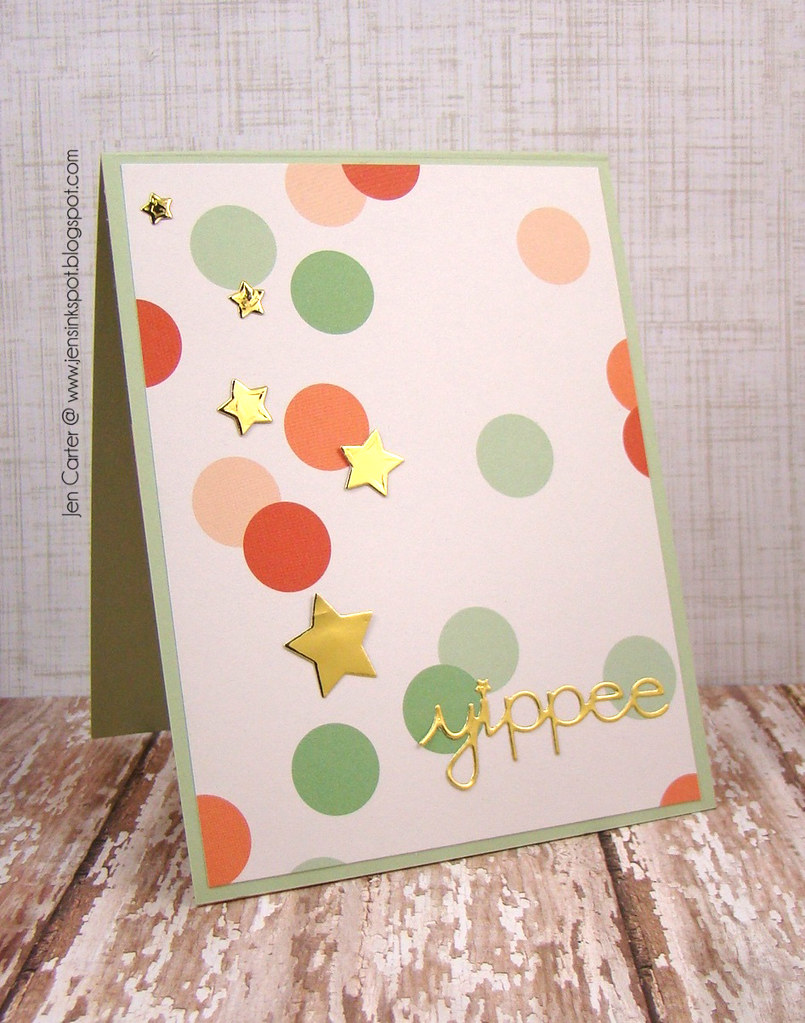
Here's the front of my card.  I kept it pretty simple because I want the impact to be on the inside.  I used a dotted patterned paper and then added in gold stars & a gold die cut sentiment from Frantic Stamper.

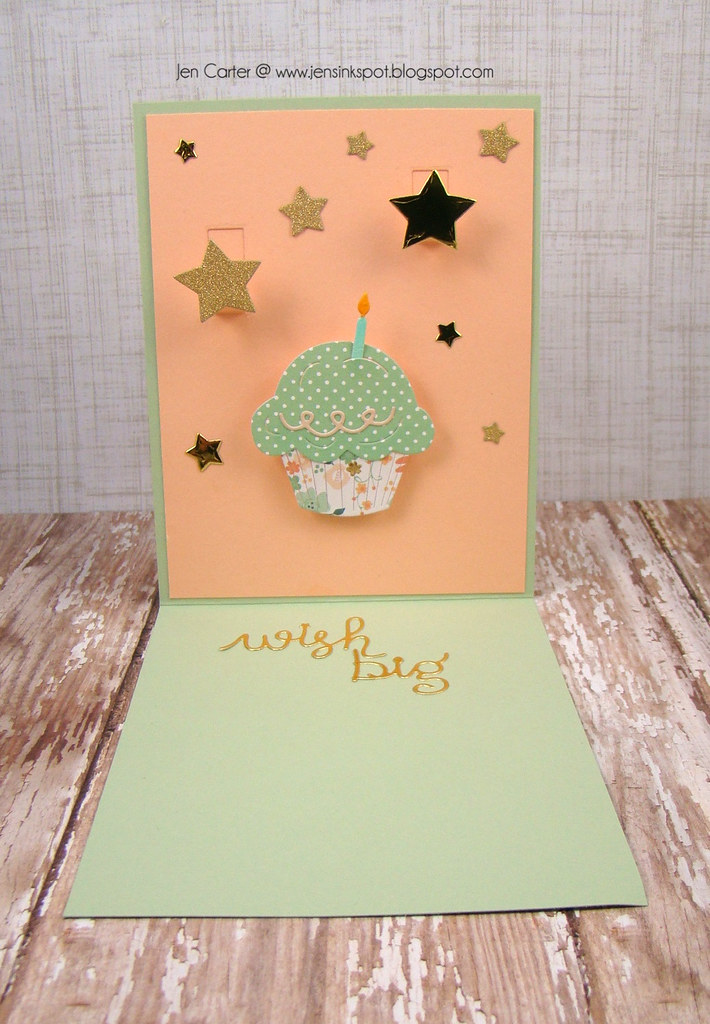
Jen Carter Cupcake Pop Up Inside 1

This is the inside.  I used the 3 little rectangle dies from the Pop-Up Bases die set to pop up the cupcake and the two largest stars.  The cupcake dies are a new die set from Frantic Stamper called Delicious Cupcake.

Jen Carter Cupcake Pop Up Inside 2

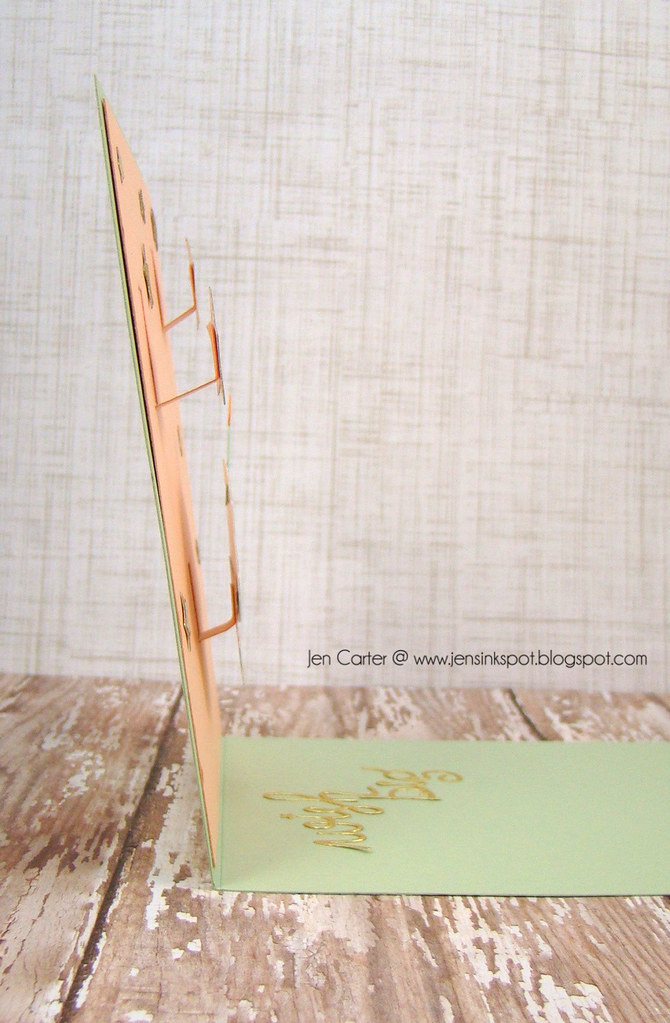
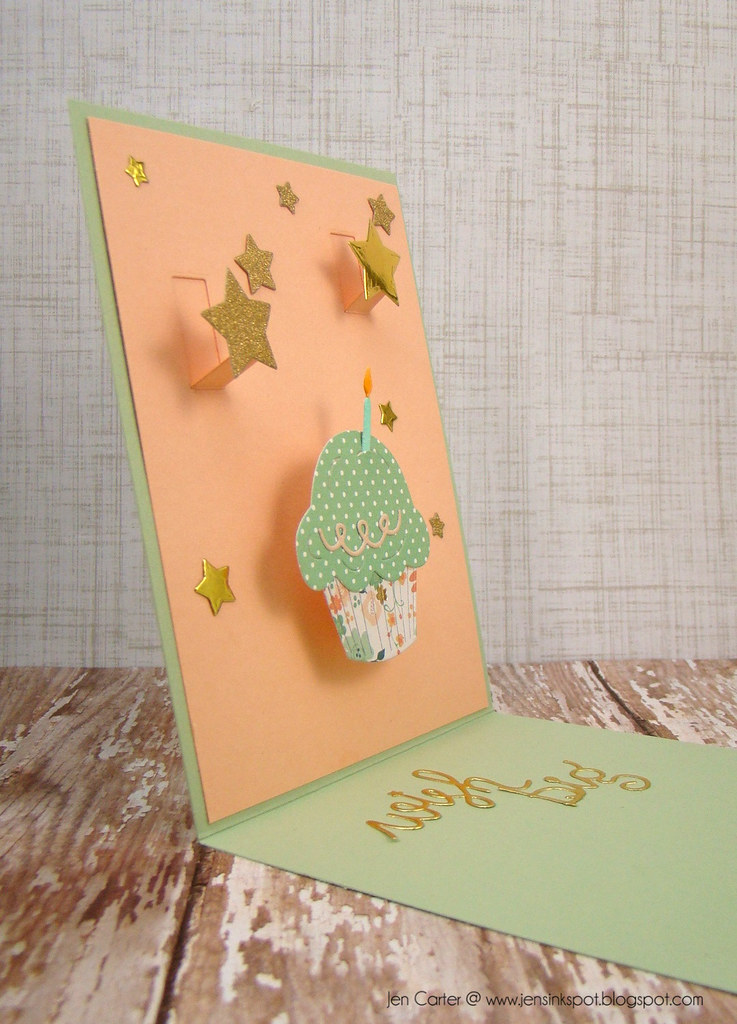
Here is a side view where you can get a better idea on how the items are popped up.

Jen Carter Cupcake Pop Up Inside Side

And you may be wondering why I'm showing this picture!  The reason is so that you can see how thin everything is!  It ALL folds up and lays fairly flat and is easily mailed!  NO BULK and you still get items popped up quite a bit!  I LOVE that.  And, you could do this same thing on the front of a card if you wanted in place of pop dots (just an idea)!  :)

So how did I do it?  The instructions are in the video below.  Now remember I am still learning and I'm not very good at editing yet, but I am learning!  Thanks for hanging in there with me!


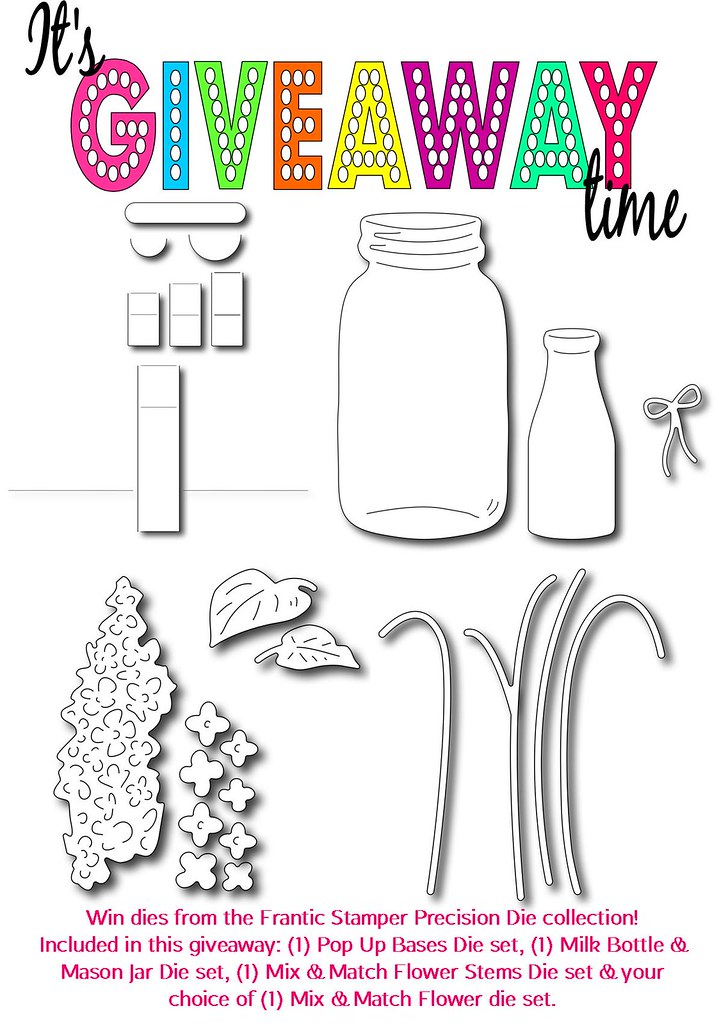
And now the giveaway!  Take a peek at the Frantic Stamper Facebook page where you can find all of the details and the ways you can win!  You can win some great dies valued at almost $40 retail!  Hurry!  The giveaway ends on Saturday, April 4th at Midnight EST and a winner will be chosen on Easter Sunday!  

FS Giveaway March 2015
Thanks for hanging in there with me!
Friday, March 27, 2015

A Little Bunting...


Well, hopefully the card I am sharing today has already made it to it's recipient!  I told you earlier this week that I spent some time sewing over Spring Break (I'm a secretary at our elementary school).  In fact that sewing project set off a series of events at our household that my husband might say was a series of unfortunate events.  You see, after I spent time sewing I wanted to do some redecorating which required moving some shelves.  No big deal.  Until we realized we would need to patch the wall and we didn't have any paint left to cover up the patch...oops!  So, guess what!  We ended up painting the living room & hallway.  Not my husband's favorite thing to do.  I did a lot of painting on Saturday & Sunday and I promised to spend some more time on it during the week.  But this required his help and that meant not working out in the garage on his race car.  Big props to my hubby! :)

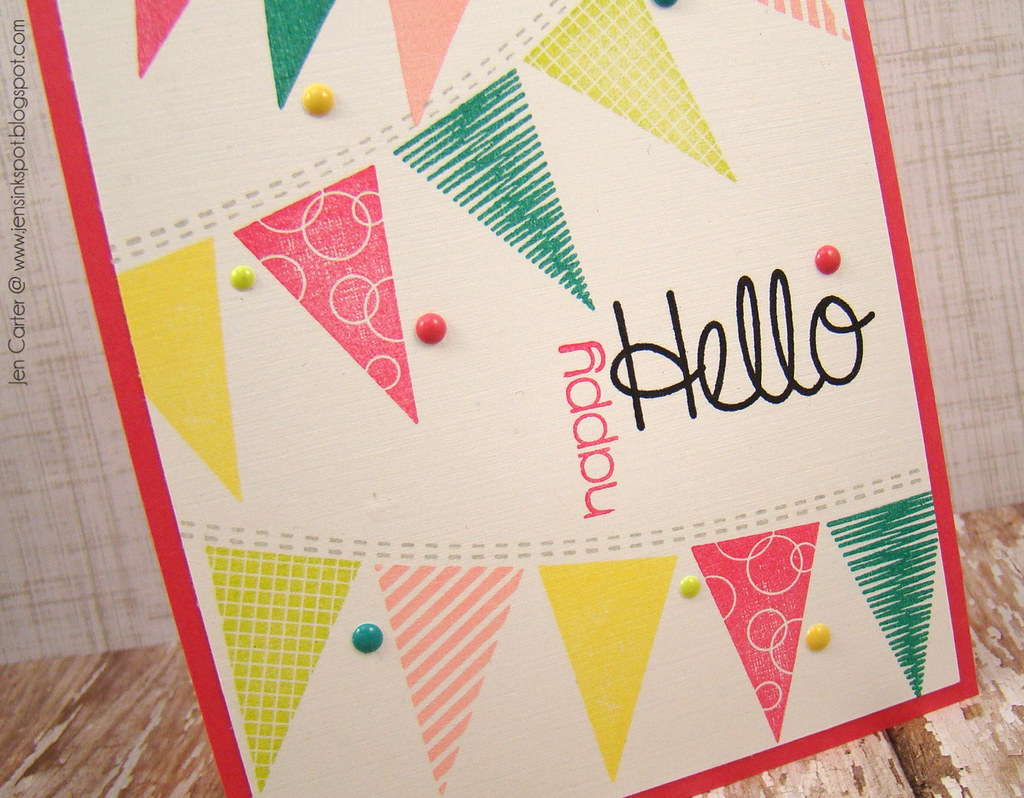
Jen Carter Whimsy Hello Banners

So, back to the card...I had sewn some banners to hang in my home and also sewed some for a friend who, like myself, missed out on getting some when they were on sale.  Although, truthfully, I would have made my own anyway.  So this accompanied a small gift of banners to hang in her new crafty room! :)

Jen Carter Whimsy Hello Banners Closeup

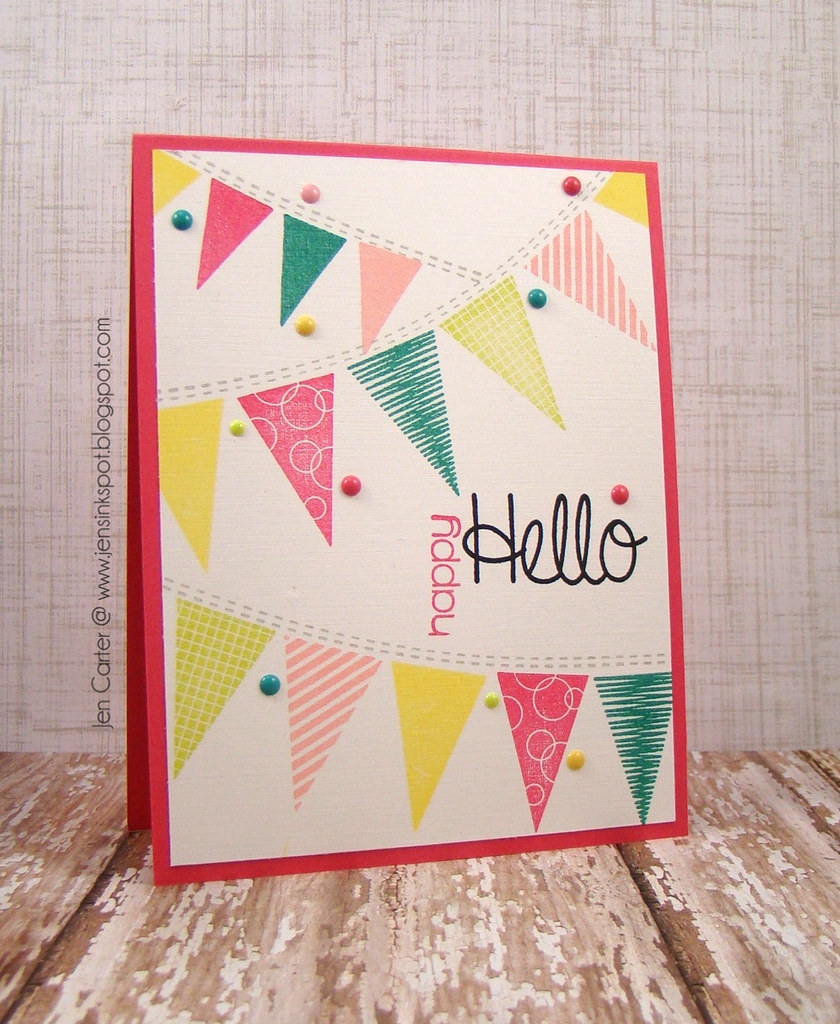
I used the Clearly Whimsy Tremendous Triangles stamp set to create the banners.  I hung them from a string I stamped with the Basic Backgrounds & Borders 1 stamp set (I had previously cut two of the stitched lines apart to make 2 stamps instead of  1).  The sentiment is from the Happy Hello set.

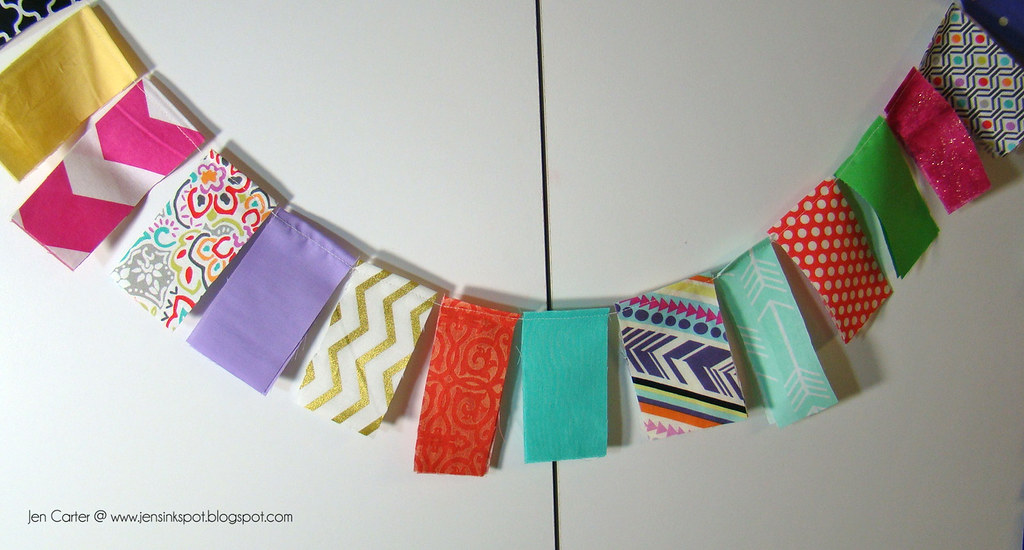
Here's a little sneak peek of the bunting I sewed.  It isn't a great picture (and it was dark when I took this) but once I get my redecorating done, I'll share some better pics of it hanging where it is suppose to be!  I hadn't cut these down yet either.
Bunting Sneak 3

I'm entering this card in the SSS Wednesday Blog Challenge: Anything Goes.


Thanks for letting me share with you today!  I hope you have a great day!
Wednesday, March 25, 2015

Turn Your Can'ts into Cans!


Welcome back!  I hope you are off to a great start to your day!

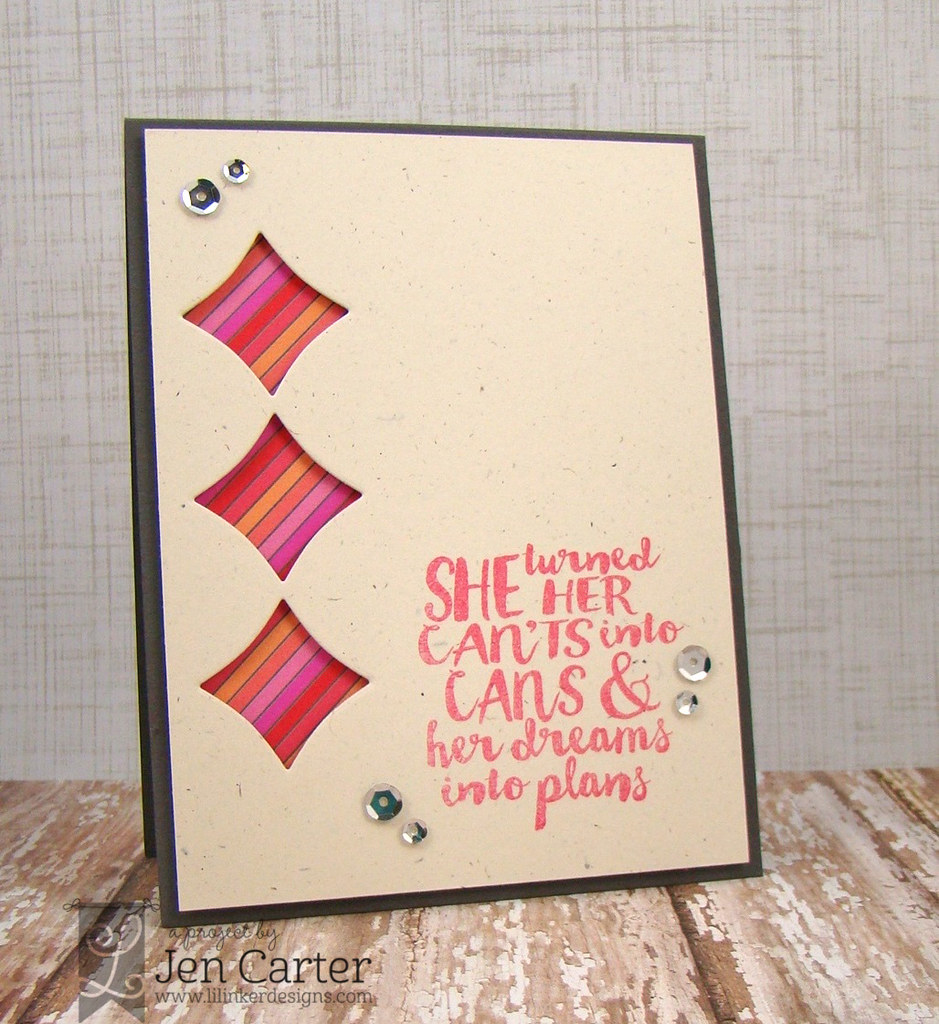
Jen Carter Lil' Inker Wonky Paint Canvas 1

For this card I started by cutting the openings in the card front with one of the Wonky Squares Dies from Lil' Inker Designs.  I really like how well they fit onto the front of the card!  I then stamped the sentiment from LID's new stamp set, Paint Your Canvas.  I love that sentiment set and the font used in it!

Jen Carter Lil' Inker Wonky Paint Canvas Closeup

I chose a fun patterned paper to lay behind the cut out diamonds (from Doodlebug Design Lovebugs collection).  I popped the entire vintage cream card front up with dimensionals.  To finish it off, I added in some silver sequins.


Thank you for stopping by!  I hope you have a wonderful day!

Monday, March 23, 2015

You're the Sweetest

Hello everyone!  Spring break is over...whahhhhh!!!  I need another week!! This past week has just FLOWN by!  I did some crafting, some shopping, some sewing and some painting.  It was so busy but a great week!

Today I'm sharing one of the cards I made this past week.

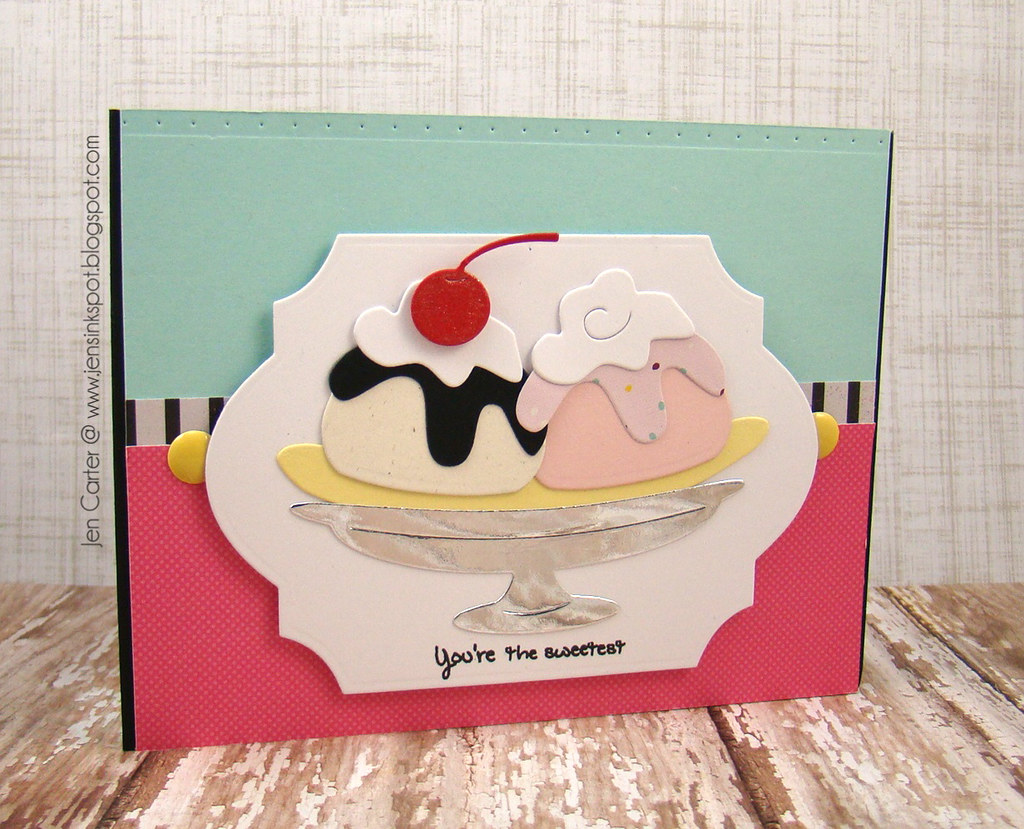
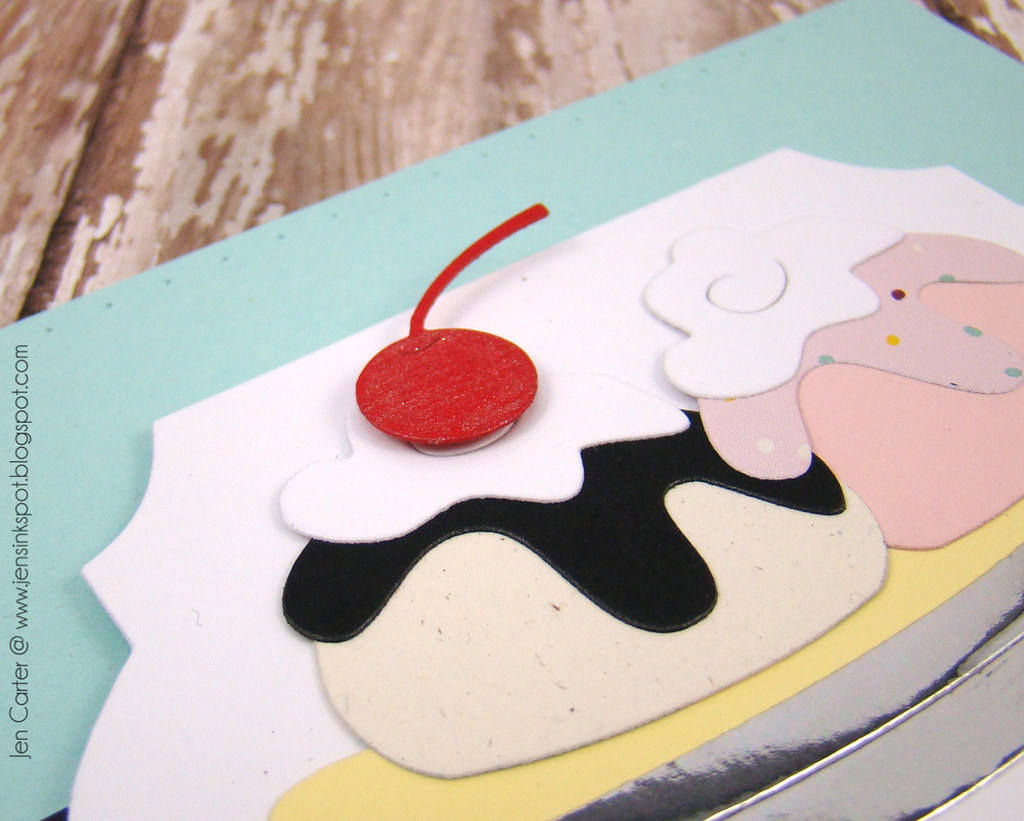
Jen Carter Frantic Stamper Sweetest Sundae

This card uses a new die set from Frantic Stamper that is a lot of fun called Banana Split.  I die cut the bowl from silver metallic paper.  The banana split is adhered to one of the Elementals #7: Coved Label dies.  The sentiment is from a NEW product line from Frantic Stamper coming very soon!! :)  The dotted border on top is from another new die set called In Stitches!  Very fun set!

Jen Carter Frantic Stamper Sweetest Sundae Closeup

I colored the cherry with a Wink of Stella glitter pen for a little added zing.  


I hope you have a great week!

Saturday, March 21, 2015

ShowCASe Your Style Challenge #11

It's time for another ShowCASe Your Style Challenge!  This week the theme is based on an inspiration photo!

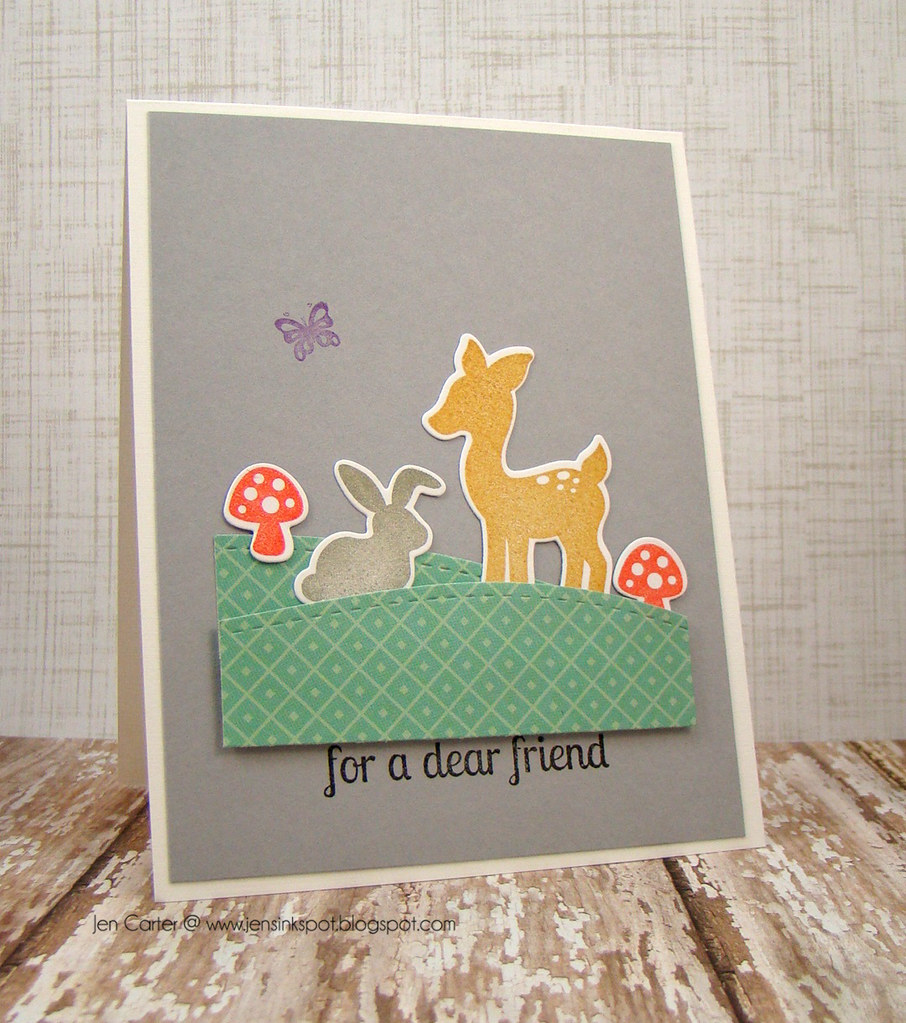
Jen Carter Whimsy Into the Woods Dear Friend SYSC11

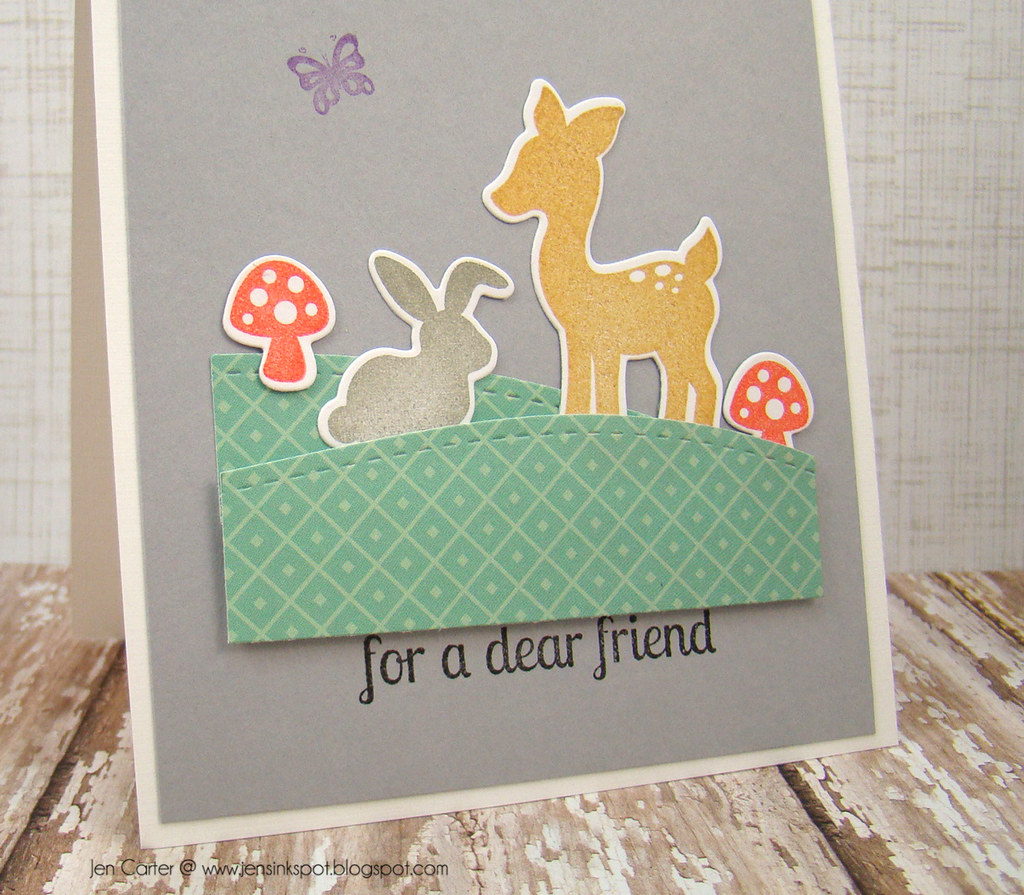
I used the Into the Woods stamp set & the Woodland Critters dies to create the animals & mushrooms in this scene.  They are the cutest little animals!  The sentiment is also from the Into the Woods stamp set.

Jen Carter Whimsy Into the Woods Dear Friend Closeup

The hills were made using the Stitched Border Die Trio.  

Here is the inspiration photo that the card was based on:


I hope you'll play along with us!  We would love to see your creations using stamps from the Clearly Whimsy line, but all products are welcome to be used and no one is disqualified from winning!  The challenge is open for 2 weeks.  You can link up your cards and see the other design team samples by clicking here.  There are prizes up for grabs too, so be sure to check that out!

Thanks so much for stopping by!

Thursday, March 19, 2015

Dual Stitched Dies from Lil' Inker Designs: Special Release!


Welcome to a special Lil' Inker Designs release!  We have some new product that we just couldn't wait to release so we are releasing it now!  YEA!!  These are product that Lil' Inker Designs customers have been begging for and you won't be disappointed...Stitched Mats: Dual Stitched Squares & Dual Stitched Rectangles!!

I have one card to share today using the new Stitched Mats: Dual Stitched Rectangles dies!

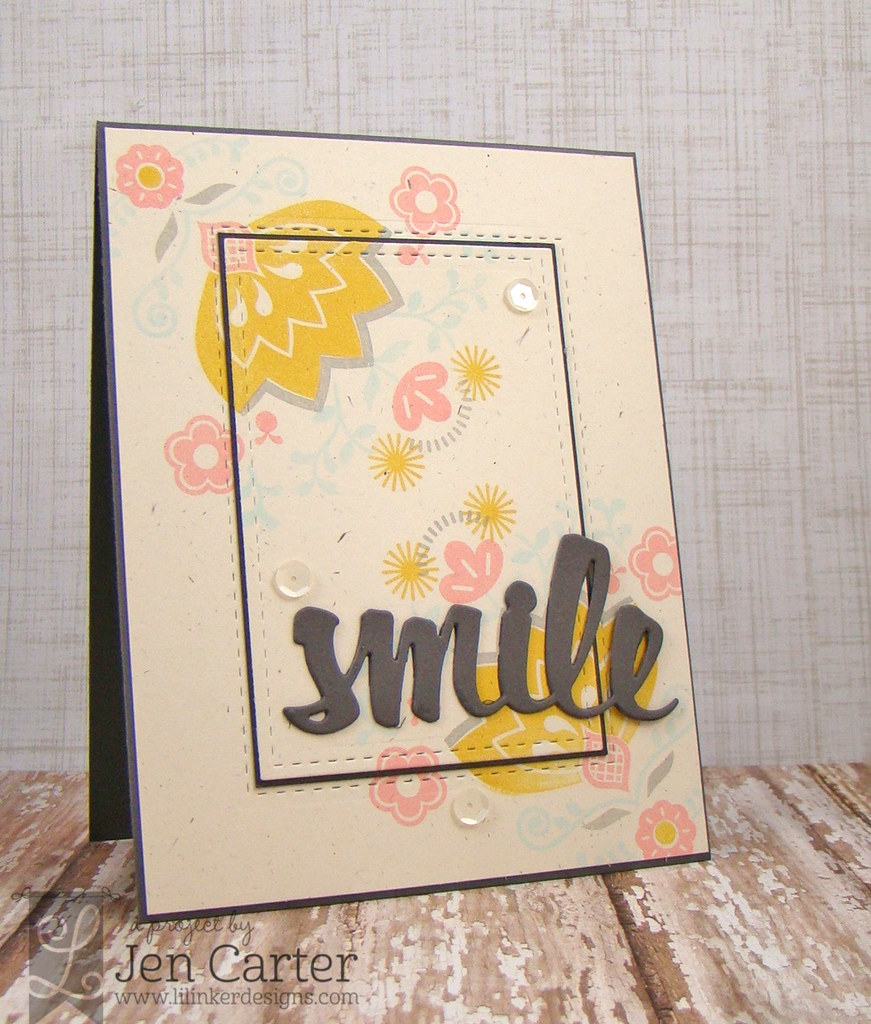
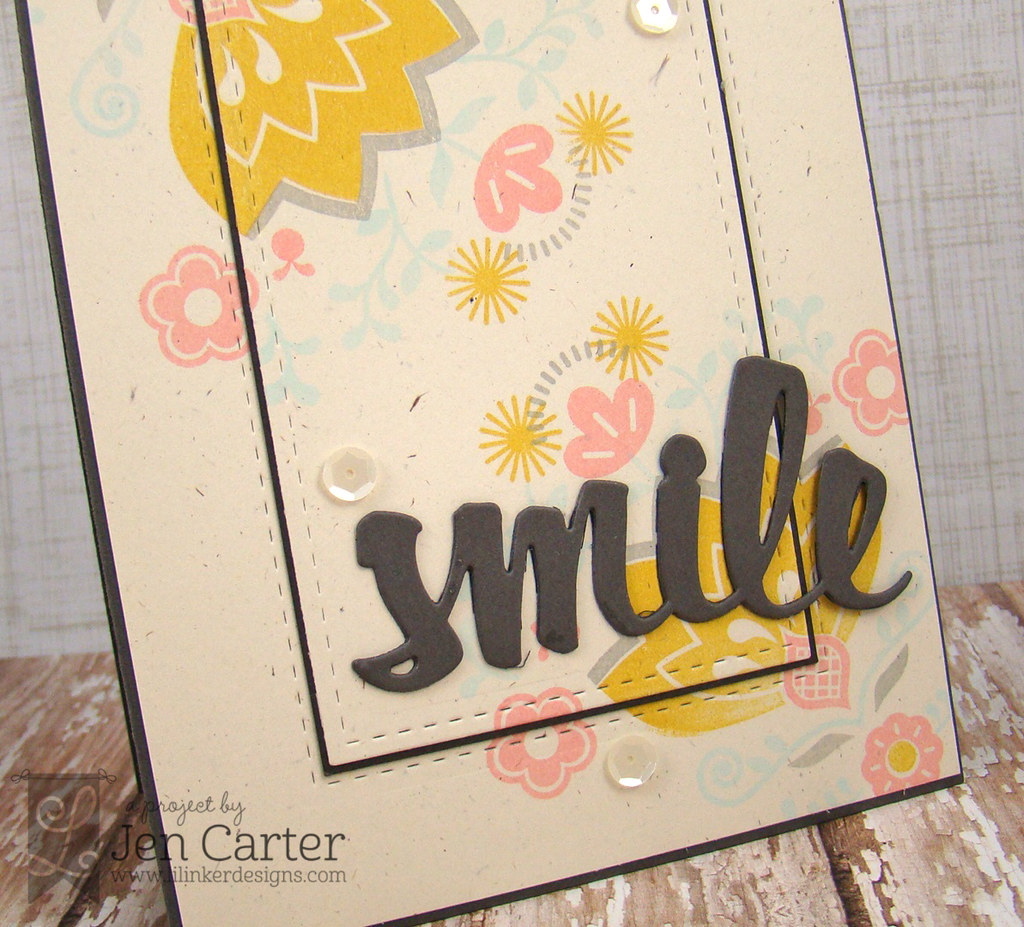
Jen Carter LID Double Stitched Rect Smile Wm

Squeal!! I LOVE these dies!! LOVE!!  Laura was the very first in the industry to come up with this idea of dual stitching and it gives such a fantastic look!!  For this card I stamped my images from the cool Really Rosemaling stamp set.   After I stamped the images, I lined up one of the new Dual Stitched Rectangles dies and ran it through my die cutting machine.  

Jen Carter LID Double Stitched Rect Smile Closeup wm

I wanted a tiny bit of contrast between layers so I took a piece of coordinating gray cardstock and trimmed it very close to the size of the inside piece and adhered it.  This also added a little bit of dimension.  I die cut the Smile Word Die twice and glued them together and then added them to my cardfront.  

Here are the products being released today!


ALSO releasing today are some Wire Cutting Pliers that make it super easy to snip off the little wires that connect the dies when they come to you!


Other Products I used on this card:


I based this card on a sketch from Case this Sketch that I loved, even though it is too late to play along.  


I am also entering this card in the Paper Players Challenge which is a CAS floral challenge.


Thank you so much for visiting!  I hope you enjoy these new products!

Sweet Baby!


Hey everyone!  This week is Spring Break for us!! Yea!!  So far this week the weather has been terrific which is a bonus!  I was so ready for a break and I'm sure it'll go super fast!

Today I wanted to share a card I made in two sittings.  I was at a Stamping Away getaway a few weeks ago and I borrowed some Frantic Stamper dies from my friend Amy.  The card below is a result of those die cuts.  I packed them in a baggie and yesterday I got them out and put this card together.

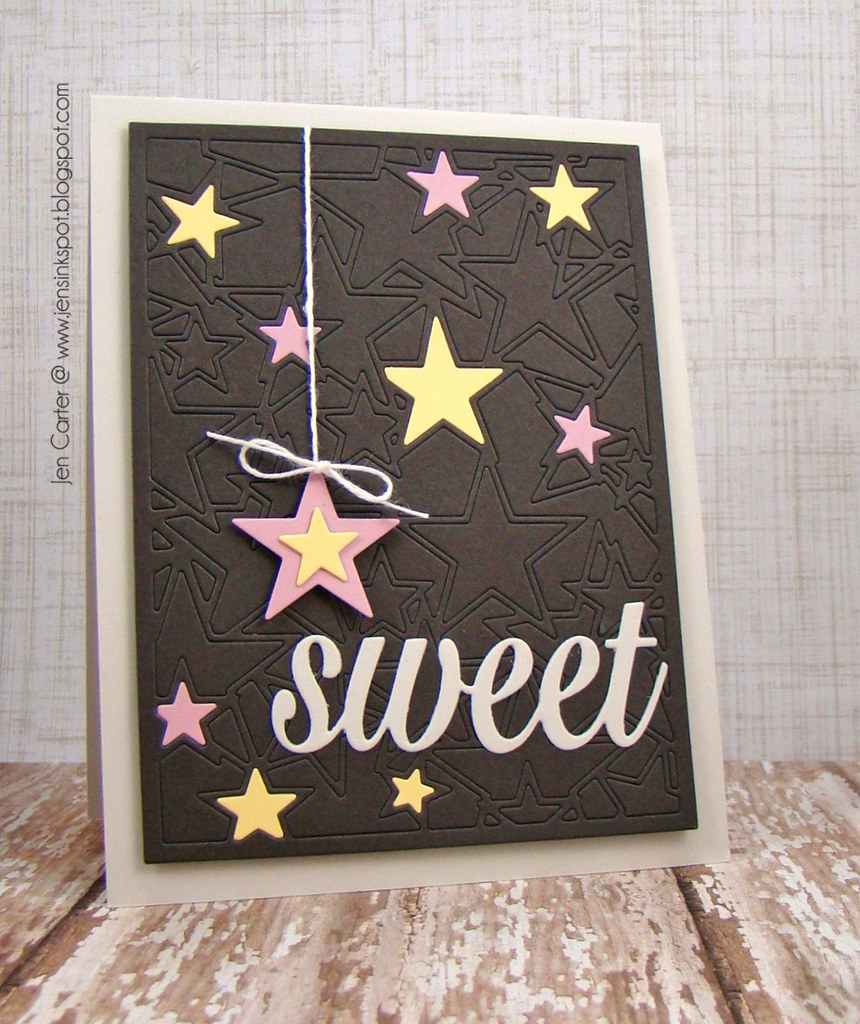
Jen Carter Frantic Stamper Sweet Star Card Panel

When I started this card I had a baby them in mind but it could be used for other occasions as well.  I used the Star Card Panel die to cut my gray background.  I cut the panel twice more using soft pink & yellow cardstock as well.  I then chose to randomly poke out some of the gray stars and then inserted the yellow & pink stars in their place.  I used tape on the back to secure everything in place.  

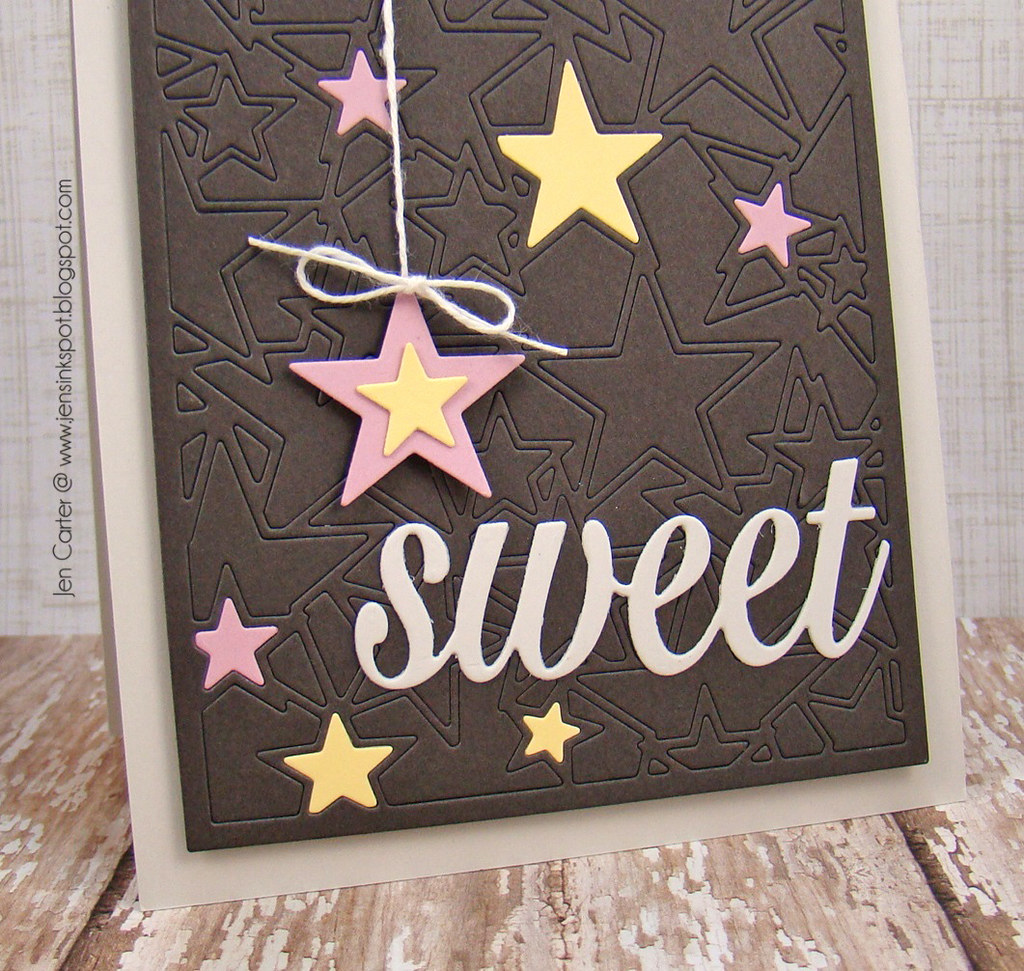
Jen Carter Frantic Stamper Sweet Star Card Panel Closeup

I added the Sweet Word Die in a light gray to the cardfront.  I then used two of  the stars from the pink & yellow panel to create a popped up die to hang from the top of my card.  I love hanging things from my cards!  I popped the entire card front up with dimensionals.  

The dies I used for this card: 


I'm entering this card into the Addicted to Stamps Challenge Anything Goes!


Thanks for visiting!

Wednesday, March 18, 2015

Always Believe!

Hello!  Today I have a card that I made during my Stamping Away getaway recently.  I think it was my favorite of all the cards I put together that weekend!

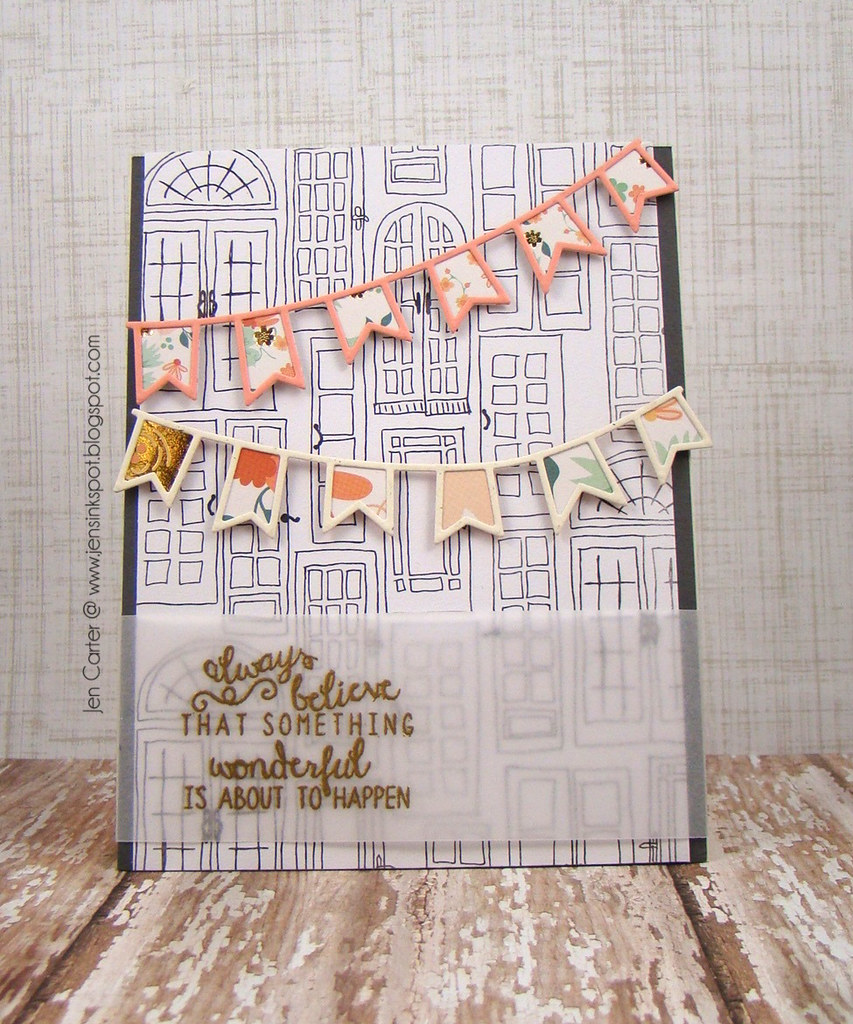
Jen Carter Reverse Confetti Always Believe Banners

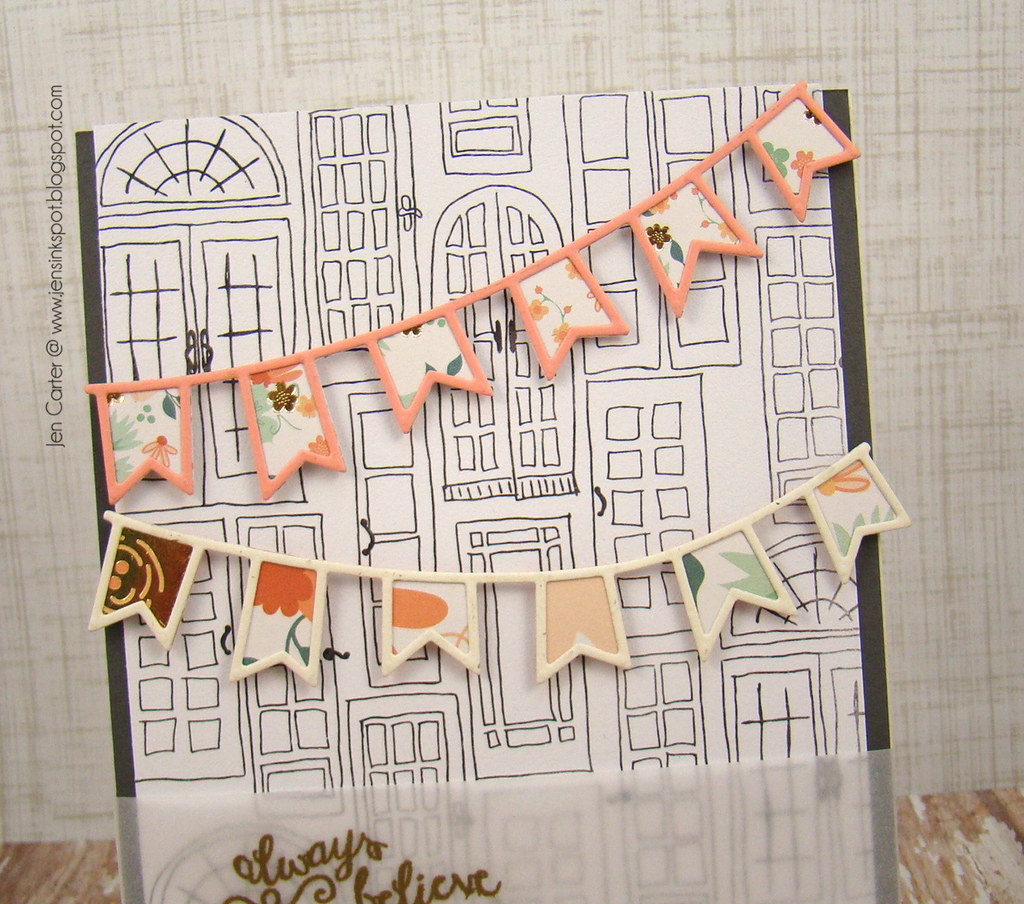
I started with the background patterned paper from we R Memory Keeper's Love Notes set.  I'm pretty sure I need stamps that I could replicate this with! :)  

Jen Carter Reverse Confetti Always Believe Banners Closeup Top

I then used Reverse Confetti's Double Banner Garland die to create the banners.  I LOVE this banner!  What I really like about it is that you have several options on how to use it!  For these I just cut a solid banner out of patterned paper and adhered the outline banner & the solid banners together.  Super simple!  The paper I used is lovely!  It is called On Trend by My Mind's Eye and it has gold foil all over in the collection!  LOVE!!

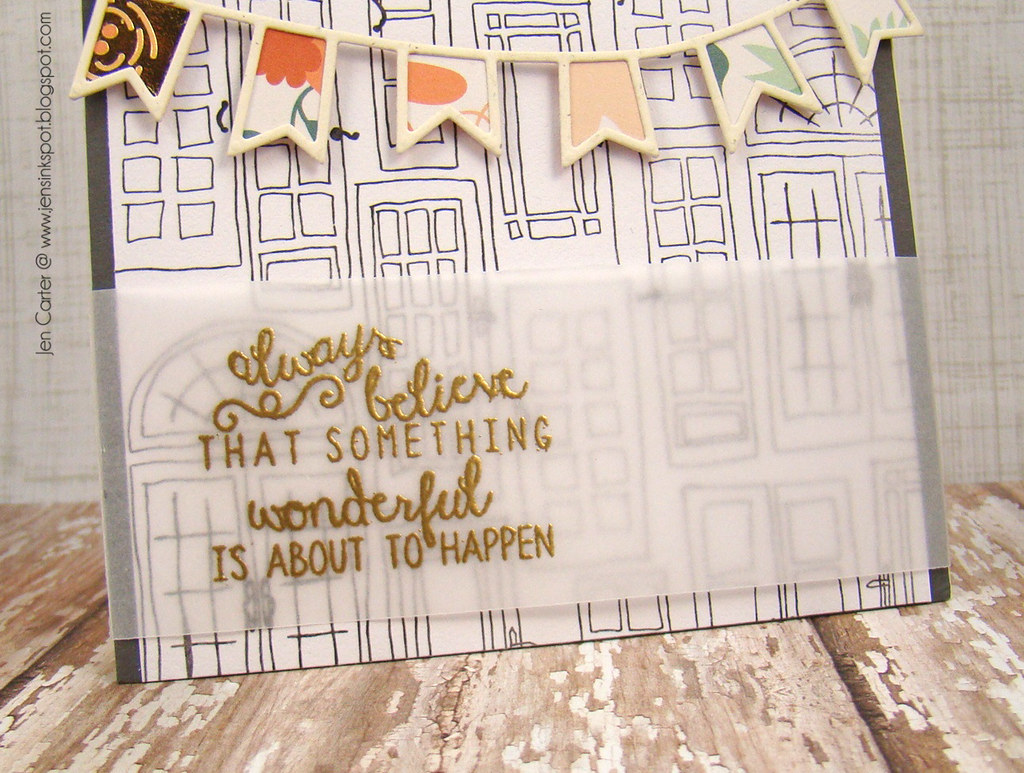
Jen Carter Reverse Confetti Always Believe Banners Closeup Bottom

I'm also really in love with these sentiments, also by Reverse Confetti (Paper Crane).  They have been on my wish list forever and at some point I need to buy them!  Amy was kind enough to let me use them during the weekend!  I embossed the sentiment on vellum with gold embossing powder. 

I'm entering this in the Bring on the Bling Challenge by Crazy 4 Challenges. My bling is gold! Gold paper & gold embossing powder!  


I'm also entering this in the Addicted to Stamps Anything Goes challenge!


I hope you enjoyed the card!! Thanks for stopping by! 

Saturday, March 14, 2015

Clearly Whimsy Designs March Release Blog Hop

Welcome to the Clearly Whimsy Stamps March release Blog Hop!

The Clearly Whimsy design team have been sharing creations made with these new stamps and dies over the last couple of days, and today we are celebrating their release with a Grand Blog Hop!

On Thursday, we released 4 new Clearly Whimsy Stamps clear sets and 2 new coordinating crafting dies.

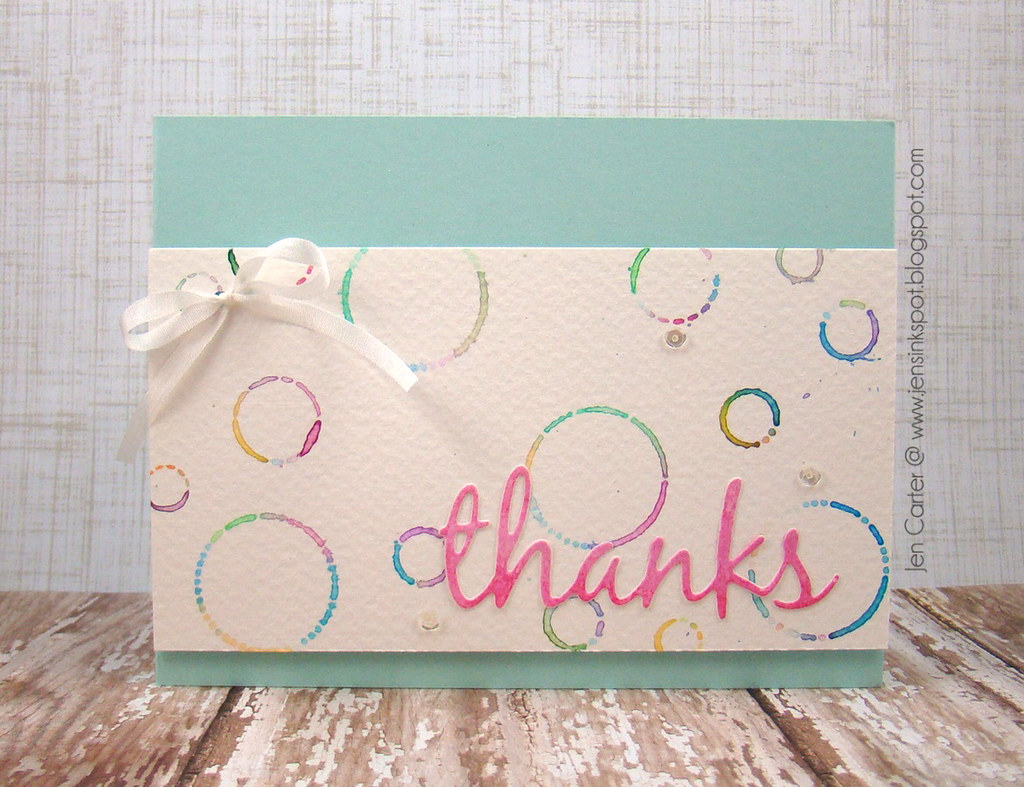
Jen Carter Whimsy Watercolor Circles Circles Thanks

Today I have another watercolor card to share using the Circles, Circles, Circles stamp set.  I had a lot of fun making cards with this set!  For this set I colored several different colors of aquacolor crayons onto an old CD case and then spritzed it with water.  I dipped the stamps in several of the colors and then stamped onto the watercolor paper.  I really like how it turned out!

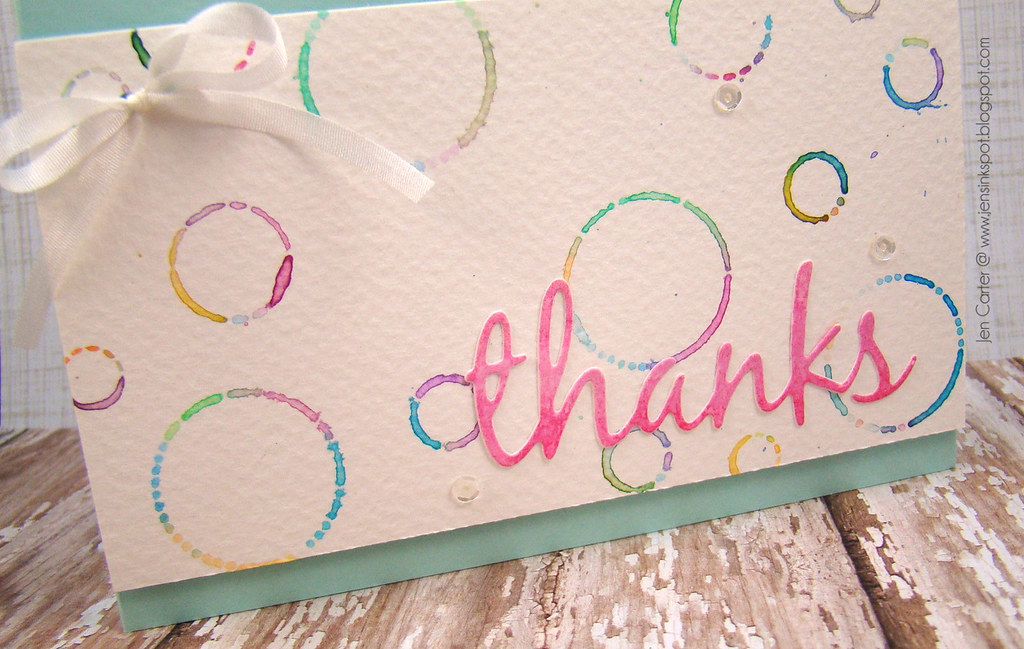
Jen Carter Whimsy Watercolor Circles Circles Thanks Closeup

I then watercolored onto another piece of paper and then die cut the Thanks Large Word die from that paper and adhered. I finished by punching a few tiny holes in the paper and tying a piece of silk ribbon onto the front.

New Products: 


We will draw one winner from the comments left on each hop post and that random person will win a $25 gift voucher to the Whimsy Store. Remember to comment on all the blogs in the hop in order to be eligible for the drawing.  You have until Wednesday, March 18th at midnight EDT to comment.

Thanks for stopping by! We hope you enjoy this blog hop! The next stop is to Becky's blog.

Jen -- You are here!

Thanks for stopping by!
Related Posts Plugin for WordPress, Blogger...