Showing posts with label Twinery. Show all posts

Monday, December 5, 2016

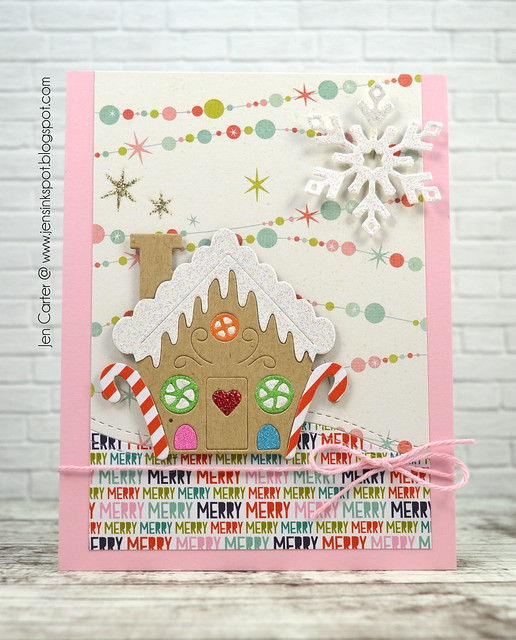
A Little Gingerbread House


Jen Carter Gingerbread House 1

Hey everyone! Are you in the Christmas mood yet? Today's card features a fun little die from Frantic Stamper that lets you create adorable Gingerbread Houses without all of the sticky mess!  :)  I used the Little Gingerbread House die to create the house in fun candy colors.  The hill was created with the stitched Scene Builder Edger Die that I use all of the time!  I also used one of the snowflakes dies from the Snowflake Trio die set.

I am entering this in the Paper Players challenge to use snowflakes.  

Thank you so much for stopping by today!  

Sunday, August 28, 2016

Cupcake Inspirations Challenge #373


Welcome to the next Cupcake Inspirations Challenge #373!  This week the challenge is to use the theme "Sweet Inside" on your card, which means to decorate the inside of your card too!  Our sponsor this week and the prize is from The Greeting Farm. All of the details, including prize information, can be found on the Cupcakes Inspiration blog.  I hope you'll be able to play along!

CIC373 Jen Carter

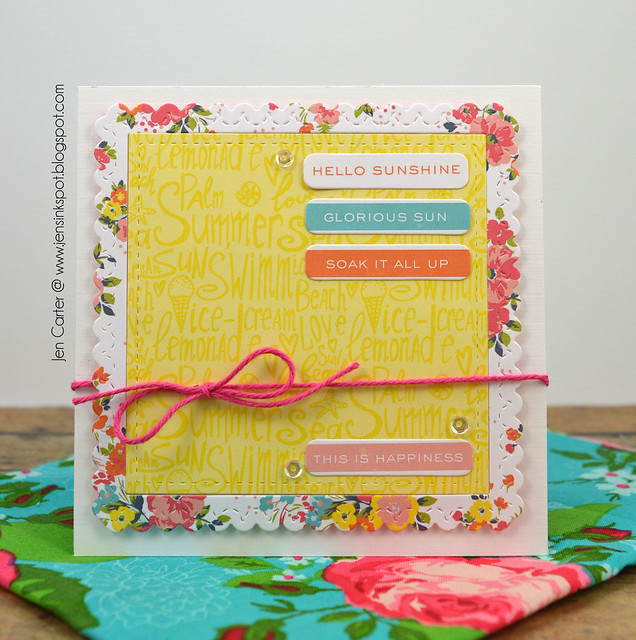
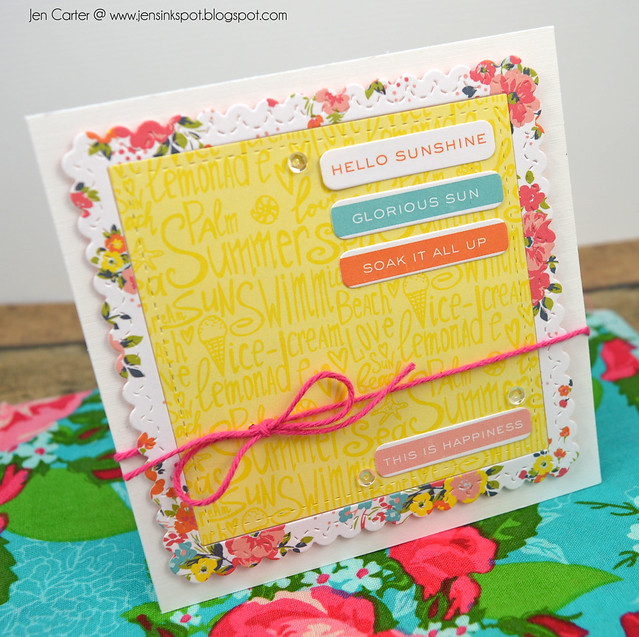
I went with bright colors for this challenge.  I pulled out one of my favorite dies from Frantic Stamper called Elementals #14 Scalloped Square Basics.  This die cut the scalloped frame and the inside stitched square.  I then used the same die set to cut the little oval(ish) words out of patterned paper and then finished it off with some twine from The Twinery and a few sequnis from Pretty Pink Posh.

CIC373 Jen Carter Above

and now the sweet inside...

CIC373 Jen Carter Inside 1

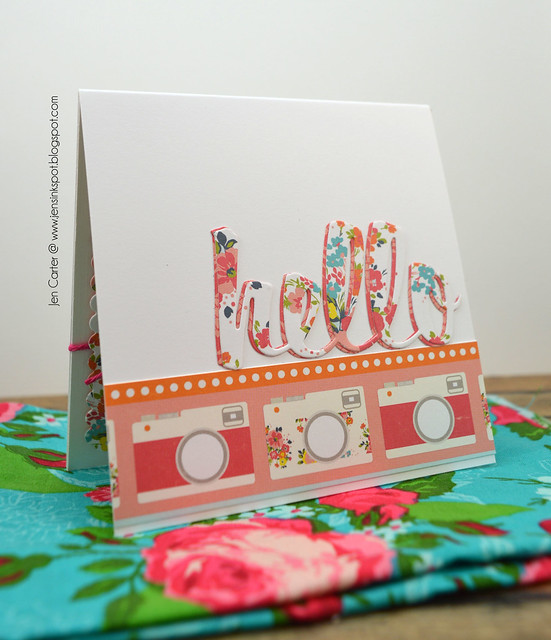
I used coordinating paper to match the front and then die cut the Lil' Inker Designs Hello Word die twice to give it a shadow.  


The theme this week is "Sweet Inside" which means to decorate the outside AND inside of your card.  You can choose to use the cupcake graphic for inspiration if you'd like but you don't have to, as long as your card or project fits the theme.

I hope you'll join us this week for the Cupcake Inspirations Challenge #373!  Thanks for stopping by!

Sunday, August 14, 2016

Cupcake Inspirations Challenge #371

Welcome to the next Cupcake Inspirations Challenge #371!  This week the challenge is to use the theme Shine Bright on your card!  Our sponsor this week and the prize is from Neat & Tangled Stamps. All of the details, including prize information, can be found on the Cupcakes Inspiration blog.  I hope you'll be able to play along!

CIC371 Jen Carter

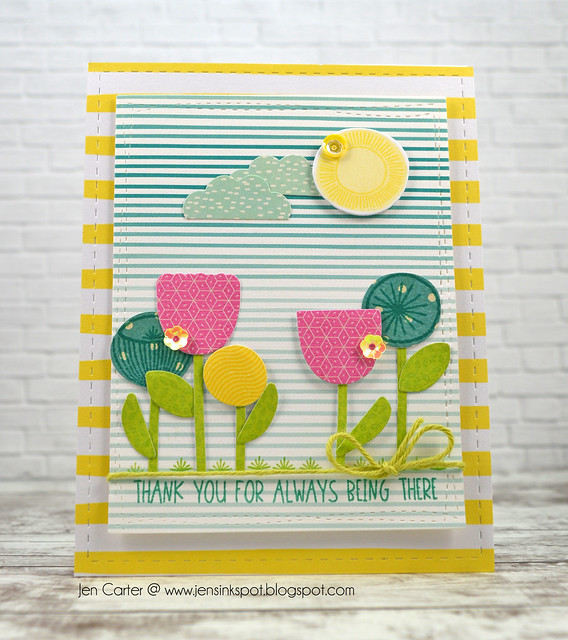
For the "Shine Bright" theme this week I thought of sunshine.  I LOVE Neat & Tangled's Scandinavian Prints stamp set (with coordinating dies).  When I was looking at the stamp set I thought that one of the flower stamps looked like a whimsical sun so I started there.  To make the clouds, I die cut the largest flower from the die set out of the blue patterned paper and then cut it in half.  It made a great cloud shape!  I found several bright patterned papers to die cut my flowers with and on the blue ones I stamped images from the set on the paper.  The mats were die cut from a die set found here and here. The grass and sentiment is also from the Scandinavian Prints stamp set.


The theme this week is "Shine Bright".  You can choose to use the cupcake graphic for inspiration if you'd like but you don't have to, as long as your theme has something to do with "Shine Bright".

I hope you'll join us this week for the Cupcake Inspirations Challenge #371!  Thanks for stopping by!

Monday, November 16, 2015

Peace & Joy


Jen Carter Peace 2

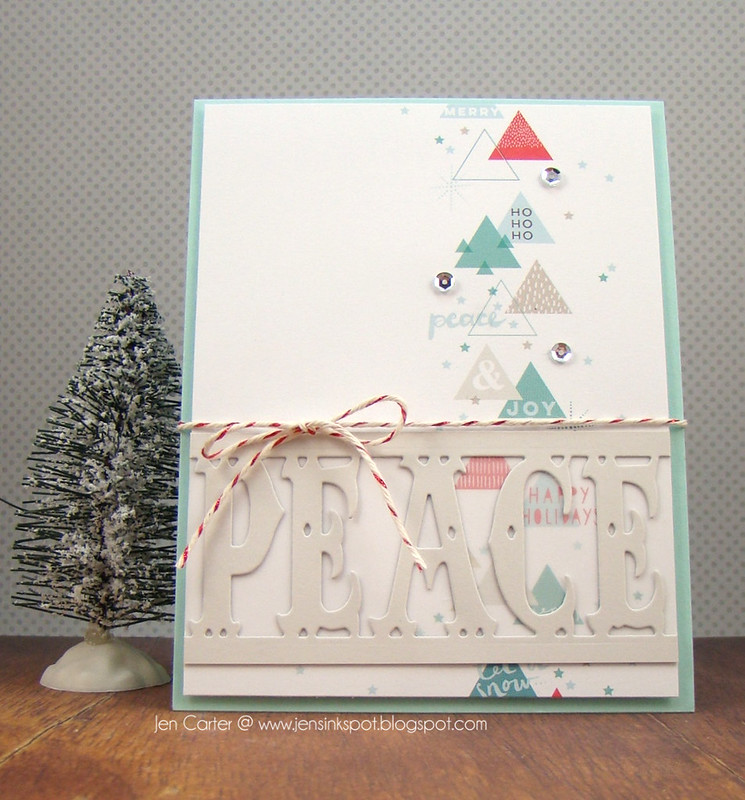
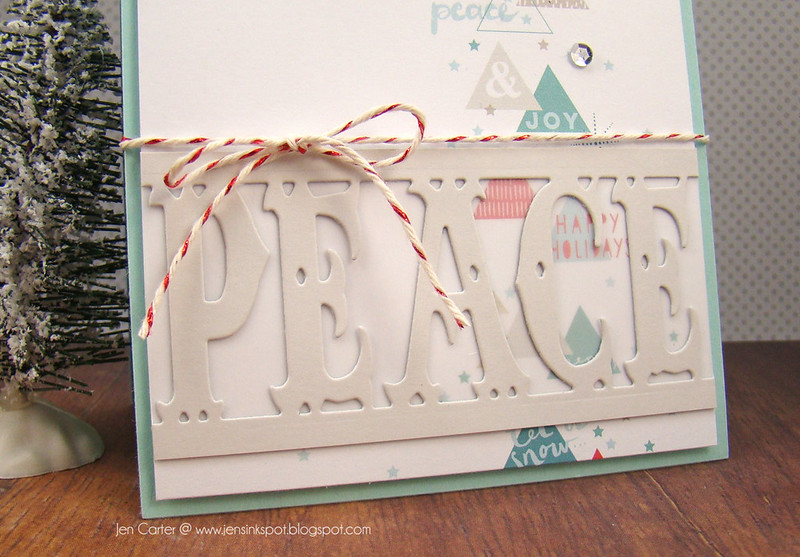
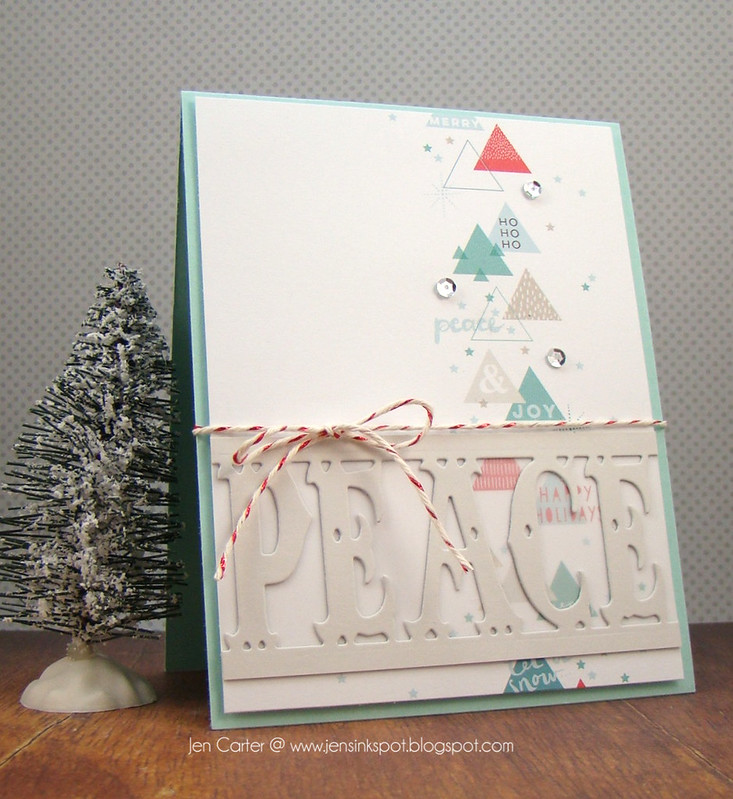
Today I have a super easy Christmas card to share.  To start I cut my patterned paper to the size I wanted, just slightly smaller than the card front.  Then, I cut the Frantic Stamper Peace Card Band Die out with a light gray cardstock.

Jen Carter Peace Closeup 1

I wanted to make the pattern behind the Peace band slightly softer than the rest of the paper, so I cut a piece of vellum the same size as the die and adhered it to the back of the die cut.  Then, I attached the vellum/die cut combo to my card front.

Jen Carter Peace 1

To finish the card off, I popped the patterned card mat up with dimensionals, tied some red shimmer twine and then added some silver sequins.

Thanks for visiting!  I hope you have a great day!

Supplies
Die: Frantic Stamper Peace Card Band

Patterned Paper: Pinkfresh Studio Christmas Wishes
Twine: Twinery Red Shimmer
Cardstock: PTI Aqua Mist
Sequins: Pretty Pink Posh 4mm silver sequins

Friday, July 31, 2015

Paper Sweeties Challenge Guest Designer


Jen Carter Paper Sweetiesn Flower Wreath Closeup 1.2

Hello!  This month I am a Guest Designer for the Paper Sweeties Inspiration Challenge #34 for August!  I am honored to be playing along with them this month!  


Here is the inspiration photo and color combo that I worked with.  It was such a pretty one!

Jen Carter Paper Sweetiesn Flower Wreath 1.1

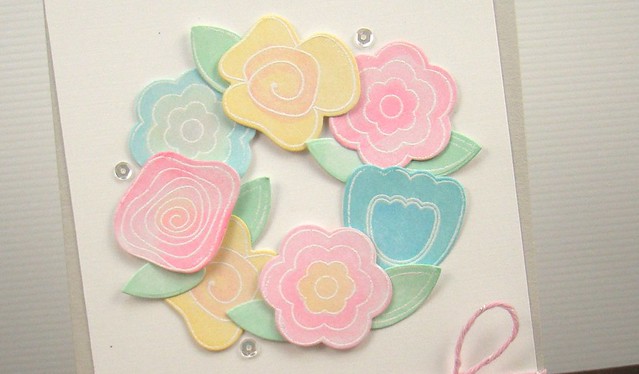
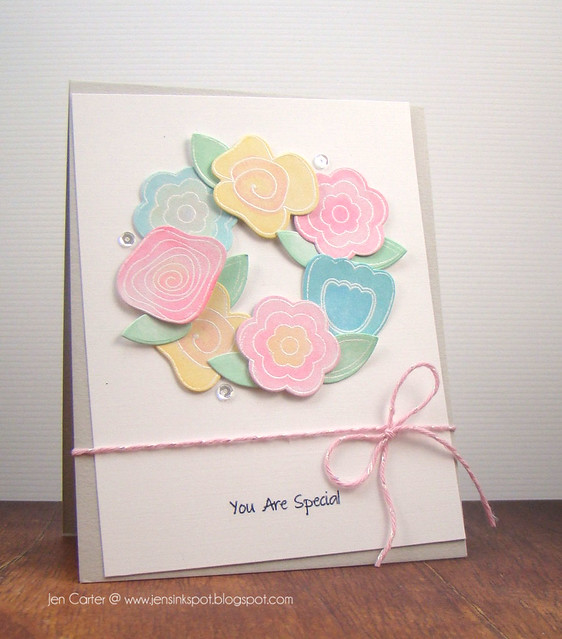
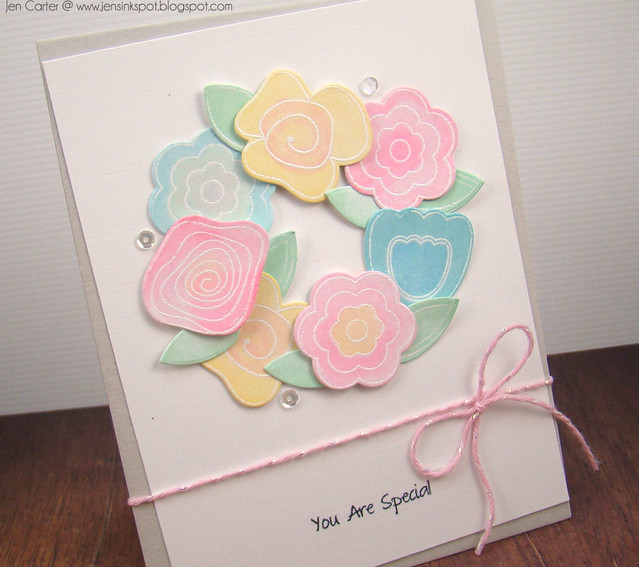
For my card, I used the Pretty Posies stamp set & the Pretty Posies die set for this card.  I really like the shapes of the flowers in this set.  They are so whimsical and fun!  To color them, I first stamped & embossed the outlines in white.  Then, I put each die cut directly down on my pigment ink pad and covered them fairly well with ink.  When I took them off, I used an aqua pen to move the wet ink around. The ink becomes a lot like watercolor paint.  I added other colors to my flowers by dipping the aqua brush directly onto the ink pad and then coloring on to my flowers.

Jen Carter Paper Sweetiesn Flower Wreath Closeup 1.1

After I finished coloring them, I assembled them into a wreath shape, popping some up with dimensionals and then adding in a few clear sequins and some pink twine.  The sentiment is a free one from the Paper Sweeties blog that you can download here

I hope you have a chance to play along this month with the Paper Sweeties #34 Challenge!  Thank you so much for stopping by today!

Wednesday, July 1, 2015

Sweet Birthday Wishes

Hello!  I found a fun sketch on the Sunday Stamps blog that I wanted to create a card with.

Jen Carter Sweet Birthday Wishes

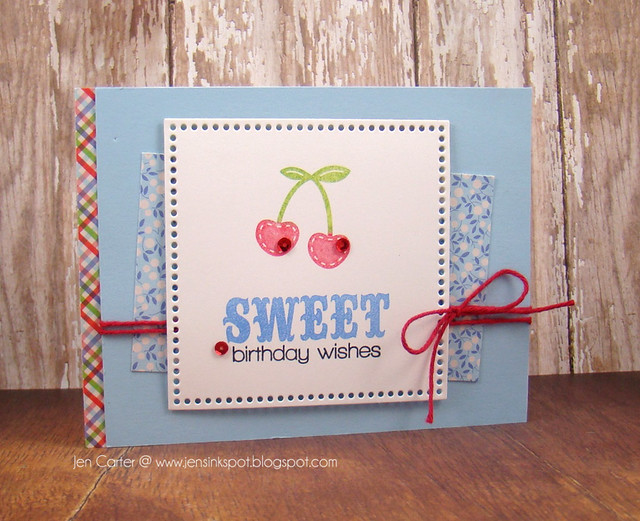
Here I am with a summer fruits card again, LOL!  I stamped the cherries and sentiment on a panel that I die cut with Lil' Inker Designs Dual Dotted Squares die.  I have to admit that I am loving these dotted dies!  They are super fun!  And, for an easy way to remove all of those little dots, check out the video I made here.


This is the sketch I used for my card.

Thank you for visiting today!  I hope you are having a good one!

Supplies:
Stamps: Clearly Whimsy Sweet as Candy Sweet Sentiments, Feeling Fruity
Dies: Lil' Inker Designs Dual Dotted Squares
Paper: Heartland Farm American Crafts, PTI Spring Rain, White
Ink: Fresh Ink Red Currant, Avery Elle Celery, Amuse Blueberry, VersaFine Black Onyx
Twine: Twinery Solid Red Maraschino 

Monday, June 15, 2015

Paper Pieced Ombre Friends

**I have lots of new listings for stamp sets for sale on my "Stamps for Sale - Updated" tab above!  Or you can click here.  Take a look if you have time!  Thanks!**

I have some favorite products to share with you that I've used on my card today!

Jen Carter Ombre Lattice Flower

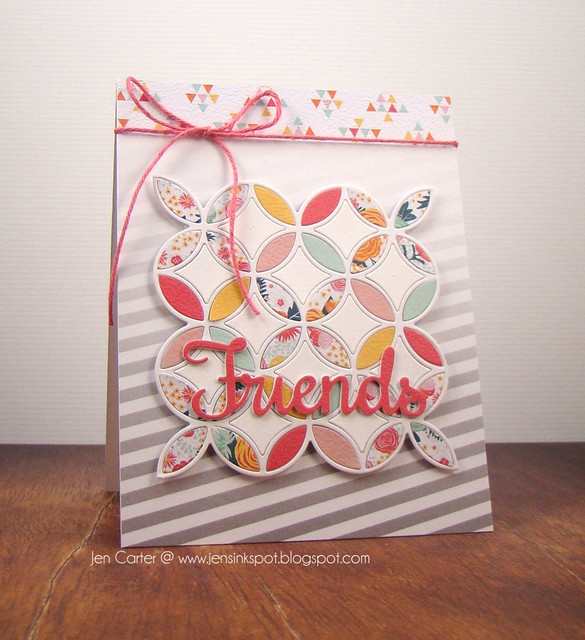
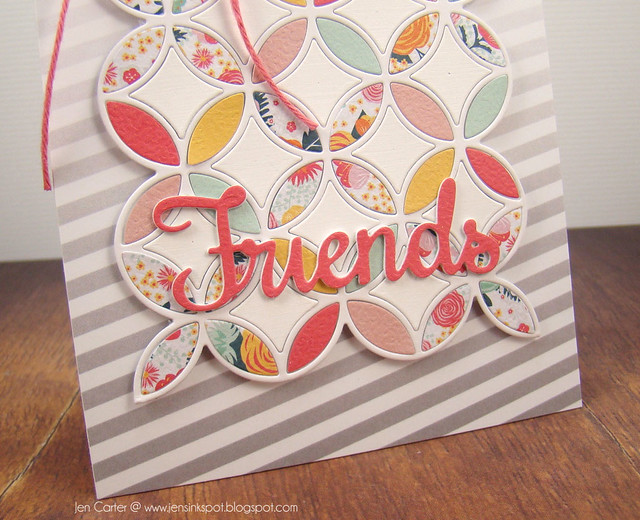
First, on my favorites list is this new Lattice Flower Square Panel Die that Frantic Stamper just released. It has so many possibilities and I have loved this pattern for quite some time! I used this same panel as a border on this card that I shared last week.  I wanted to make a soft quilt-like pattern on this card.  The prints in the Fancy Pants Summer Sun paper pad were perfect (and this is another product that is on my favorite list right now...which is subject to change tomorrow, but I love the texture this paper has!).  I just pieced the papers in where I wanted them (held together with tape on the back side) and then popped the entire piece up with dimensionals.

Jen Carter Ombre Lattice Flower Closeup

The "friends" sentiment is also from a Frantic Stamper die set called Good Friends Daisy Frame.  I die cut the sentiment three times and stacked them on top of each other for dimension.  That is one of my favorite techniques right now.  I love how it adds just the right amount of dimension without having to worry about the pop dots or tape showing underneath.

And that ombre paper.  Yeah, that is on my favorites list right now too!  That is a new release from Lil' Inker Designs and it is one of three ombre paper pads, this one called Ombre Stripes.  The entire collection can be viewed here.   It is the perfect subtle background for this piece.

The top of the card is tied with a piece of solid strawberry twine from The Twinery.  This card is based on a sketch from my Card Sketches Pinterest board.


I'm entering this card over at the Just us Girls #297 challenge which was to use stacked die cut sentiments.

And, I'm also entering this card over at the Paper Sweeties Challenge where I was inspired by the colors
 in the banners and also the different patterns in the photo.  

And, last but not least I am entering this over at the Addicted to Stamps Summer Colors challenge & Avenue 613 Anything Goes Challenge & Crafting When We Can Challenge to Paper Piece.
Thanks for visiting!  Have a great day!

Friday, May 15, 2015

Clearly Whimsy May Release Day 2

Hi everyone and welcome to the Day 2 of the Clearly Whimsy Stamps May 2015 release!

We are releasing 4 new clear stamp sets and 7 coordinating die/die sets this week, and they are available to buy from the Whimsy Stamps store RIGHT NOW and selected Whimsy Stamps retailers tomorrow!!

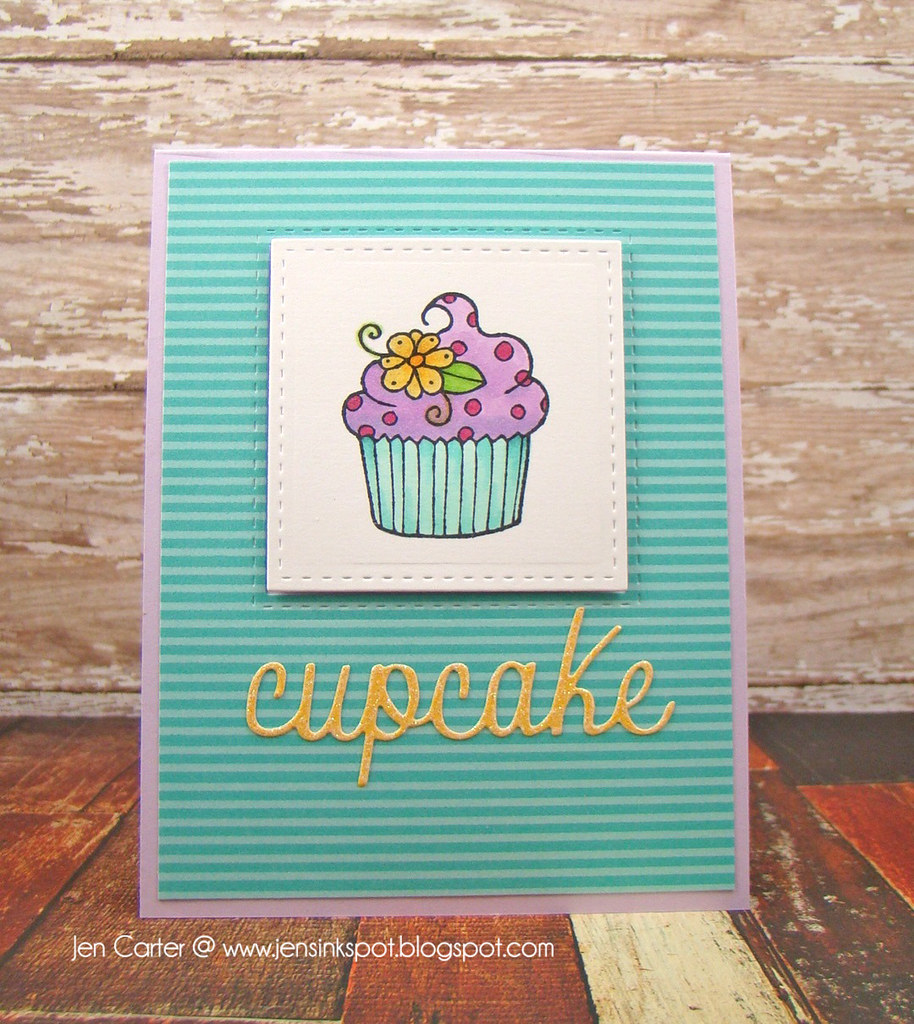
Jen Carter Whimsy Cupcake 2


For this card I colored the cute cupcake image from the Yum, Yum, Yum stamp set with my copics.  I die cut the Cupcake Word Die from yellow glitter paper.

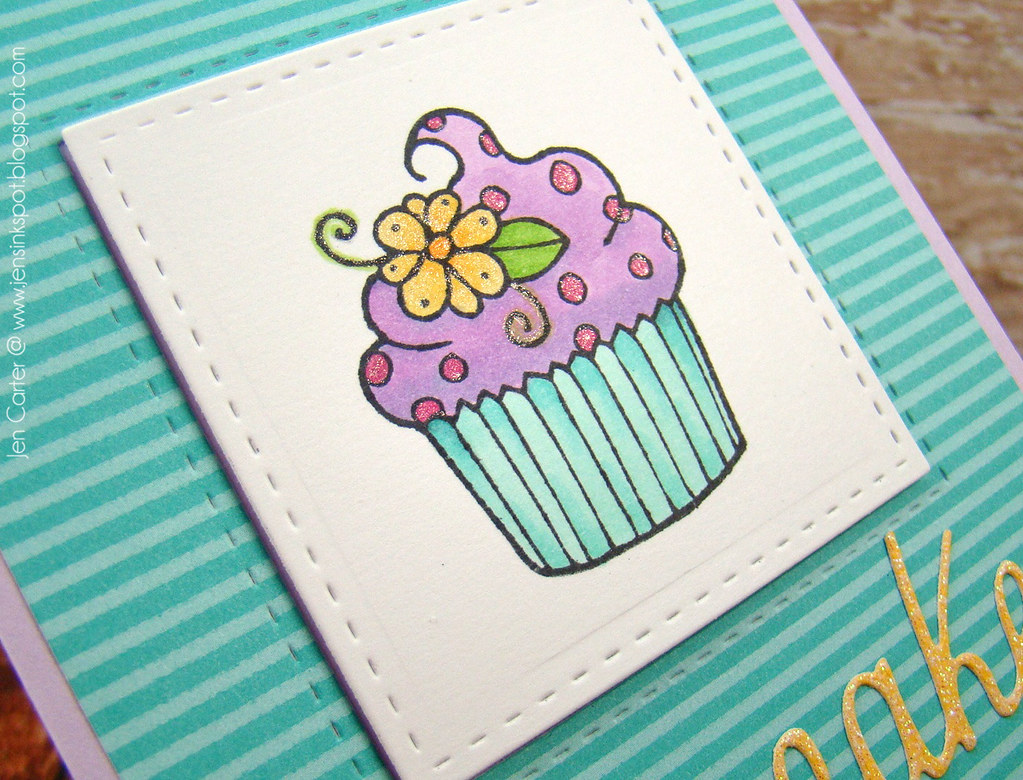
Jen Carter Whimsy Cupcake Closeup Sparkle


After I colored the cupcake I added glitter to the polka dots and flowers with a wink of stella glitter pen.

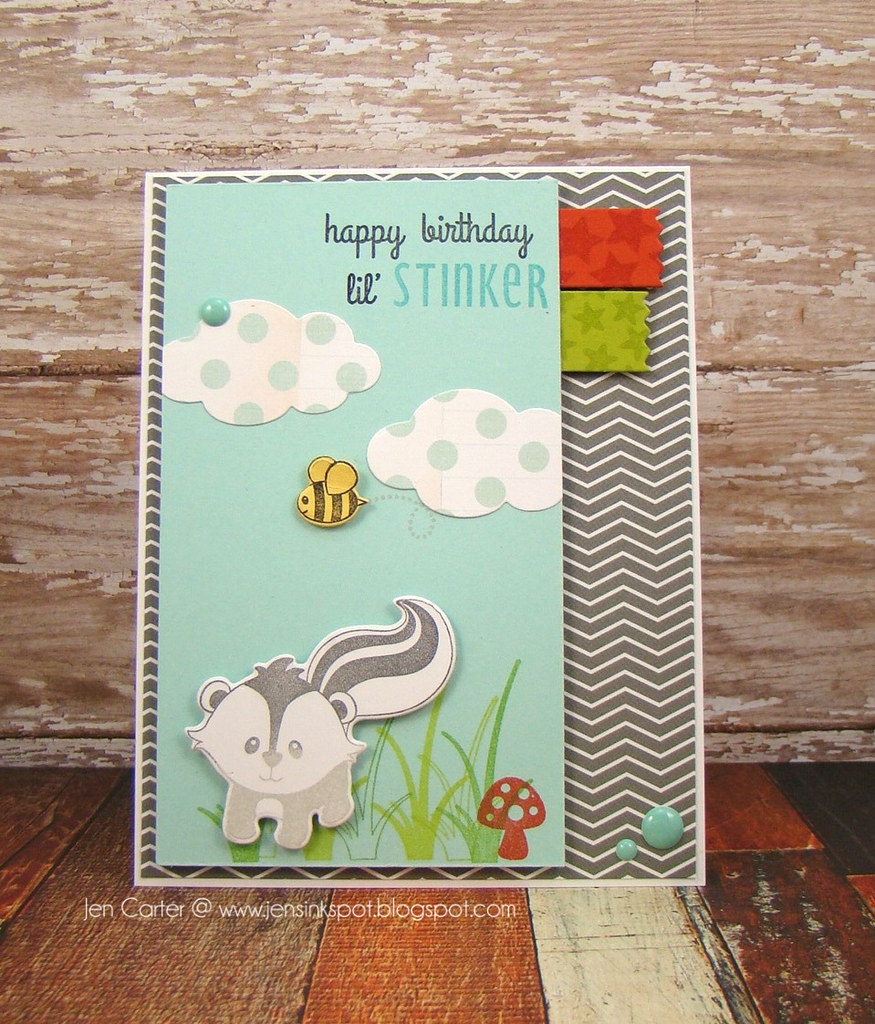
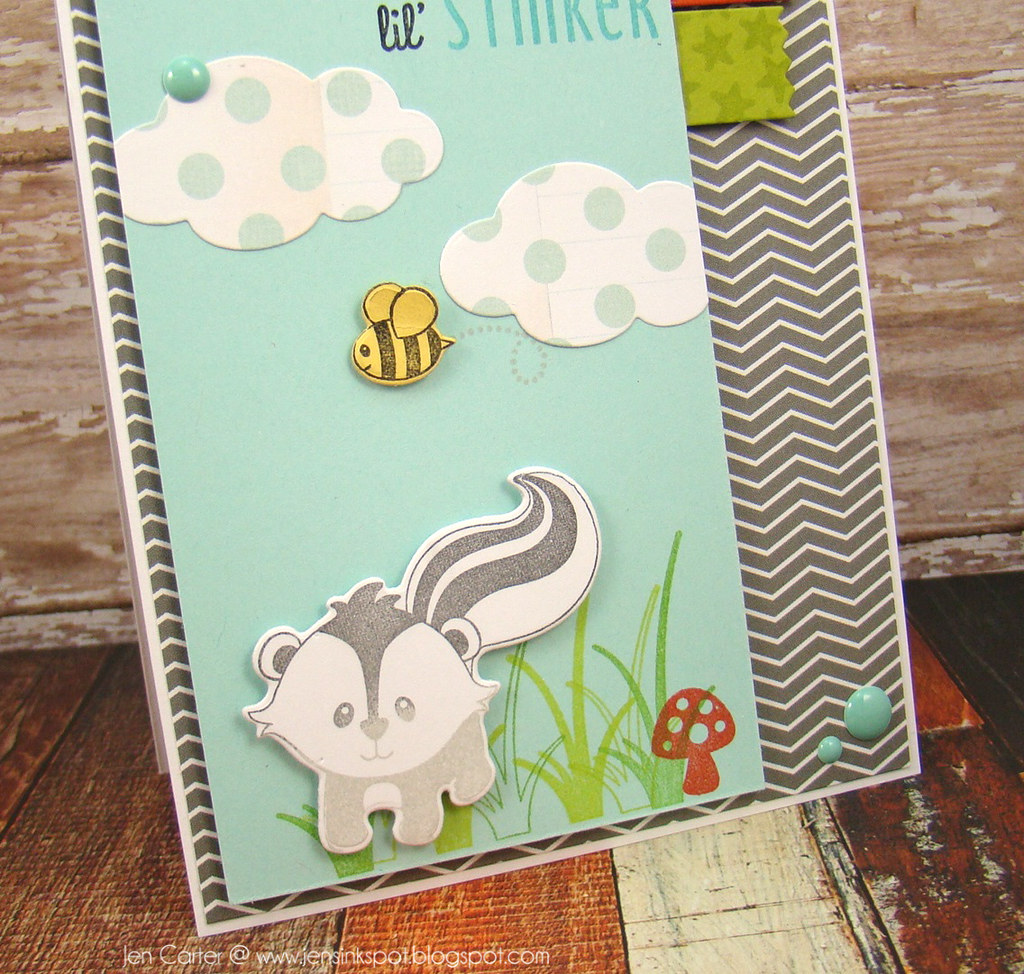
Jen Carter Whimsy Lil' Stinker 2

Another fun set releasing this month is Lil' Stinker which also has coordinating dies. I used the two grass images included in the set to create my border and also stamped a mushroom from the previously released Into the Woods stamp set.  The skunk was die cut with the Lil' Stinker dies & then stamped with the coordinating Lil' Stinker stamp set.  The cute little bee & bee die is also included in those sets.

Jen Carter Whimsy Lil' Stinker Closeup

I die cut the clouds with the Stitched Cloud die set.  The banners at the top of the card were stamped with stars from the new Say Cheese stamp set and the previously released Happy Hello stamp set.


PRIZE ALERT ... We have hidden a fabulous prize of a $15 GIFT CERTIFICATE at one of the stops on today’s hop! We will draw the lucky winner from the comments left here and on today’s design team posts (listed below), so be sure to visit everyone and leave a comment to be entered into the drawing.

Thanks so much for stopping by and we hope to see you again tomorrow for our Release Day hop!

Jen -- You are here!

Friday, November 8, 2013

Caring Hearts Card Drive

Hey everyone!  I am here with a very special post today for the Caring Hearts Card Drive.  If you are following along in the hop, you should have come from my Lil' Inker Designs team member Isha Gupta's blog!  This drive is to collect holiday cards for the elderly that live in nursing homes.  With the holidays quickly approaching, there are many elderly who live in these homes who really feel lonely or are missing their family. Wouldn't it be so awesome if we can bring a smile to their face & brighten their holiday season simply by sharing our love of card making? A simple gesture to let them know that they are not forgotten.

This is especially personal to me this year as my Grandma is sitting in a nursing home at this very minute.  And my faithful and loving Grandpa sits with her, every day, even though she cannot respond to him.  He's my hero.  So for them, for me, this is personal!  I'm so thankful that I can be a part of this this year!

For all the details on the card drive, you can visit Vera Yate's blog.

I created a holiday card for this drive using lots of Lil' Inker Designs goodies.

Joy 1.2


I started by making the chalkboard background and then I diecut the Joy word die from the mat.   I stamped some snowflakes from the Winter Greetings Stamp Set & the  Jolly & Joyful stamp sets.  The holly leaves were die cut with the Holly Jolly dies.  And last,l I tied a little piece of Platinum Shimmer Twine from the Twinery to the front.

What do you say?  Do you like to craft?  Do your kids like to craft?  Why not send some cards for this drive and be a blessing to someone who needs some love this Holiday season! 

For details on how to participate, visit this post.


There are a lot of prizes for this hop (and even bigger prizes for the card drive itself)!  Winners will be selected from comments left on the participant's blogs (randomly), so the more blogs you comment on, the bigger your chances of winning will be!

To continue on in the blog, be sure to visit Sarah Jay's amazing blog!

Thanks for stopping by!

Wednesday, October 16, 2013

A Little More Joy

Today is the wrap-up day for the Lil' Inker Designs holiday release!  I hope you've really liked the products that you've been seeing the design team showcase!  I know I sure had a lot of fun working with them!

I have two last cards to share with you today!  Bur first, if you are following along in the blog hop, you should have come from Jeanne Jachna's blog!  Hasn't she impressed you with her work this week?  What a joy to have her joining us! If you'd like to start at the beginning of the hop, visit Laura's blog.

Traditional Joy

This card combines some other previously released products with the new "joy" die.  I used the Starry Sky Die to cut the stars in the Flags & Tags Banner die.  I also used the Spot On circle stamps with the Connected Circle Die to create a traditional Christmas colored banner.  The "joy" is cut with glitter paper (of course!).  To add a little more sparkle, I tied some Gold Shimmer twine from The Twinery around the middle.

Glad Tidings 1.1

This last card is way outside of my normal.  I don't usually use these colors but I was going for a more vintage look for this one.  I stamped several of the images from the Jolly & Joyful Sentiments set onto my patterned cardstock.  I embossed the sentiment, from Instant Camera Christmas, in gold.  The large Jingle Bell die was die cut and hung with shimmer twiner from The Twinery.

Thank you so much for joining us for this release!  Don't forget to leave a comment for your chance to win a great prize from the LID store!  Your next stop on the hop is over to Karen's blog!  

Monday, October 14, 2013

Christmas Cover Up Die

Welcome to Day 2 of the Lil' Inker Designs holiday release! If you are following along in the blog hop, you should have come from our guest designer's blog Jeanne Jachna! Isn't her work terrific?  If you'd like to start at the beginning, visit Laura's blog.

Today I am showcasing a new Christmas Cover Up Die!  It is very detailed and I think you're going to like it!


Glassine Christmas 1

Pretty cool die, huh!?  I die cut the Christmas Cover Up Die from patterned paper and attached it to a glassine bag.  I also die cut the medium sized new Jingle Bell and popped it up with dimensionals.


Glassine Christmas Side


The sentiment "to you and yours" and that pretty orange snowflake are included in the new Joyful Jolly Stamp set. Inside the bag I have a cookie!  It is a quick & easy gift!  The bag is closed with the clothes pin.


Christmas Cheer 1.3

I also used this cover up die on the front of a card.  I die cut the cover up die from a piece of glitter cardstock (I used a metal shim since the paper is a little thick and it worked perfectly!)  You don't need to add much to the card because the cover up die stands easily on its own.  


Christmas Cheer Above

I added a few strands of colorful twine from The Twinery and that wonderful Lil' Inker Snowflake Die, die cut from white glitter paper, that I popped up with dimensional.  

The new products that I featured in this post are: 


It's time to send you on for more inspiration from the team!  Your next stop on the hop is over to Karen's blog!  Don't forget to leave a comment for your chance to win one of two gift certificates to the Lil' Inker Designs store!!

Supplies
Glassine Bag
Stamps: LID Jolly & Joyful Sentiments
Dies: LID Jingle Bell Dies, Cover Up Die: Christmas
Twine: Solid Maraschino from The Twinery
Patterned Paper: Lily Bee Designs Head over Heels

Card
Dies: LID Cover Up Die: Christmas, Snowflakes Die
Twine: Solid Blossom, Caribbean, Peapod, Pink Sorbet from The Twinery
CardstocK: PTI Aqua Mist, DCWV Glitter Blue & White

Thursday, October 10, 2013

Sunflowers: In the Round

Hello!  Welcome to another fun Twinery blog challenge, "In the Round"!  Today is my day to post over on The Twinery's blog.

You all know that I am a Kansas girl.  So it only seemed fitting to celebrate the Fall Kansas season with one of the things that I love about living in Kansas...sunflowers!  They are everywhere this time of the year but I especially love driving down the road and seeing the ditches full of yellow sunflowers!  I'm sure I've said that before, but it is true!  They are beautiful!

Sunflower In the Round 1.4

This challenge asks participants to make a project using circles in our project.  I love to make spiral circles with my twine.  It makes the perfect flower centers and so that is what I focused on with the sunflower.  With so many great choices of twine colors, I could have gone several different ways with the center, but I eventually chose the Solid Cappuccino twine as the perfect Kansas Sunflower center! 

Sunflower In the Round Closeup 1

To continue with the circle theme, I added some round gold sequins to the flower centers.  I also rounded the corner of my card.

Sunflower In the Round Closeup 4

Since this card has a very Fall nature to it, I couldn't resist adding in some of the beautiful Copper Shimmer twine!  This twine is so beautiful and so perfect for all of those Fall/Autumn projects!  It would be a stunning compliment to all of those pumpkin & leaf projects too!

You have two weeks to play along with this current challenge.
  

There are always great prizes up for grabs and this challenge is no exception!


 I hope you'll play along!


Impression Plate: Cover Up Die Pieced Chevron
Cardstock: Vintage White PTI
Ink: Harvest & Tomato Red Fresh Ink, Fern Amuse
Related Posts Plugin for WordPress, Blogger...