Welcome! Today I have two cards to share and a video tutorial on how I completed the cards.
I am using an every day non-holiday die and using it to create holiday cards.
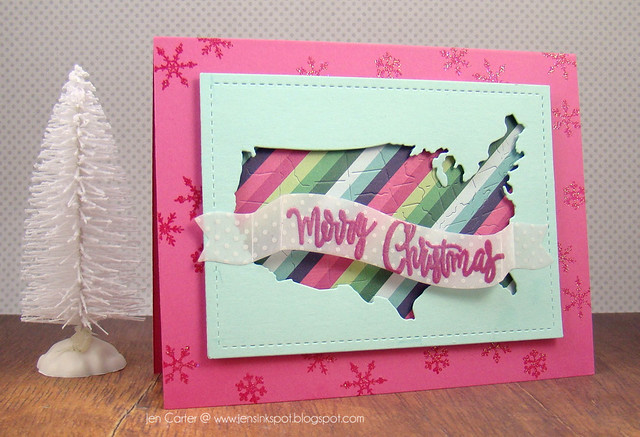
I started my aqua panel by cutting the frame with an Elementals #1 die. I then used the USA Map die to cut the negative from the inside of the frame. This frame was popped up with dimensionals. I stamped four different sizes of snowflakes from the Round Christmas Vignettes stamp set with an Iridescent Sparkle embossing powder. I love the little shine it added to the card.
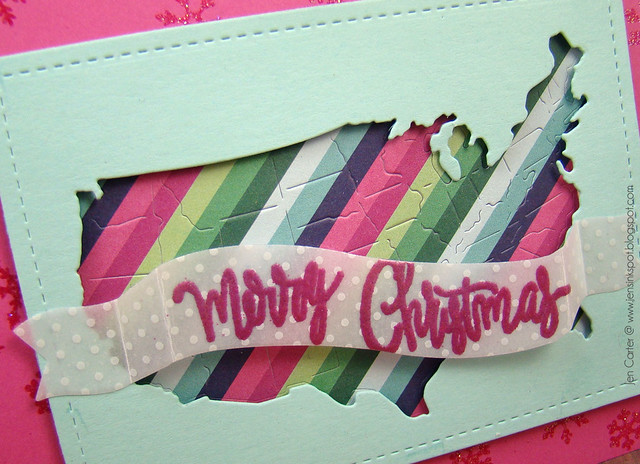
I explain in the video below how to emboss the inside of the map instead of cutting it out. It is really quite easy using an embossing mat and your die cutting machine. To create the banner I used one of the Wavy Banners dies and embossed the sentiment from Triangle Trees on it. I spread the banner out on my card rather than tucking it under like I normally would.
Hopefully the video explained my process well!
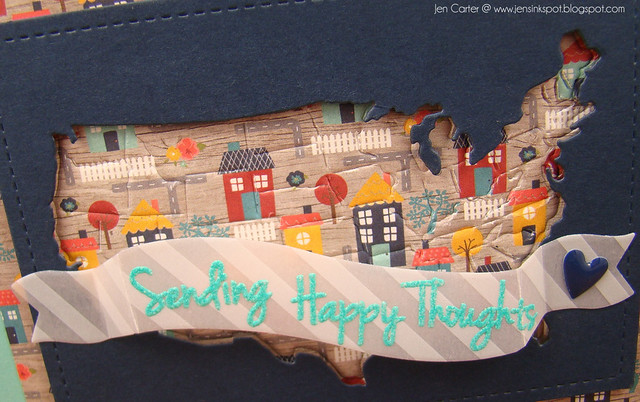
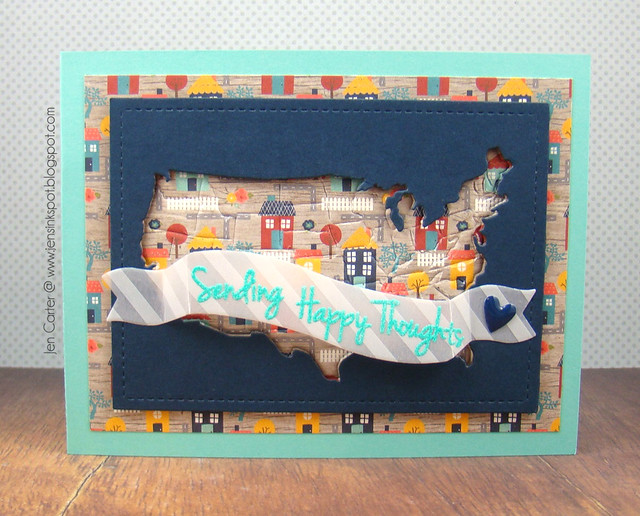
This is the "fall" version of the Christmas card above, that I put together on the video. I basically did the same thing as I did on the first card. *On a side note, I have to add how much I like this patterned paper! We are in the process of painting our house navy blue with white trim and a yellow door! I love the little blue house on this paper!

The sentiment on this card comes from the Scribble Flowers #1 stamp set.
Triangle Trees
Round Christmas Vignettes
Scribble Flowers #1
Supplies
Merry Christmas Card
Merry Christmas Card
Stamps: Frantic Stamper Triangle Trees, Round Christmas Vignettes
Dies: Frantic Stamper USA Map. Wavy Banners, Elementals #1
Patterned Paper: Pebbles Winter Wonderland
Cardstock: MFT & PTI Aqua
Vellum: PTI
Embossing Pwd: Zing Red
Sending Happy Thoughts
Stamps: Frantic Stamper Triangle Trees, Scribble Flowers #1
Dies: Frantic Stamper USA Map. Wavy Banners, Elementals #1
Patterned Paper: Echo Park The Story of Our Family
Cardstock: MFT
Vellum: PTI
Embossing Pwd: Zing Aqua
Other: Enamel Heart Amy Tangerine


These are wonderful!
ReplyDelete