Hello! It's that time again! Time for a new Lil' Inker Designs release! The new products are already available in the store! If you are following along in the blog hop you should have come from Laura's blog! There are three $15 gift certificates to the LID store up for grabs, so the more blogs you comment on, the better your chances are of winning!
I have two cards and two videos to share with you today! If you've just come from Laura's blog you might have noticed that one of the themes for this release is lots of little holes! But hold on! Don't fear the tiny little die cut pieces!! I found a wonderful & easy (and even fun!) solution for you!
(I would be honored if you would subscribe to my new Youtube Channel. Unfortunately, I've had to start over and create a new one since my email was being discontinued and my account was tied to my old email. I can't even tell you what a nightmare it's been getting all of my accounts saved/fixed!)
You've already seen a preview of my first card if you watched the video above.
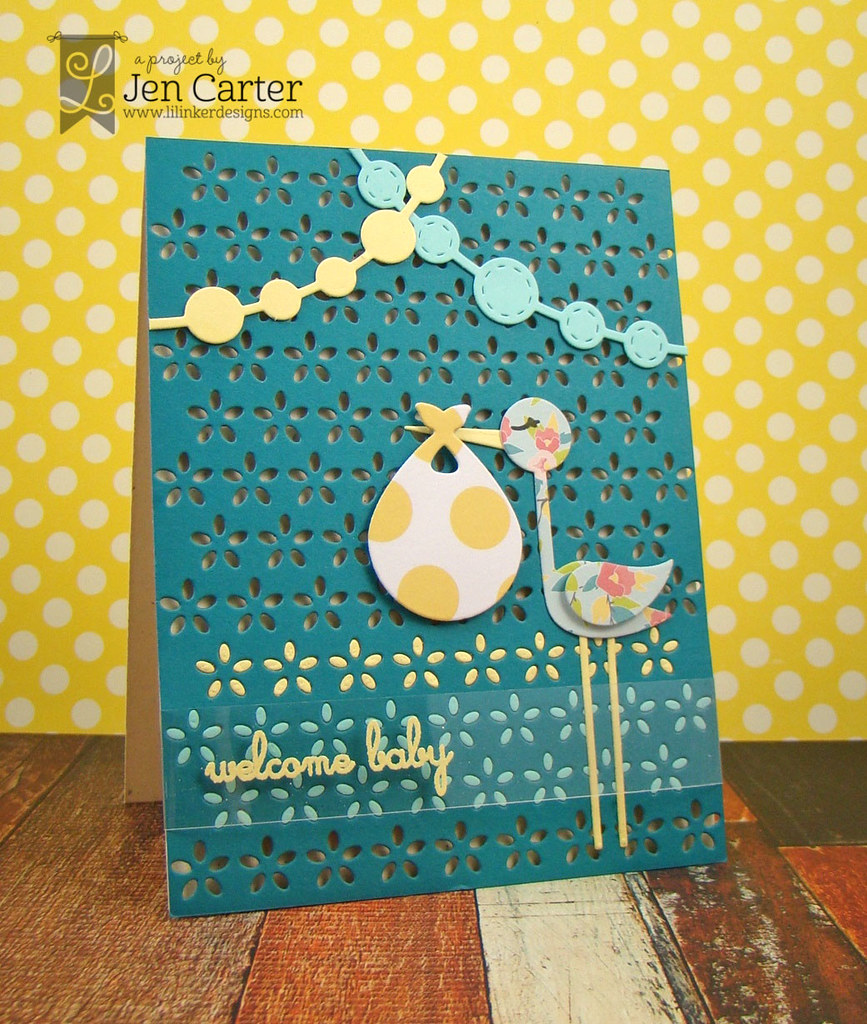
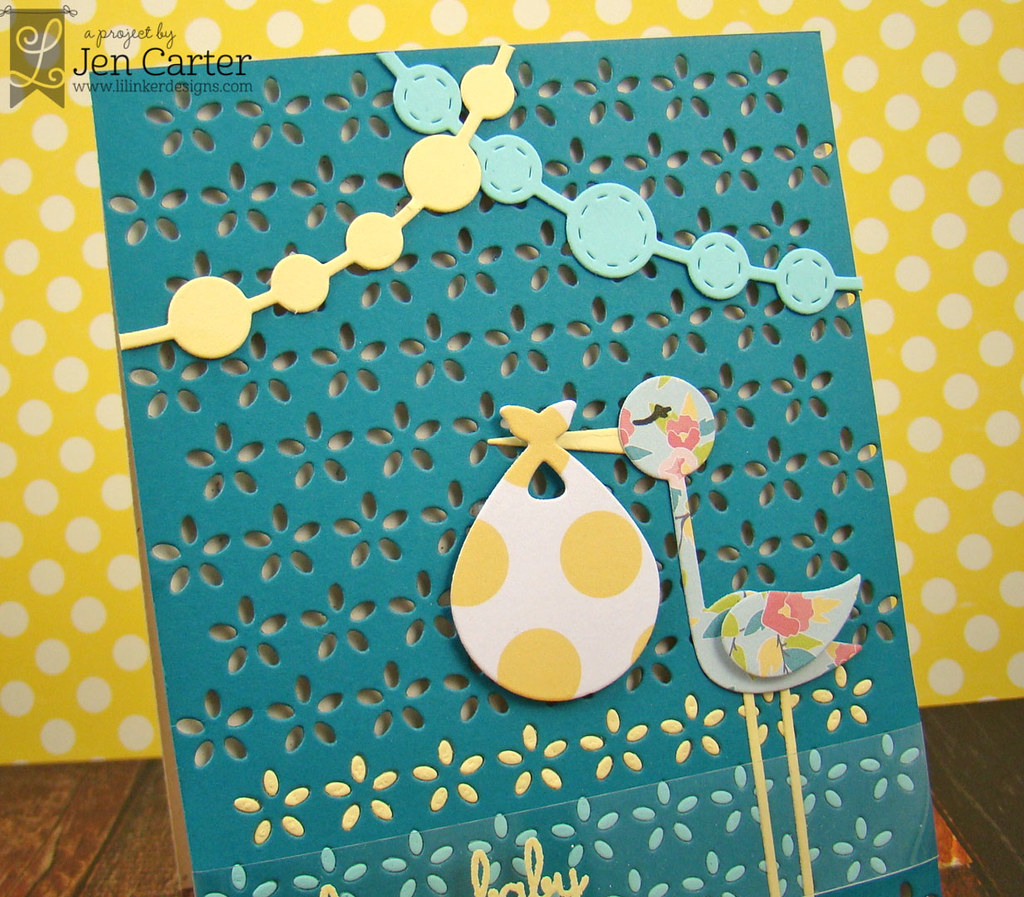
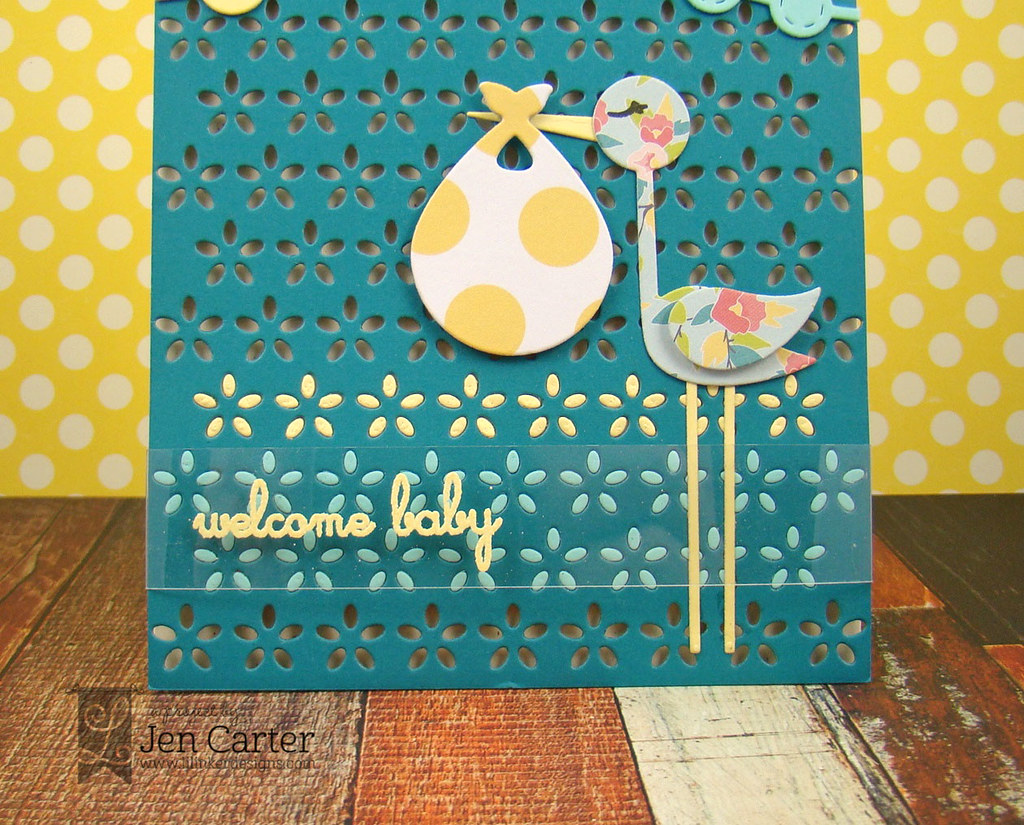
I love this new Stork Stuff die & stamp set! It is so much fun and I don't even know how many stork cards I've made! I also love this new Cover Up Die: Eyelet! I started by first die cutting the eyelet background. I chose fun papers to paper piece the stork from Stock Stuff with...the options are certainly endless! And, if you like to color, there is a stork line image that you can color too!
To go along with the previously released Hearts Banner Die, we now have the Circles Banner Die! It was perfect to add to the top of the card. I love the little stitched detail in some of the circles!
For this bottom part, I used a thick piece of heat resistant acetate to emboss my sentiment on from the Stork Stuff stamp set. You will also notice that I paper pieced the tiny little die cut pieces on three of the rows. I know that that sounds hard & tedious but it was really easy! I created another short video to show you how I did this.
I have one more card to share today that uses the Stork Stuff dies & stamp set and also a few more new dies from Lil' Inker Design's new release!
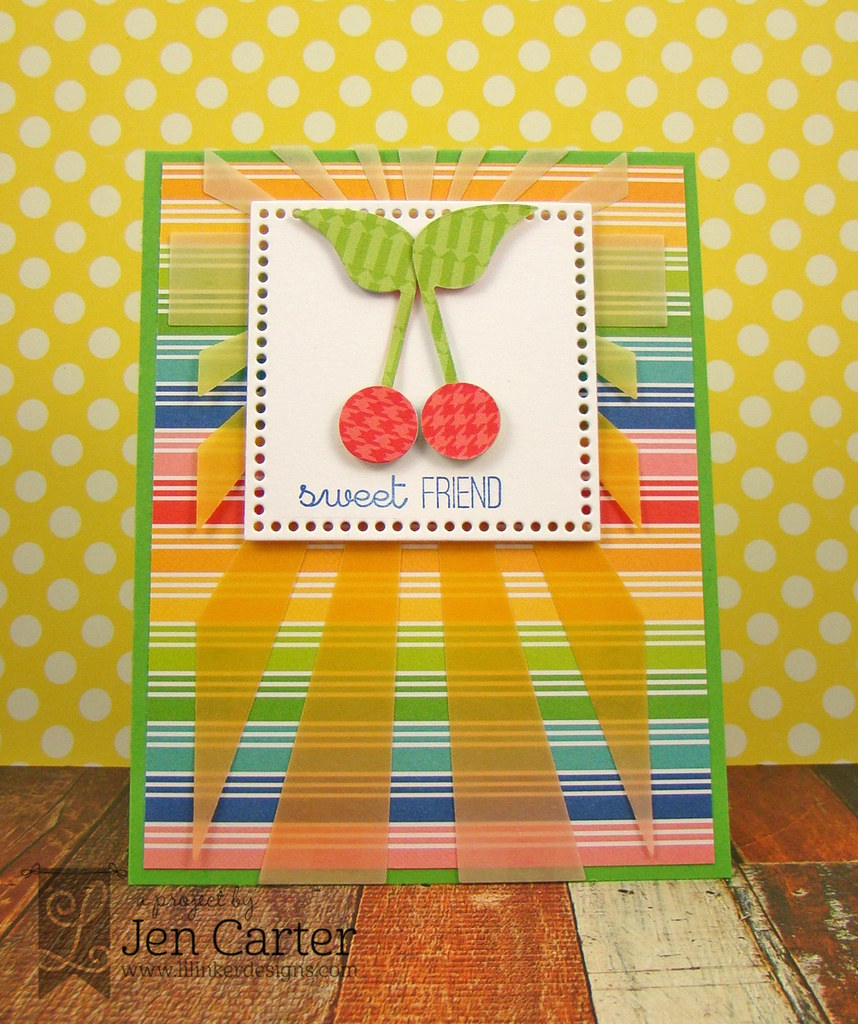
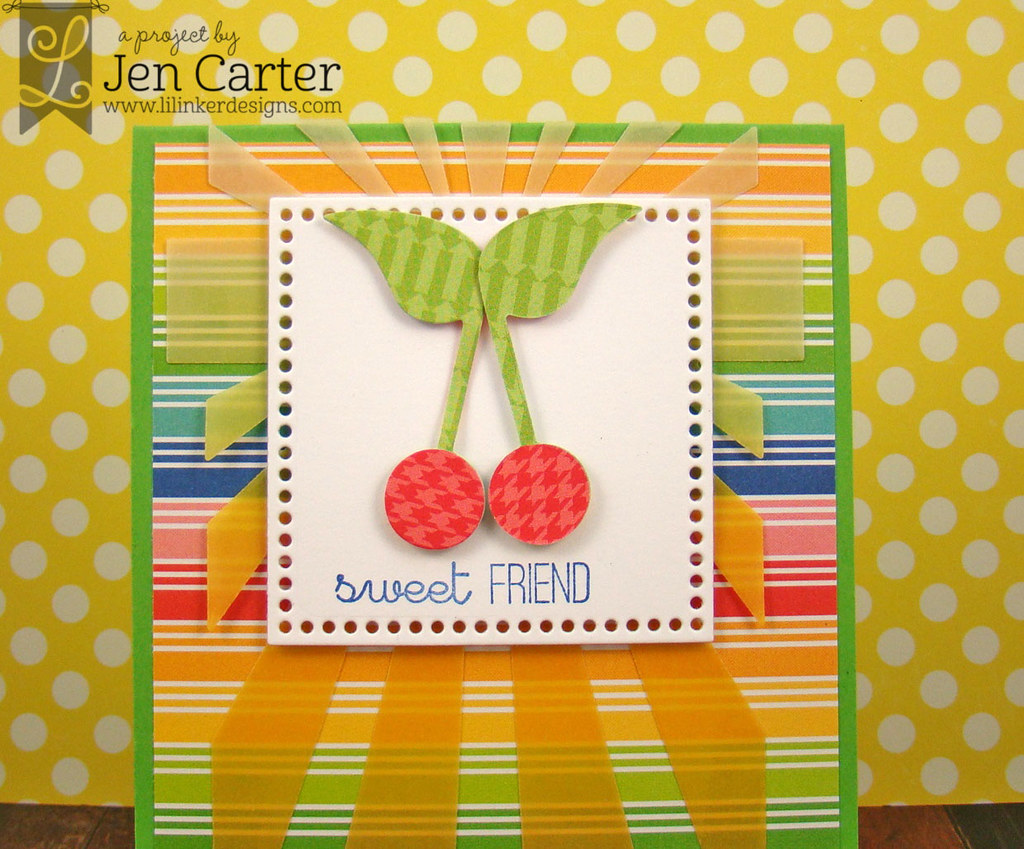
Do you see the stork? LOL! I used the stork head/body die to create the cherries! They also look like music notes to me. I die cut the white frame with one of the new Dual Dotted Squares dies. The sentiment is from two stamp sets. The "sweet" is from the Stork Stuff stamp set & the "friend" is from the previously released Girl's Best Friend stamp set.
The yellow background die is the new Wrapper's Delight Sunburst Die which is another amazing die! It is the first in a new series of dies that can be wrapped around a card front or other object. I didn't use it how it was intended here, but I love how it looks on a card front! I used distress inks to color the vellum a light yellow to a darker yellow/orange and then adhered it to my card front with vellum adhesive (Tombow).
And...I don't have these in my hands quite yet but I wanted to share a fun new product from LID that you can purchase TODAY!!
Ombre Stripes Paper Pack
And...I don't have these in my hands quite yet but I wanted to share a fun new product from LID that you can purchase TODAY!!
Ombre Stripes Paper Pack
The products I've used on my cards today are:
Previously Released Products:
 |
| Girl's Best Friend Stamp Set |
I know that was a long post! Thank you for hanging in there with me! All of the Lil' Inker products that I've used are linked above & you can purchase them in the store now! Your next stop on the hop is over to Sarah Jay's blog!
Come back tomorrow for another round of inspiration and don't forget to leave a comment to win! The more blogs you comment on, the better your chances are of winning! There's plenty more inspiration to see using these new products!
Also, I am going to enter this in the SSS Wednesday Challenge for Anything Goes!
Also, I am going to enter this in the SSS Wednesday Challenge for Anything Goes!



I love what you did with the cover up die eyelet....so cute!
ReplyDeleteJust love your whole post Jen! Videos and that first card with the stork! The colors are just gorgeous!
ReplyDeleteBeautiful! You are so talented!
ReplyDeleteAWESOME!! THANKS SO MUCH for sharing the Videos too!! I LOVE your Cards!! SO FUN!! I CAN'T WAIT TO SEE MORE!! Have a FABULOUS WEEK!! =)
ReplyDeleteGreat cards and tips, thanks!
ReplyDeleteGreat cards and tips, thanks!
ReplyDeleteSoooooooo CUTE! Love today's projects!
ReplyDeleteThis is a great release. Loving all the dies and sombre paper.
ReplyDeletethese are fantastic! love your cherries....clever and creative girl! videos were great, too. thanks for sharing!
ReplyDeleteThese are really fun creations you've made with the dies!! Love your tips about the new products too! :) Thanks for sharing!
ReplyDeleteAwesome cards, Jen! Thanks for sharing your tips!
ReplyDeleteLove your creations, all so great.
ReplyDeletethe stork is darling. Love how you pieced the colors at the bottom of the die cut. Really looks snazzy (and to the person who receives the card it looks like you really went to a lot of work)
ReplyDeleteLove the rays on the second card. Bright and cheerful.
thanks for sharing.
Love these! the second one is just full of yum yum colors and the first....LOVE that cover up die! Beautiful cards ♥
ReplyDeleteGreat cards - thank you for the tips.
ReplyDeleteLove your cards, Jen, and great tip for dealing with those teeny tiny pieces, thanks!
ReplyDeleteHoly smokes, way to think outside the stork to come up with those cherries! :)
ReplyDeletelove that fun and colorful friend card!
ReplyDeleteLove the stork stamp and die set. It is soooo cute!
ReplyDeleteYour ideas are So creative. LOVE the flowered stork and your stork-cherries are just darling!
ReplyDeleteYour ideas are always so brilliant! And not to mention the final products too! Lovely, creative designs.
ReplyDeleteFabulous stork card and love how you made the cherries.
ReplyDeleteDarling baby card.
ReplyDeleteGreat cards.
ReplyDeletei have always loved eyelet fabric so this cover plate is just amazing. Great new products and beautiful cards.
ReplyDeleteAwesome cards! Thanks for sharing your tips! :)
ReplyDeleteCute cards. Very cool how you turned the stork into a cherry.
ReplyDeleteSuch beautiful background creations today. :)
ReplyDeleteI just love that sweet little cherry card! Adorable!
ReplyDeleteAdorable cards Jen! And thanks so much for the videos. Nice to see how easy working with those intricate dies can be.
ReplyDeleteAwesome videos and I love the storks as cherries! SO FUN!
ReplyDeleteOOOOOh, your cards are spectacular!
ReplyDeletethanks for all your great tips!
ReplyDeleteABSOLUTELY FABULOUS cards Jen!!!
ReplyDeleteLOVE the designs and pretty layers!!!
THANK YOU for sharing your TOP TIPS and tutorials - it is SO COOL how you inlaid the eyelet pieces and SO PRACTICAL how you popped out the confetti bits too!!!
PS - I'm following you on Youtube :)
ReplyDeleteIt is so frustrating when you have to start things over again!!!
JEN YOUR VIDEOS!!!!!!!!!! I've just gone in and added them to the product description on the website and they can be viewed right from the item page under the Product Video tab!!!!! These are BOTH super informative!!!!!!! The Tool N' One IS great! I ended up using it too but over the foam? I need to try that!!!!
ReplyDeleteI was blown away by the genius of adding the different colored pieces to this die cut and how you lined everything up and used the tape. I am SO TRYING this!!!! WOW, Jen!! You really never cease to amaze me!! I am such a fan of you and your work and they way you think!!!! I'm such a lucky gal to have you as part of our team!! Thank you!!! You always go above and beyond!!!!
Love,
Laura
These cards are fantastic! Thank you for the tutorial!
ReplyDelete