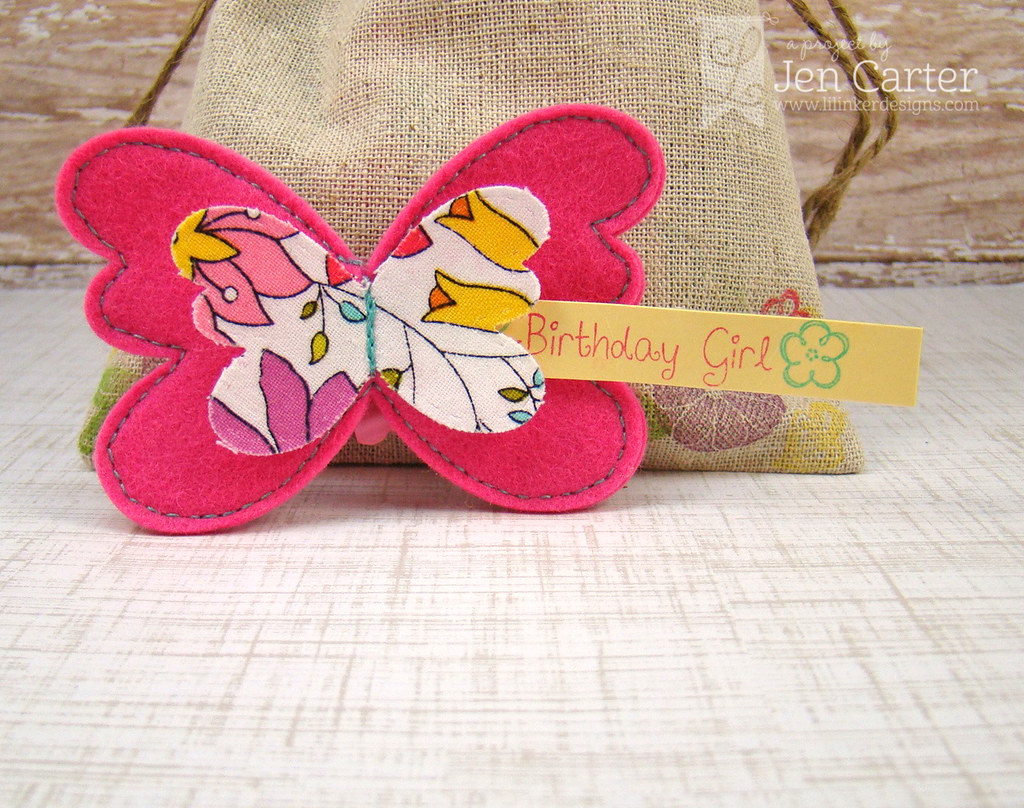
I first decorated my bag by stamping on it with the Spot on Spring Stamps and I also used the flower from the Spring Sentiments stamps. The images stamped so well on the bag! My butterfly clip also doubles as a tag/card.
I cut two of the largest butterflies from felt and the butterfly the next size down in fabric & stiffening fabric. I took one of the felt pieces and used an exacto knife to cut two small slits that a small piece of cardstock could slide in and out of. I then took the fabric butterfly (that I had fused some stiffening fabric to) and stitched it to the top piece of felt in the middle (be sure to do this before you sew the two largest felt butterflies together or you won't be able to slide your message in and out). Next, I took the other piece of felt and lined them up and stitched them together using my sewing machine. This allowed the small piece of paper to easily slide in and out to reveal the hidden message! I also sewed a small clip to the back of the butterfly so it could clip onto the bag and then could also be used to clip on to something else after the gift was given. The sentiment was stamped from the Sentiment Flags Additions stamp set.
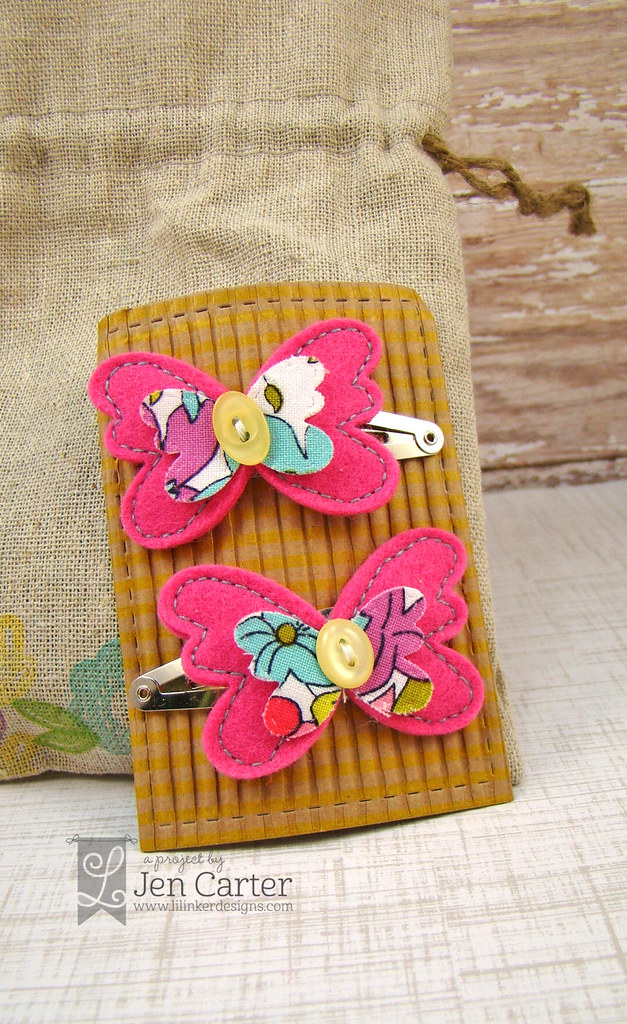
I did the same process for the butterfly barrettes (minus cutting the slits since I didn't need them for a message). I also stitched a small button to the middles. I cut a piece of corrugated cardboard with the Stitched Mats: Rectangles and cut little slots in it to put the barrettes through.
This really didn't take much time and was pretty easy to put together!
I hope you enjoyed this project! Thank you for stopping by!


No comments:
Post a Comment
Thank you so much for stopping by my blog and taking the time to leave a comment! I appreciate your comments so much! Have a great day!