Home

Friday, January 29, 2016

Lil' Inker Designs Release Day 3

Welcome back to day 3 of the Lil' Inker Designs release!  If you are following along in the blog hop you should have come from Maureen Merritt's blog There are three $15 gift certificates to the LID store up for grabs, so the more blogs you comment on, the better your chances are of winning!   

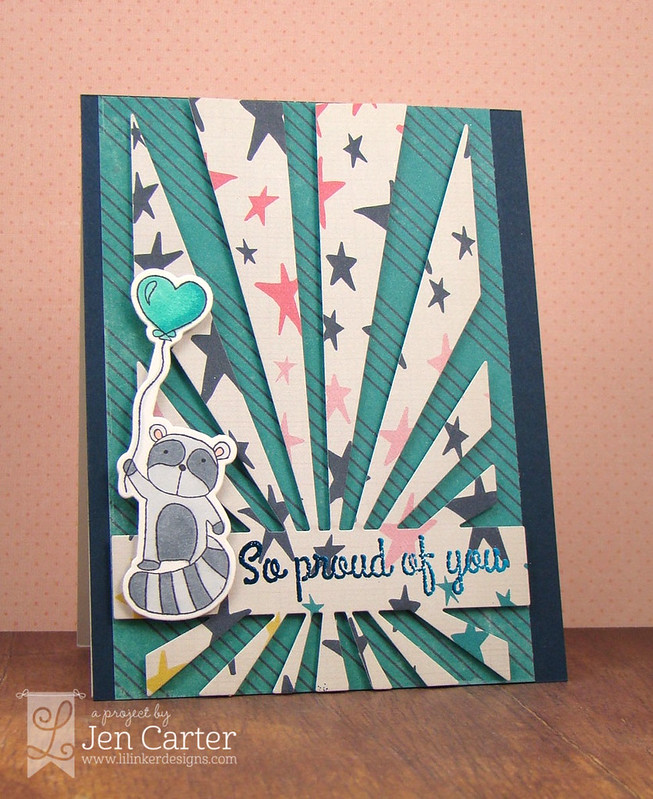
Jen Carter Proud of You Racoon 1 wm

I couldn't resist using the cute little Lovie Friends StampsLovie Friends Dies one more time this release.  I put the cute little critter on a background that I die cut with the Wrapper's Delight: Sunburst Die.

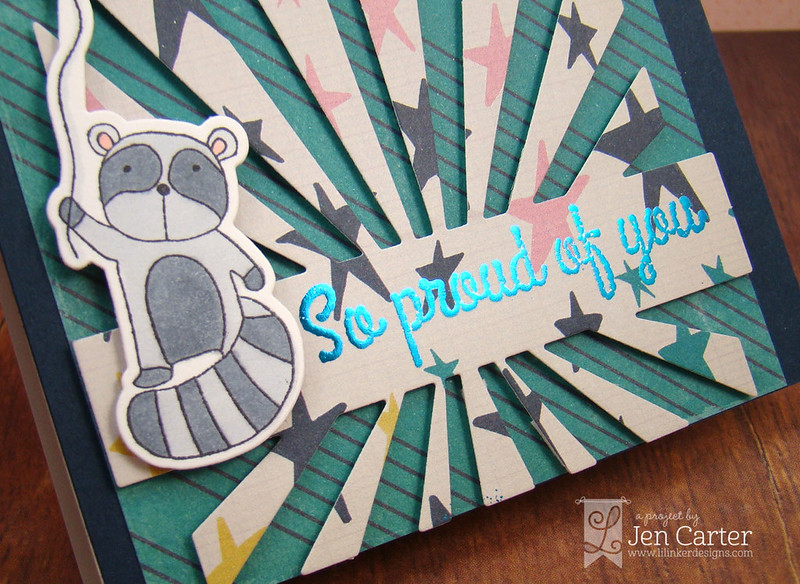
Jen Carter Proud of You Racoon Closeup 2

I used my Minc machine to foil the stamped sentiment from the newly revised Sunshine Sentiments.  To do this I embossed the sentiment with fine detail white embossing powder, put the foil on top, put it in the transfer folder and ran it through the minc on heat level 2.  Don't try heat level 4...it won't work, unless you like the really smooshed look, LOL!  I LOVE that I can foil my sentiments!

I am going to enter this card over at the SSS Wednesday Anything Goes Challenge!

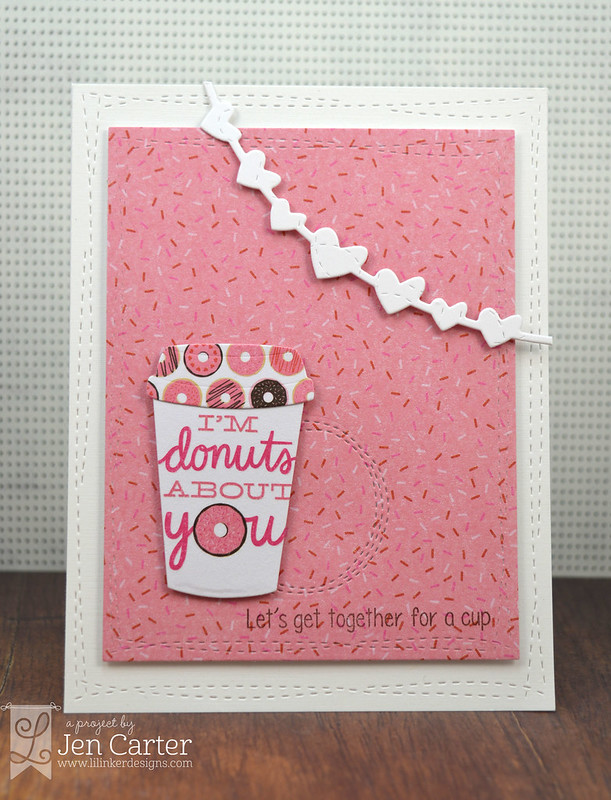
Jen Carter Cozy Donuts Coffee front 2 wm

Last card for the release.  For the white background I used the largest rectangle die from the super fun new Silly Stitched Die Set.  I used the next sized rectangle from the same die set on the pink sprinkles paper.  And, I also used one of the circles from that set behind the coffee cup too. I die cut the Heart Banner at the top after first using the Quilted Swirl Stitched Pattern Die to cut the pattern into the hearts for added texture.


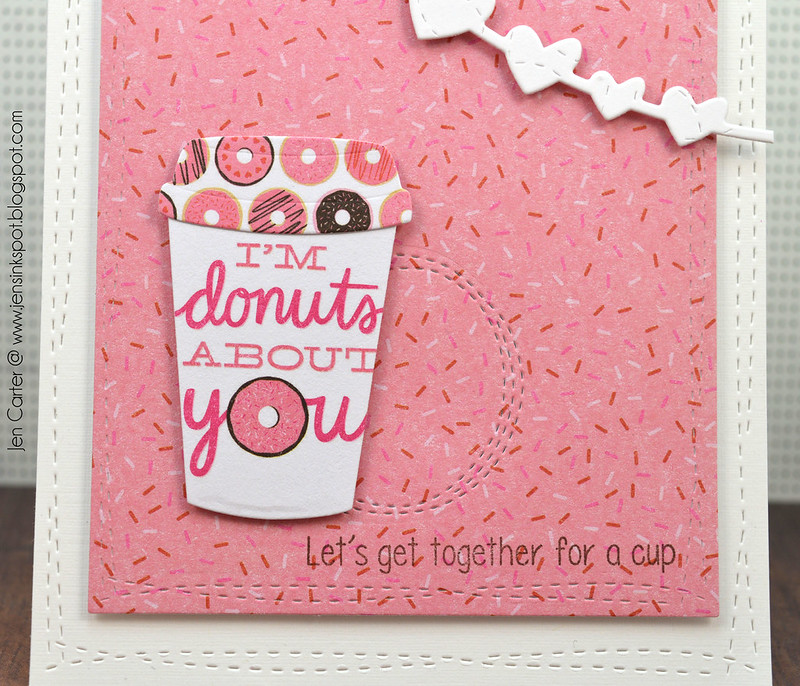
Jen Carter Cozy Donuts Coffee Closeup 1

The coffee cup was die cut with the new Coffee Cozy Die Set.  I used a piece of patterned paper to get the sentiment on the cup like that and it fit perfectly!  Also, can you see the score lines in the cup lid?  I love that detail! I stamped the coordinating sentiment from the new Coffee Cozy Stamps.

That's all I have today.  Thank you so much for visiting this week!  Don't forget to leave a comment to win.  The more blogs you comment on, the better your chances are of winning!  All of the Lil' Inker products that I've used are linked above & are available at the Lil' Inker Designs store now!  Your next stop on the hop is over to Amy Kolling's blog!

Supplies
So Proud of You

Stamps: Lil' Inker Designs  Lovie Friends Stamps,  Sunshine Sentiments
Dies: Lil' Inker Designs Lovie Friends DiesWrapper's Delight: Sunburst Die 
Paper: Crate Paper Craft Market, MFT Nightshift Blue
Ink: Memento Tuxedo Black
Other: Copics, Minc Foil, Filigree White Fine Art Embossing Powder

Donuts About You
Stamps: Lil' Inker Designs Coffee Cozy Stamps
Dies: Lil' Inker Designs  Coffee Cozy DiesSilly Stitched DiesHeart Banner Dies, Quilted Swirl Stitched Pattern Die
Paper: Pebbles Be Mine 
Ink: Avery Elle Truffle

Thursday, January 28, 2016

Love You Banner: Lil' Inker Designs Release

Welcome to day 2 of the Lil' Inker Designs Release Post!  All of the products being shown today are currently available in the Lil' Inker Designs store!  If you are following along in the blog hop you should have come from  Sarah Jay's blog! There are three $15 gift certificates to the LID store up for grabs, so the more blogs you comment on, the better your chances are of winning!  Banner Collage
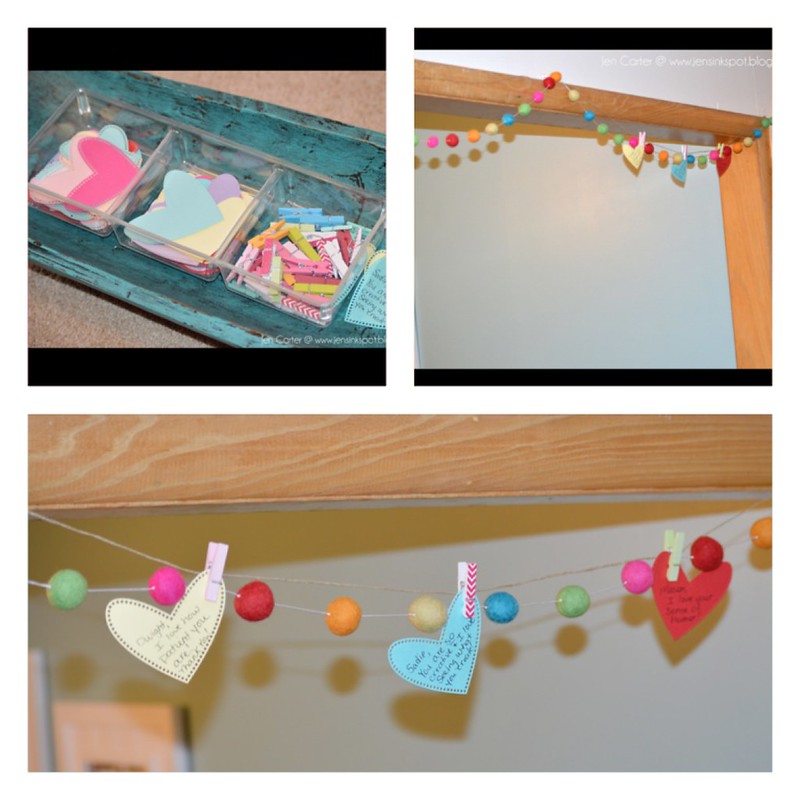
I am so excited to share with you a project that is near and dear to my heart.  And to tell you the truth, it all began with a book.  A fiction book.  But it truly inspired me.  I read it sometime last year and so many ideas came to mind.  The book is called Paper Hearts by Courtney Walsh.  It is a book about red paper hearts and the way that a couple uses them to share and document their love with each other.  Every time during the year that they noticed something special about their husband/wife/family, something kind that they've done, a way that they've looked, a feeling that they've evoked, a memory that they created together, something that they wanted to remember about the other person, etc they would write it down on a stack of paper hearts.  Then, every Valentine's Day they would string the hearts up with twine and each person would read what the other had written.

This inspired me in so many ways.  Sad thing was that until now they were just ideas floating around in my head.  However, with the release of the new Dual Dotted Hearts Dies from Lil' Inker Designs I felt like this was the time to put at least one of my ideas into action.  So now all I had to do was create my own paper hearts banner.

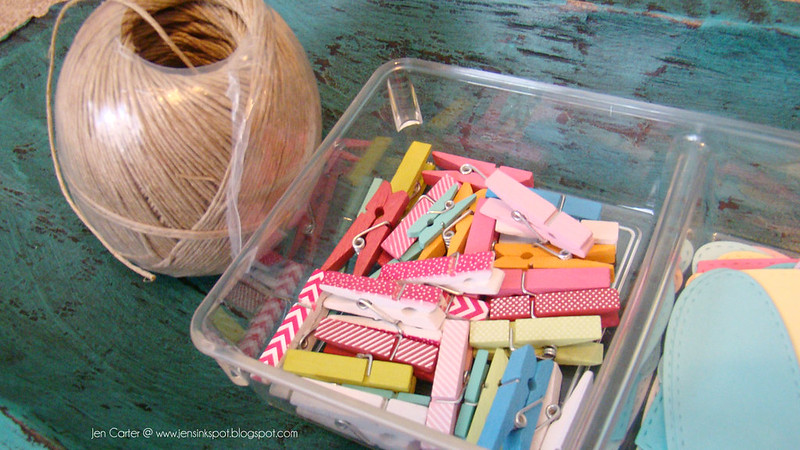
So, to start, I gathered my supplies.

Jen Carter Heart Banner Supplies 6

Jen Carter Heart Banner Supplies 4

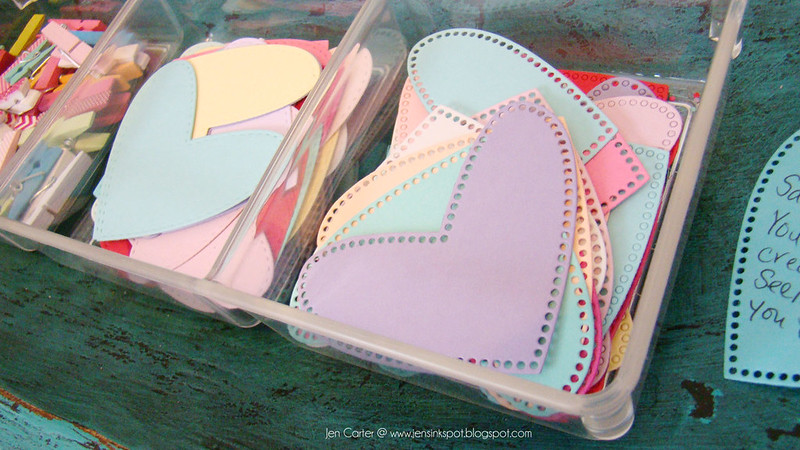
I cut hearts out of various scraps of cardstock and used both the new Dual Dotted Hearts Dies and the previously released Stitched Hearts dies.  This sped up the process because I could cut two hearts in one pass through my Big Shot.  I also used a spool of twine for this project, not pictured above.  

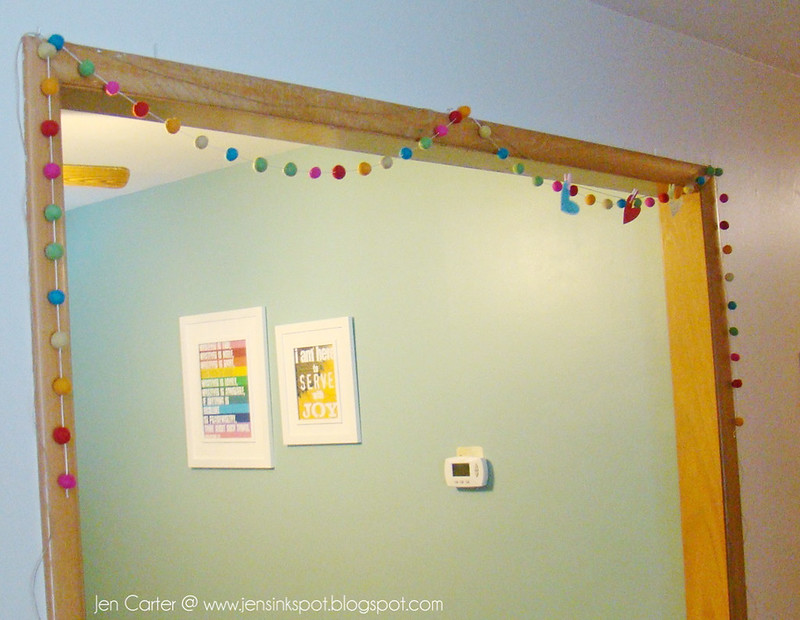
Then, I chose where to hang my banner.  

Jen Carter Heart Banner Hanging 11

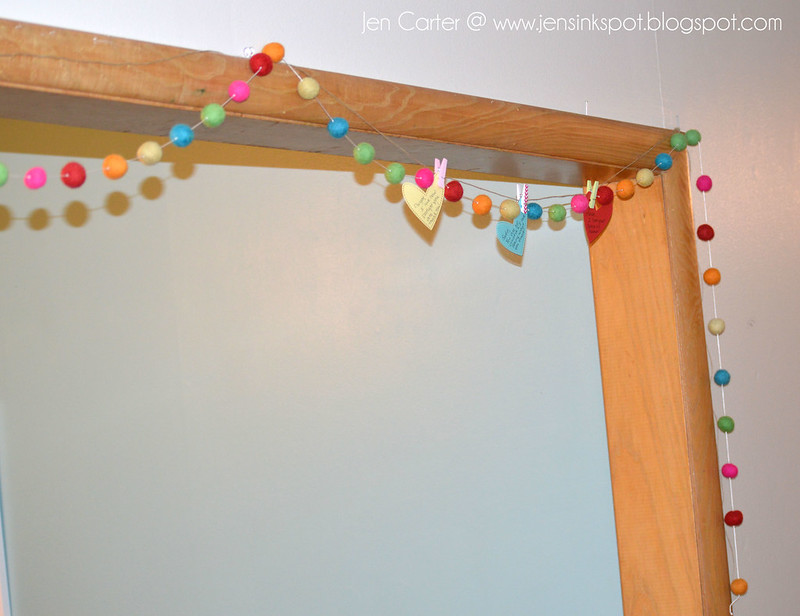
I had a colorful felt ball banner already in my entry way.  I decided that this would be the perfect place to add my hearts banner.  I did add more twine to strengthen my banner because once I started to get all of the hearts up, I knew it would grow heavy and the extra twine would help reinforce my banner.  

The goal:
Jen Carter Heart Banner Hanging 1

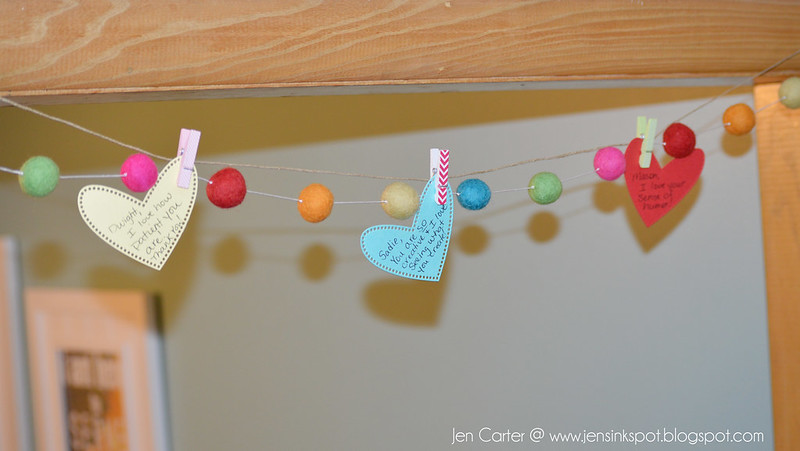
Jen Carter Heart Banner Hanging Hearts Closeup 1

The goal is to add a heart each day in February leading up to Valentine's Day for each family member to say something that I love about them, appreciate about them or noticed them doing that was kind for someone else.  By the end of 14 days, there should be at least 42 hearts hanging up on the banner.  The Dual Dotted Hearts Dies Stitched Hearts dies are the perfect size to write little notes on!

Goal #2:
Jen Carter Heart Banner Extra Supplies 8

Jen Carter Heart Banner Extra Supplies 10

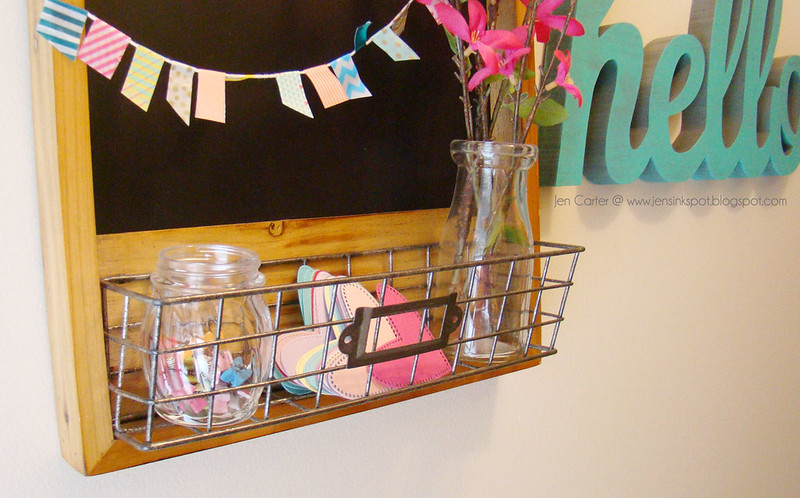
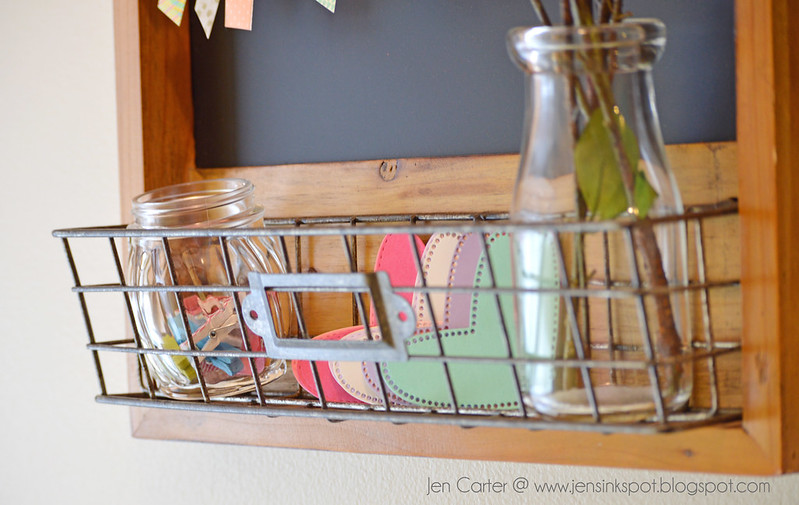
I am hoping that my family will get in on this as well and that they will not only create hearts for me but for each other as well.  Which means, I need a station where they can get supplies should they choose to do so.

Right inside my entryway I have this little station and it was the perfect place to put the extra hearts and clothes pins.  I hope that these supplies will be used up and I'll need to cut more!

Now I told you that this was all inspired by a book I read.  Well, the author of the book and her husband made this fun, quirky video to help promote her book and I thought you might enjoy it!


Before I go, I want to share one more card I made using the new Dual Dotted Hearts Dies and a few other new products as well.


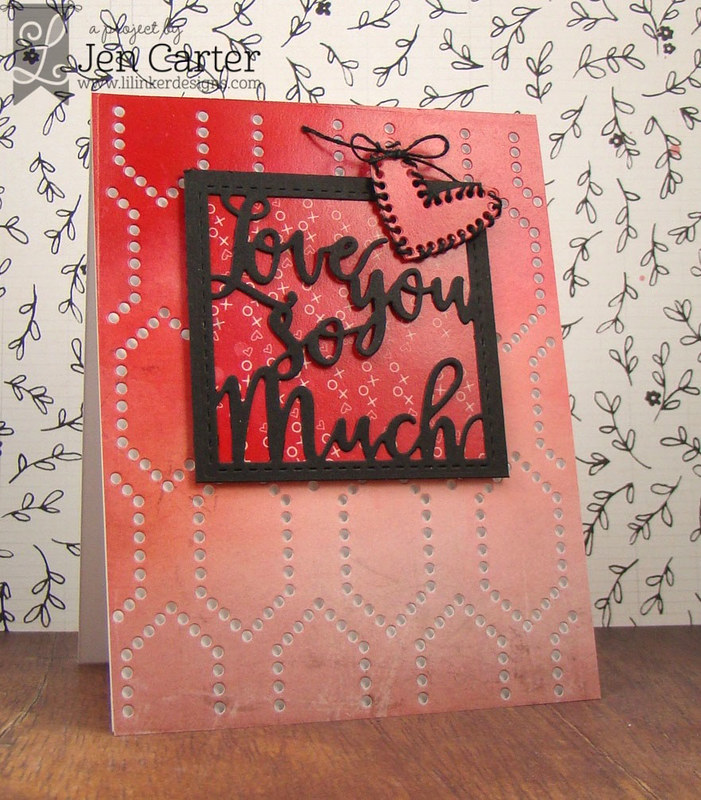
Jen Carter Love So Much wm

For this card I cut one of the new papers available in the Love You Paper Pack with the Cover Up Die: Pointella.  These papers are great for Valentine's but they work so well for many other occasions too! I love the ombre of this print!

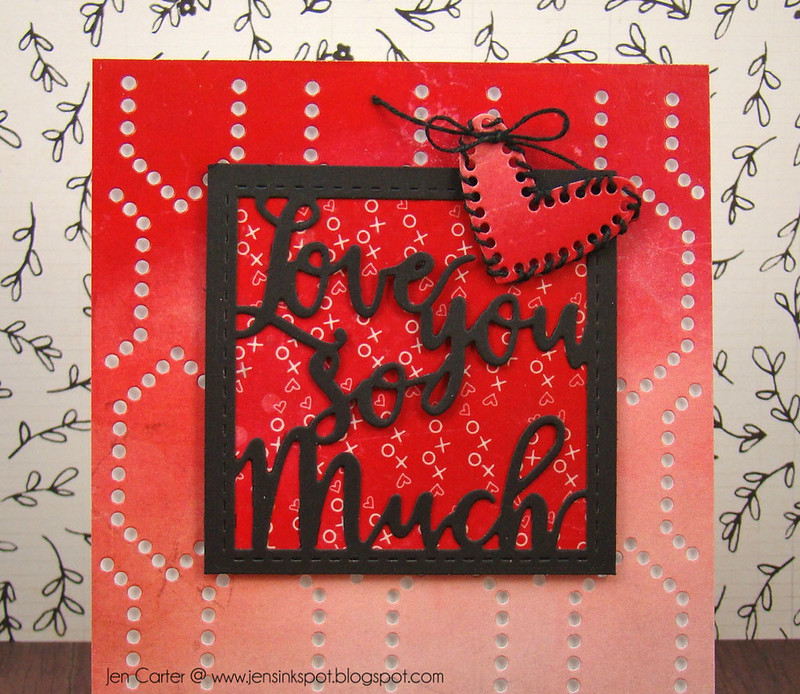
Jen Carter Love So Much Closeup


Next I die cut the Love You Greeting Die from black paper and back it with another print from the new Love You Paper Pack.  I used a small leftover piece from the background paper to die cut the Dual Dotted Hearts Die and then took a piece of twine and stitched through each of the holes and tied a bow at the top. I like the texture and interest it added and it was simple to do!

I'm going to enter this card in the SSS Wednesday Anything Goes Challenge!

Well, that's all I have for you today but I have a bunch more to share tomorrow.  See you then!

All of the Lil' Inker products that I've used (and more!) are available to purchase right now in the Lil' Inker Designs store!  Your next stop on the blog hop is over to Lea Lawson's blogDon't forget to leave a comment for a chance to win a gift certificate!!


 Stitched Hearts dies
Cover Up Die: Pointella

Supplies
Card
Paper: Lil' Inker Designs Love You Paper Pack, PTI True Black
Other: Twine

Wednesday, January 27, 2016

A Little Love: Lil' Inker Designs Release Day 1


Hello!  It's time for a new Lil' Inker Designs release! The new products are already available in the  Lil' Inker Designs store!  If you are following along in the blog hop you should have come from Lisa Henke's blog! There are three $15 gift certificates to the LID store up for grabs, so the more blogs you comment on, the better your chances are of winning! 

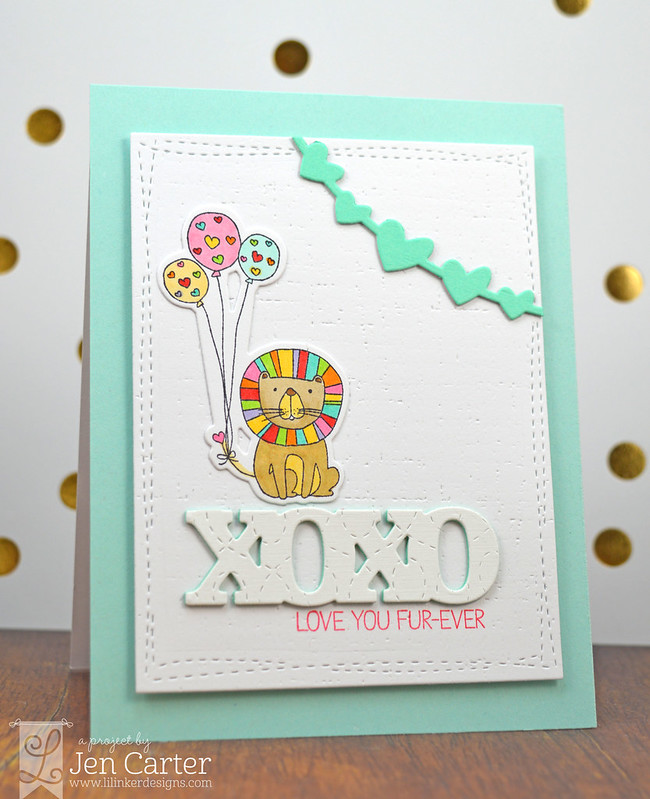
Jen Carter XOXO Lion 1 wm

These new Lovie Friends stamps and new Lovie Friends dies have captured my heart!  I've always said I'm not a colorer, and well, you can tell that my skills haven't seen much practice lately but this lion...well, I LOVE this lion so much!  I couldn't resist giving him a mane full of color!  And of course, the balloons needed to follow suit!

I used the new XOXO Valentine Tag Die (3 dies in this set) for the tiger to stand on.  I first used the Quilted Swirl Stitched Pattern Die to cut the pattern into the XOXO for added texture and then stamped the sentiment from the Lovie Friends stamp set underneath.

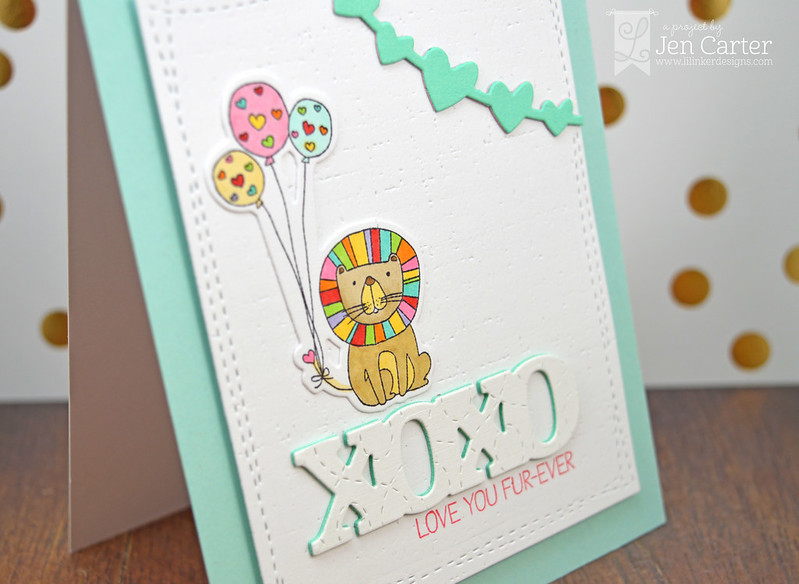
Jen Carter XOXO Lion Closeup 1

I thought that the new Silly Stitched Die Set (which has been in the works for quite some time!) was the perfect way to frame this scene.  I added one of the Hearts Banners to the top corner.

Jen Carter Lovies Miss You 5 WM

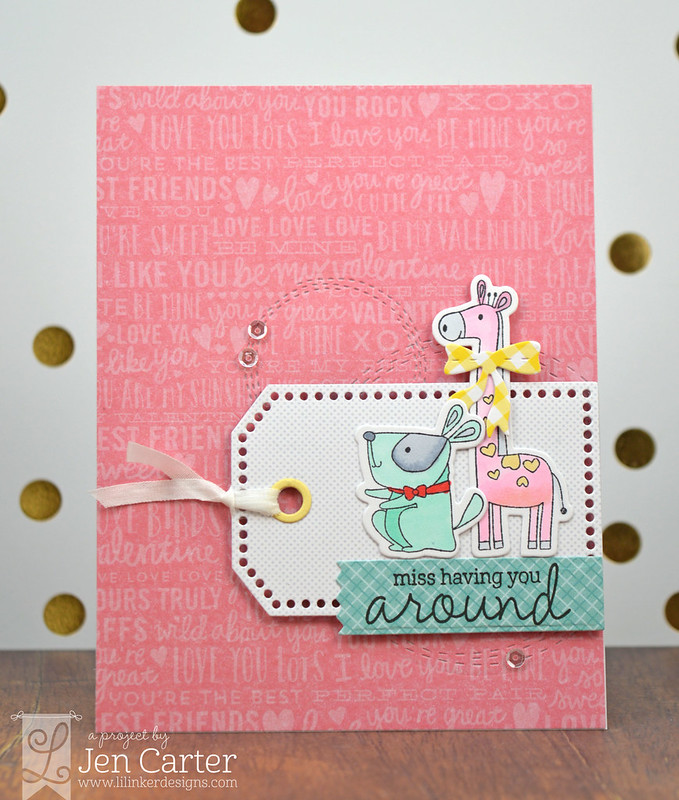
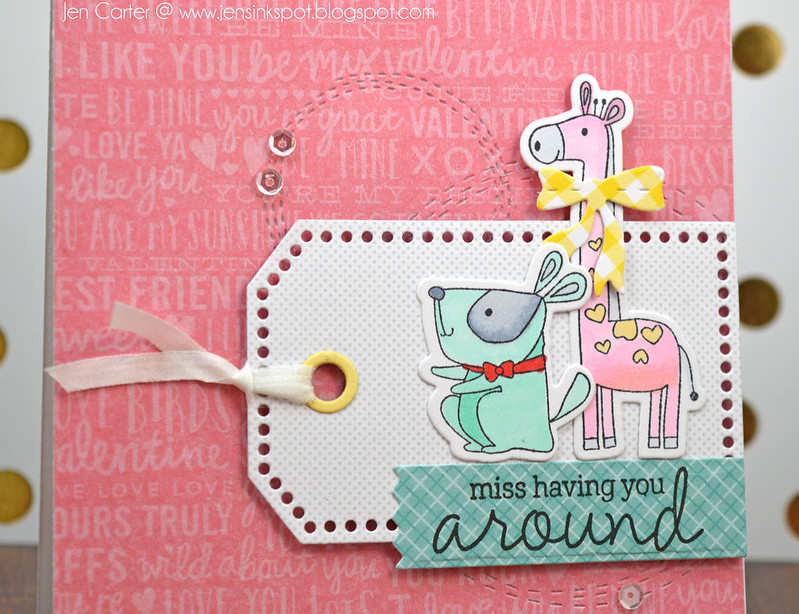
For my 2nd card, I again used the cute Lovie Friends stamps and Lovie Friends dies for my animal images.  Aren't they adorable?!  I put a bow die cut from the Bunnies & Bows die set on the giraffe.  I adhered them to a tag that I die cut using the Dotted Tag Die.  I stamped the sentiment from the newly revised Pinwheel Sentiments Stamp Set on patterned paper that I had die cut with one of the Pinking Edge Sentiment Flag dies.

Jen Carter Lovies Miss You Closeup

You can also see a couple of the Silly Stitched Circle Dies on the background paper that I die cut to frame the tag.
All of the Lil' Inker products that I've used (and more!) are available to purchase right now in the Lil' Inker Designs store!  Your next stop on the blog hop is over to Maureen Merritt's blog!

I hope you enjoyed these cute little animal projects!  They are just the right size to color and can be used all year long!  Thanks for stopping by!

P.S.  Don't forget to leave a comment for a chance to win a gift certificate!!

Supplies
Lion Card
Stamps: Lil' Inker Designs Lovie Friends stamps 
Inks: Memento Tuxedo Black, Avery Elle Cherry
Paper: SU Coastal Cabana, PTI Aqua Mist & White
Other: Copics

Miss Having You Around Card
Stamps: Lil' Inker Designs Lovie Friends stampsPinwheel Sentiments Stamp Set
Dies: Lil' Inker Designs Lovie Friends diesSilly Stitched Circle DiesBunnies & Bows dieDotted Tag DiePinking Edge Sentiment Flag dies
Inks: VersaFine Onyx Black
Paper: Pebbles Be Mine, Doodlebug Designs Polar Pals
Other: Copics, Sequins

Monday, January 25, 2016

Out of this World! Shaker Card

Good morning!  I hope you had a great weekend!  Are you tired of the seeing the rocket cards yet?  I hope note, because I still have several to share!

For today's card I used the rocket to make a shaker card!

Jen Carter XOXO Rocket Front

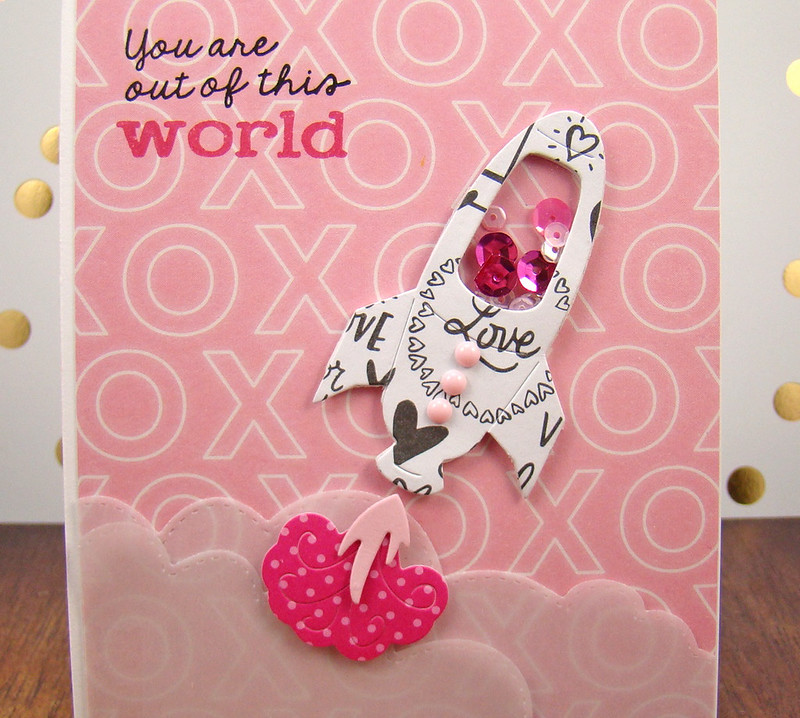
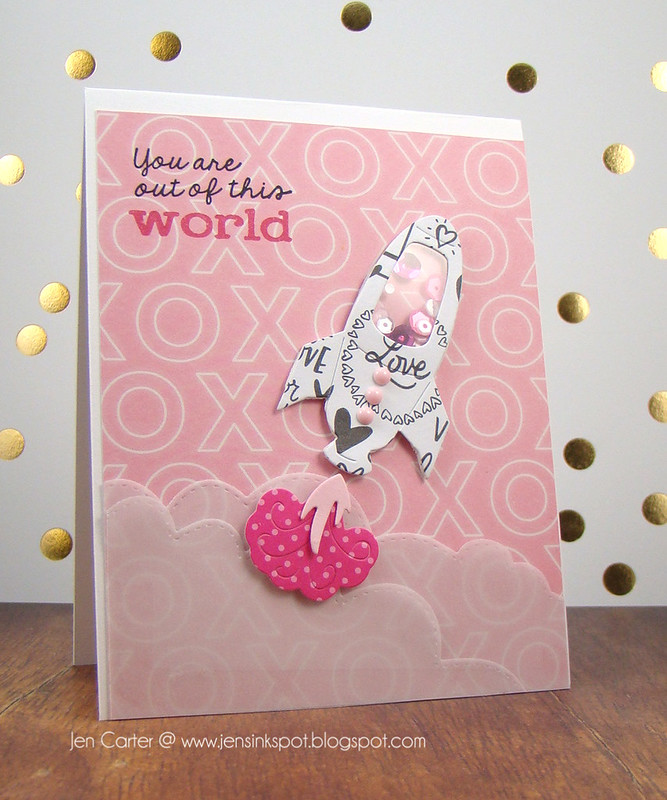
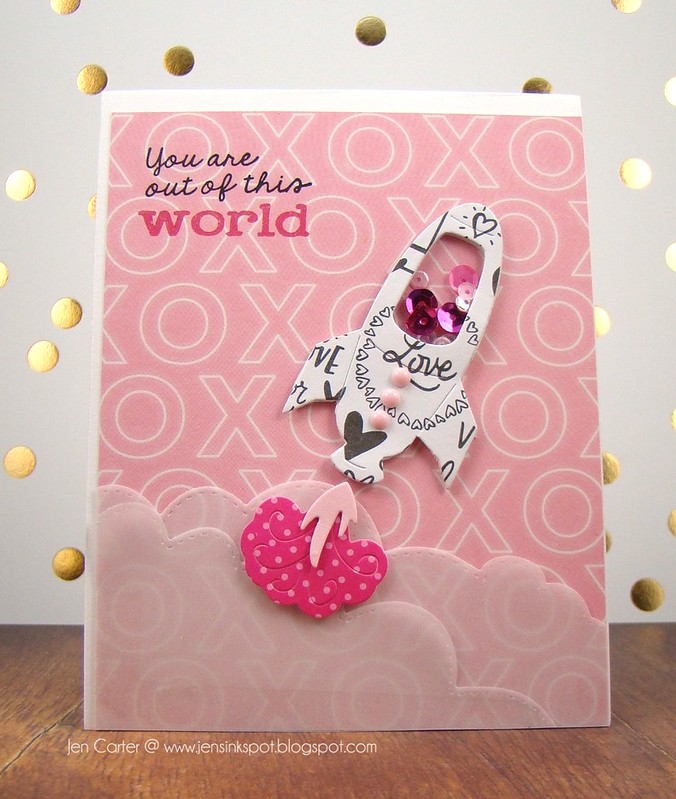
I started by die cutting the rocket from the Rocket Launch die set from patterned paper.  Then, I die cut it a second time using fun foam that already had adhesive on it.  I added my clear window and adhered the layers together, then added my sequins.  For the dots on the front I used pink enamel dots.

Jen Carter XOXO Rocket Closeup

For the clouds at the bottom, I used two of the Stitched Cloud Edgers dies and I die cut a sheet of vellum several times and layered them on top of each other.  I love how this turned out and how you can still see the patterned paper in the background.

Jen Carter XOXO Rocket

The sentiment is from the Sentiments from Space clear stamp set that I am over the moon (pun intended!!) about!!

I'm linking this card up to the Sunday Stamps Sketch Challenge #118 (I turned the sketch upside down).

I'm also linking up to the CASology blog with the theme of "Clear".  I used clear cardstock to make my rocket's shaker window!

Thanks for stopping by today!  I hope you enjoy your day!

Supplies
Stamps: Frantic Stamper Sentiments from Space
Dies: Frantic Stamper Rocket LaunchStitched Cloud Edgers
Paper: Crate Paper Hello Love, PTI Raspberry Fizz Dots, Vellum
Ink: Fresh Ink Fuchsia, VersaFine Onyx Black
Other: Various Sequins (some from Pretty Pink Posh), My Mind's Eye Enamel Dots

Wednesday, January 20, 2016

Blast off with an Interactive Card

Today I have an interactive birthday card to share.  I had a lot of fun making it and I hope you enjoy it!  I have quite a few pictures to show.

Jen Carter Pop Up Rocket 1

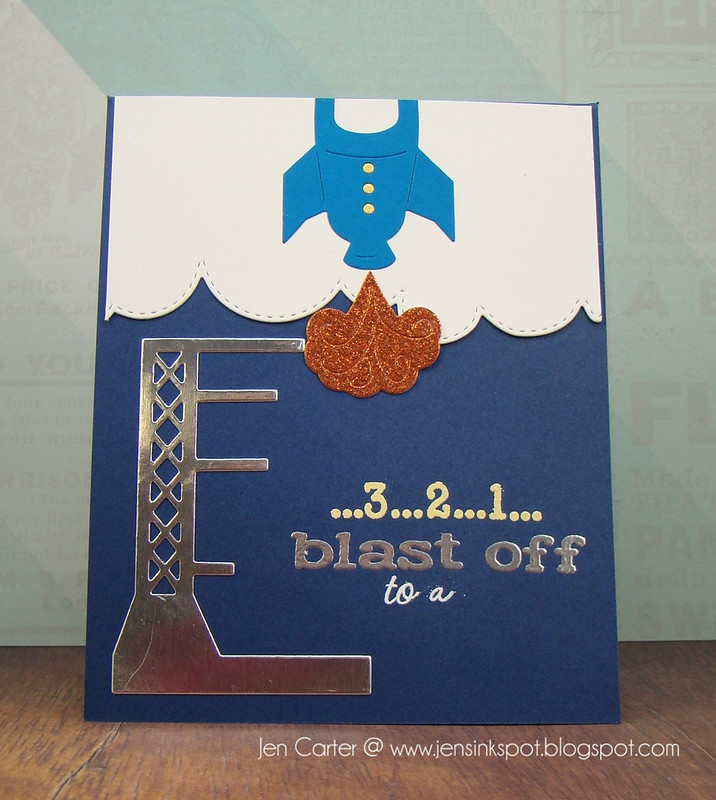
This is the front.  You can see that I've used quite a few of the new products from Frantic Stamper on it.  For this card I wanted the rocket to actually be blasting off!  So I made the die cut going off of the top of the card with a sparkly trail of fire following it.  I really like the new launch pad die, I think it is so unique and it made the blast off theme even more realistic!  The rocket, fire &  launch pad are all from the new Rocket Launch die set.  The cloud at the top was cut with one of the dies from the Stitched Cloud Edgers dies.  The sentiment is put together using stamps from the Sentiments from Space clear stamp set.  I masked and pieced the "to a" together (the sentiment continues inside).

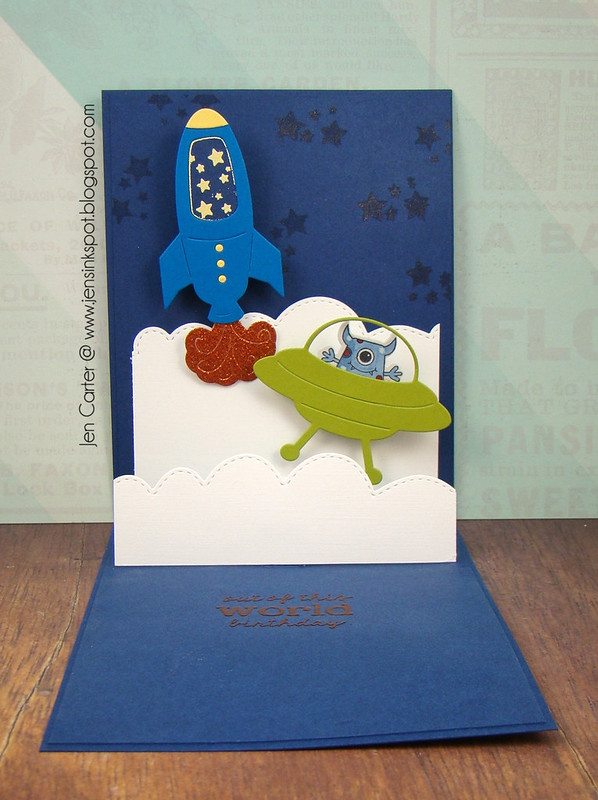
Jen Carter Pop Up Rocket Inside Full 2

Here's what it looks like when you open the card up.  (I accidentally warped my corner a little when I heat embossed the inside sentiment, oops!)  The sentiment says, "out of this world birthday".  

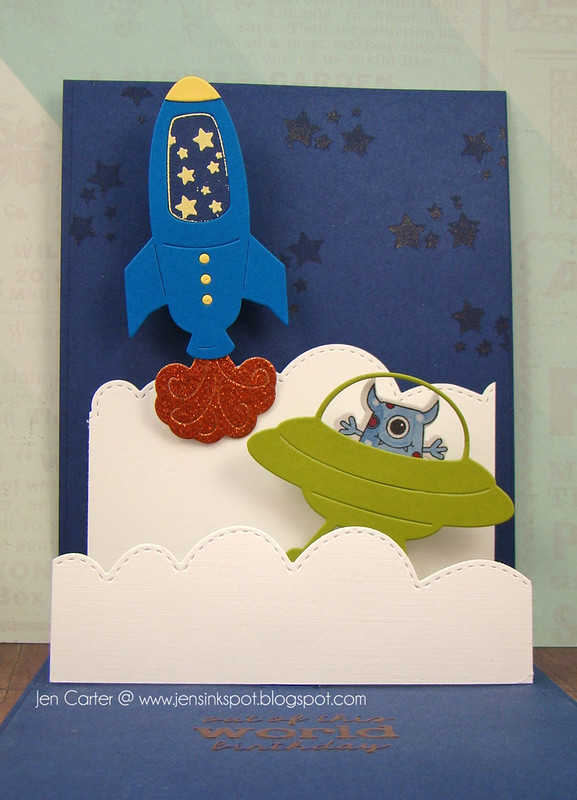
Jen Carter Pop Up Rocket Inside Closeup 4

I used the Pop Up Card Bases dies to create the pop up background.  I started by cutting several places in my cardstock with the dies where I knew I'd want to attach my images (you can see this better in the last photo of this post). Then, I die cut and stamped my images to adhere.  It was important to carry the scene that I started with on the front of the card over to the inside so that it looked like a continuation of the same scene.  I cut more clouds to adhere.  The front cloud is popped up on the first pop up base.  

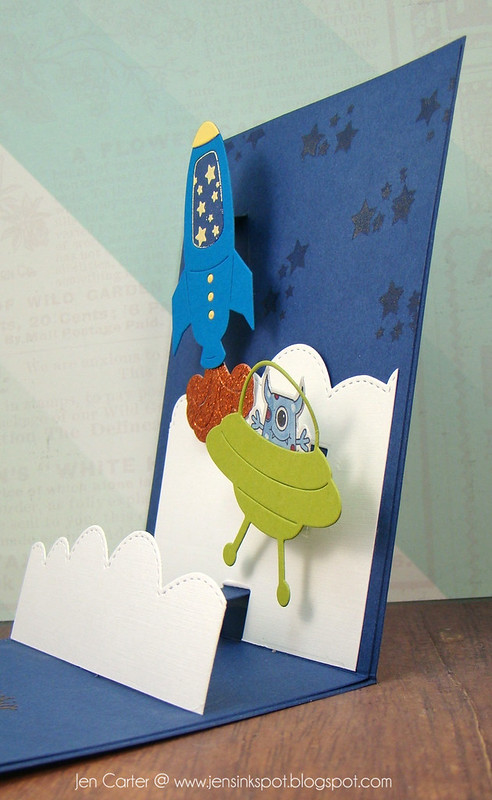
Jen Carter Pop Up Rocket Inside Side 3

I die cut the rocket and fire trail just like I did on the front of the card and attached.  Since it was now against the night sky, and not the cloud, I stamped the inside window to show the stars in the window.  The window stamp is included in The Final Frontier clear stamp set.  Using that same stamp set I also stamped the stars in the background with VersaMark ink.

Jen Carter Pop Up Rocket Inside Side 6

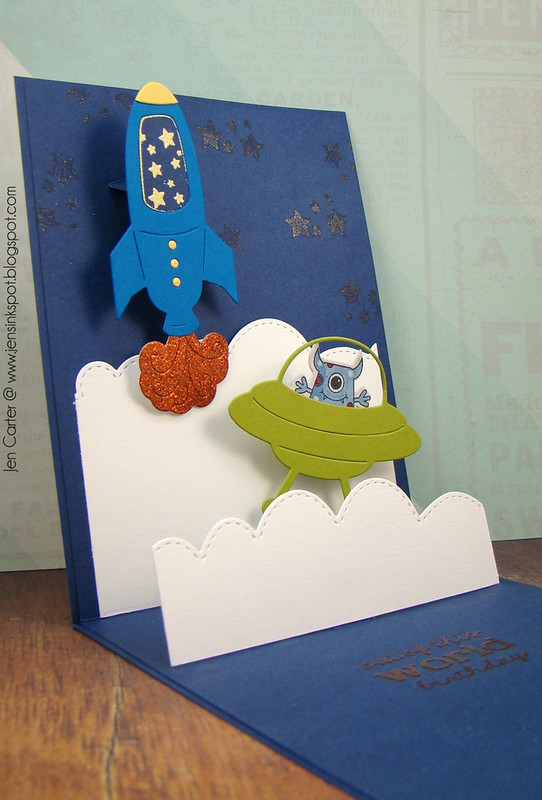
That darling UFO (UFO's can be darling right, lol?) was cut with the Flying Saucer die.  How unique is that?  I love that the little aliens from the Monster Mash Up stamp set (with coordinating Monster Mash Outline dies) are the perfect size to fit right inside the UFO!  I colored the alien with copics and attached the alien to the UFO and then attached the whole thing to one of the cut outs made using the pop out dies.  

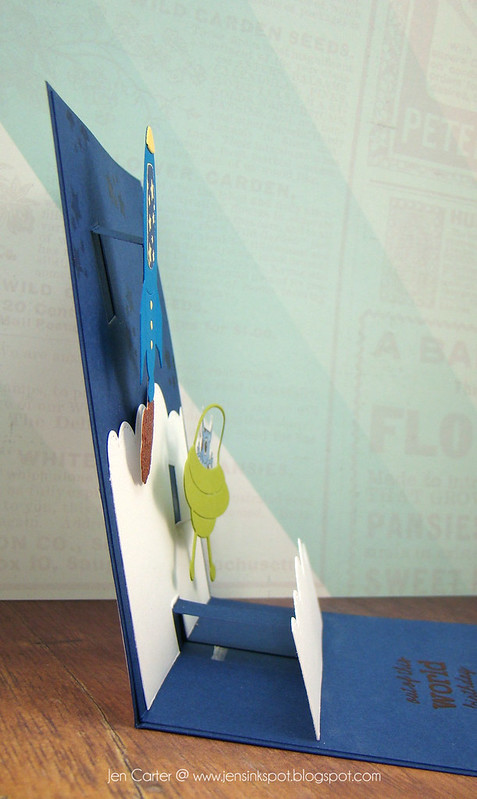
Jen Carter Pop Up Rocket Inside Side Closeup 1

Here's a side view of what it looks like.  You can see it is still fairly flat even though it looks very dimensional from the front.  It is a little bulkier than a regular card but so much fun!

If you'd like to see a video I put together showing how to use the Pop Up Card Bases dies, you can click here and here.

Thanks for visiting today!

Supplies
Paper: DCWV Foil, MFT Lush Lagoone, PTI Enchanted Evening, White & Simply Chartreuse
Ink: VersaMark
Other: Emobbosing Powder Fine White Filigree, Zing Butter, Wow Super Fine Apple Red, Tsukineko Silver